
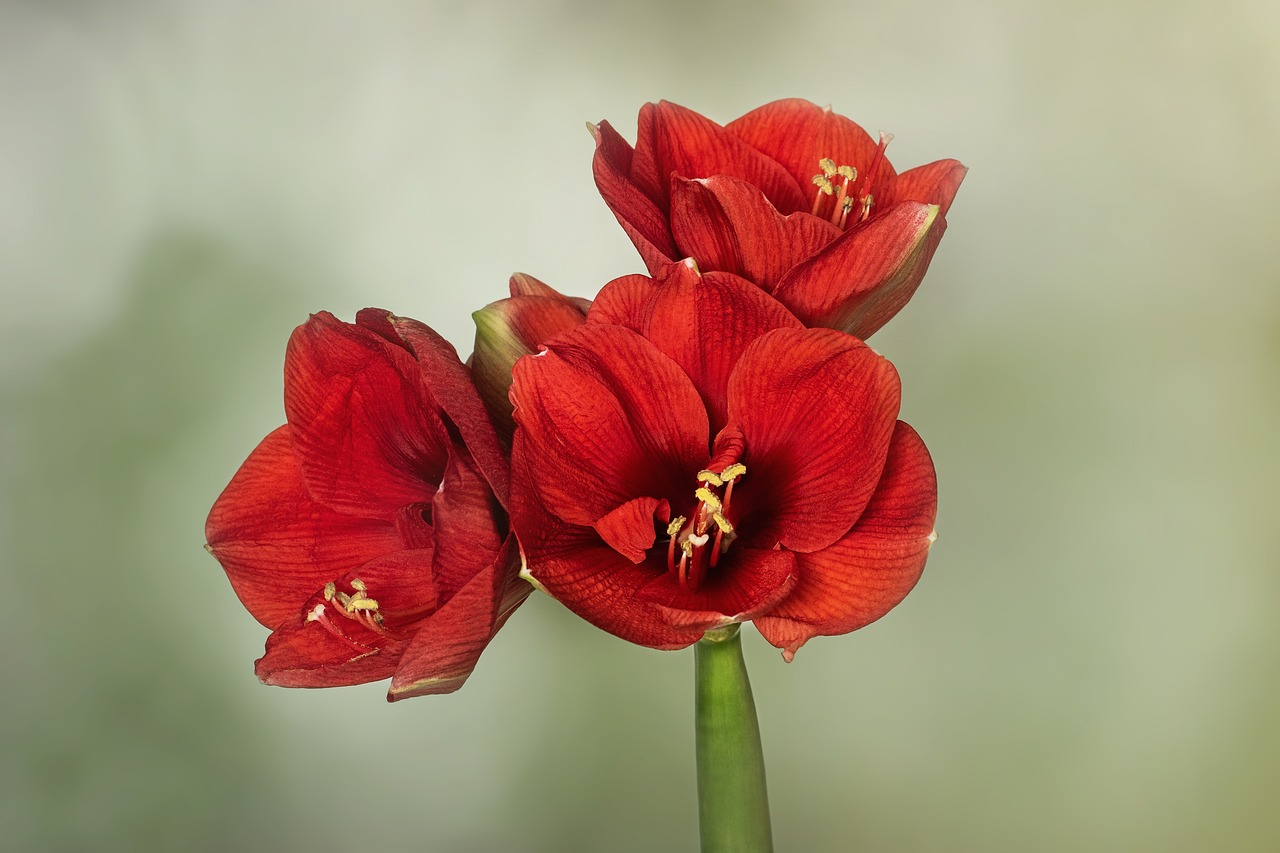
Amaryllis bulbs are a favorite for indoor winter color because they are reliable and easy to grow. Understanding the right timing for planting is the key to ensuring these dramatic flowers brighten your home exactly when you want them to. Generally, you should plant your bulbs six to eight weeks before you desire blooms.
While these bulbs are incredibly forgiving, achieving a perfect display requires patience and a bit of planning. Most gardeners start the process in late autumn to ensure vibrant flowers appear during the darkest winter months. Keep in mind that environmental factors like light and room temperature significantly influence how quickly your amaryllis will develop.
This guide explains how to time your planting and what you need to know to get started. We will cover essential care tips, including choosing the right container, proper soil moisture, and light requirements. Follow these simple steps to master the art of indoor bulb care and enjoy a spectacular floral display every season.

Understanding the Amaryllis Growth Cycle
Understanding the natural growth cycle of an amaryllis is the secret to successful indoor blooms. Once planted, these bulbs typically require six to eight weeks to reach full flower. By working backward from your desired display date, you can precisely time their development.
To enjoy vibrant blossoms during the holiday season, aim to plant your bulbs in mid-to-late October or early November. This window ensures that the stalks emerge just as the winter chill sets in, providing a bright, tropical focal point for your home.
If you want to avoid a single, short-lived burst of color, consider a staggered planting schedule. By potting a new bulb every two to three weeks throughout the autumn, you can ensure a continuous succession of blooms that will last well into the dreary winter months.
To keep your amaryllis healthy throughout this cycle, keep these practical care tips in mind:
- Choose the right pot: Select a container only one or two inches wider than the bulb itself. Amaryllis prefer a snug fit, which helps prevent water from pooling around the base and causing rot.
- Ensure proper drainage: Always use a pot with drainage holes. If you use a decorative outer container, empty any excess water immediately after watering to keep the roots oxygenated.
- Provide ample light: Once growth begins, move the pot to a sunny, south-facing window. Rotating the pot every few days will encourage the heavy flower stalk to grow straight rather than leaning toward the light.
- Monitor moisture: Keep the soil consistently moist but never soggy. If the soil surface feels dry to the touch, it is time to add a small amount of water.
By respecting these natural rhythms and providing consistent care, you can reliably transform a dormant bulb into a spectacular winter centerpiece. Proper timing is the most effective tool in your gardening kit for achieving professional-looking results indoors.
Essential Tools and Safety Precautions
Successfully planting amaryllis bulbs begins with gathering the right equipment. Using proper tools ensures the process is efficient and helps your bulb establish a healthy root system quickly.
Before you begin, ensure you have the following essentials:
- A pot with drainage holes: Amaryllis bulbs are susceptible to rot if they sit in standing water. A container with adequate drainage is non-negotiable for long-term health.
- Quality potting mix: Choose a well-draining, peat-based mix. Avoid heavy garden soil, which can compact and suffocate the roots.
- A sturdy trowel: This is essential for filling the pot around the bulb and ensuring the soil is packed firmly but gently.
Safety should always be your priority when working with gardening tools. If you are using shears to trim old, dried roots or foliage before planting, always keep your fingers clear of the cutting path. Work on a stable, flat surface to prevent your tools or pots from slipping and causing accidental injury.
Additionally, protect your hands by wearing gardening gloves. Amaryllis bulbs can sometimes release a milky sap that acts as a skin irritant, and handling soil for extended periods can dry out or irritate sensitive skin. Gloves provide a necessary barrier against these irritants and help maintain hygiene.
Once you have finished your planting session, clean your tools thoroughly to remove soil residue and moisture. Storing your shears and trowels in a secure, dry place not only keeps your workspace organized but also prevents rust and keeps sharp edges away from children or pets. By treating your tools with care and prioritizing your personal safety, you create a more enjoyable and productive gardening experience.
Selecting and Preparing Your Bulbs
The success of your amaryllis display begins long before the bulb hits the soil. Selecting a high-quality bulb is the most critical step in ensuring a robust, healthy bloom. When shopping, always prioritize size and density. A larger bulb generally produces more flower stalks, so look for the biggest, firmest specimen available. Avoid any bulbs that feel lightweight, spongy, or show visible signs of mold, bruising, or soft spots, as these are often indicators of poor health or internal decay.
Once you have selected your bulb, prepare it carefully for planting. Inspect the basal plate—the flat, bottom section where the roots emerge—for any dried or dead root strands. These brittle remnants serve no purpose and can be gently trimmed away using clean, sharp garden snips. Removing this debris allows the bulb to focus its energy on establishing new, active roots once it is placed in the potting medium.
Hygiene is essential during this process to prevent the introduction of fungal or bacterial pathogens. Follow these best practices to keep your plants thriving:
- Sanitize your tools: Wipe your garden snips with rubbing alcohol or a diluted bleach solution both before and after trimming to ensure a sterile cut.
- Maintain clean hands: Always wash and dry your hands thoroughly before handling the bulb. Oils, dirt, and bacteria from your skin can compromise the bulb’s surface and potentially lead to rot.
- Handle with care: Treat the bulb gently to avoid nicking or scratching the outer tunic, which acts as a protective barrier against pests and disease.
By taking these simple, proactive steps, you create the best possible environment for your amaryllis to thrive. Preparing the bulb correctly ensures that it can direct its stored energy into producing vibrant, long-lasting flowers rather than fighting off infections. Once your bulb is firm, clean, and properly trimmed, it is ready to be potted and placed in a bright location to begin its growth cycle.
Step-by-Step Planting Instructions
Selecting the right container is the most critical first step for a healthy amaryllis. Choose a pot with sturdy drainage holes that is only slightly larger than the bulb itself. You only need about an inch of space between the bulb and the pot wall; a container that is too large can hold excess moisture, which often leads to bulb rot.
Use a high-quality, well-draining indoor potting mix. Avoid heavy garden soil, as it compacts too easily and prevents the necessary airflow around the roots. Follow these steps to ensure your bulb is positioned correctly for success:
- Fill the pot with enough potting mix so that the bulb sits at the proper height.
- Place the bulb in the center of the pot.
- Add or remove soil until the top third of the bulb remains exposed above the soil line. Leaving the neck and shoulders of the bulb uncovered is essential to prevent moisture-related decay.
- Firm the soil gently around the roots to eliminate large air pockets, but do not pack it so tightly that you damage the root system.
Once planted, water the soil lightly. The goal is to make the potting mix slightly moist, not saturated. If the soil is too wet before the bulb has established active roots, the bulb may rot before it has a chance to bloom.
Finally, move your pot to a warm, sunny location. A spot that receives bright, indirect light is ideal for encouraging initial growth. Avoid placing the pot in direct, scorching sunlight until the first green shoots appear. Keep the soil barely moist while waiting for the flower stalk to emerge. Once you see active growth, you can gradually increase watering as the plant begins to demand more energy. By keeping the bulb snug and the top third exposed, you provide the perfect environment for a spectacular display of blooms.

Post-Planting Care and Common Questions
Once you have planted your amaryllis bulb, patience and consistent care are the keys to a successful bloom. As soon as the first green shoot emerges, move the pot to a location with bright, indirect sunlight. Avoid placing the bulb in direct, harsh sun, as this can scorch the foliage.
Watering is the most critical aspect of post-planting maintenance. Keep the soil consistently moist to the touch, but never allow the pot to sit in standing water. Excess moisture is the primary cause of bulb rot, which can quickly kill the plant. Always ensure your container has adequate drainage holes to allow excess water to escape freely.
As the flower stalk grows taller, the plant may become top-heavy. To prevent the amaryllis from tipping over, consider these practical steps:
- Insert a slender decorative stake into the soil near the bulb.
- Loosely tie the stalk to the stake using soft twine or plant ties.
- Rotate the pot every few days to encourage the stalk to grow straight rather than leaning toward the light source.
If you notice the leaves yellowing prematurely or the plant fails to produce a bloom, it is likely not receiving enough light. Relocate the plant to a brighter area, but avoid extreme temperature fluctuations near radiators or drafty windows.
While amaryllis are generally hardy, issues can occasionally arise. If you observe signs of persistent pests, such as mealybugs or spider mites, or suspect deep-seated bulb rot, do not rely on home remedies that may damage the plant further. Instead, reach out to your local master gardener program or regional agricultural extension office. These organizations provide science-based, professional advice tailored to your specific climate and growing conditions, ensuring your bulb remains healthy for seasons to come. By monitoring moisture levels and providing steady light, you will enjoy a vibrant, long-lasting display.

Dedicated team of gardening enthusiasts with years of hands-on experience testing lawn mowers, gardening tools, and outdoor equipment. We help home gardeners and professionals alike make informed buying decisions with honest, thorough reviews. From push mowers to pruning shears, we test it all so you don’t have to. Got a gardening tool you’d like us to review? Get in touch!