
To enjoy stunning amaryllis blooms by Christmas, you should plant your bulbs between late October and early November. Aiming for this specific eight-week window ensures your plants have enough time to develop strong roots and produce festive flowers right as the holiday season reaches its peak inside your home.
Keep in mind that amaryllis growth rates can vary slightly depending on the bulb size and your indoor temperature. While these bulbs are generally reliable, they require bright, indirect light and consistent warmth to thrive. Providing the right environment helps you avoid common delays and keeps your holiday display looking healthy.
In this guide, we provide practical steps to help you master the timing and care requirements for these popular winter plants. From selecting the best pots to managing watering schedules, you will learn exactly how to encourage vigorous growth. Follow these expert tips to guarantee a vibrant, professional-looking floral centerpiece this December.

The Ideal Planting Window for Holiday Blooms
Timing is everything when it comes to enjoying vibrant amaryllis blooms during the holiday season. Because these bulbs typically require between 6 and 10 weeks to transition from planting to full flower, your window of opportunity is relatively narrow. To ensure your amaryllis is in peak bloom by Christmas, you should aim to plant your bulbs between late October and mid-November.
Planning for this specific timeframe accounts for the natural biological variations in bulb maturity. While some bulbs are eager to grow, others may take a bit longer to wake up from dormancy. Aiming for the earlier side of this window provides a necessary buffer, ensuring you aren’t left with only green foliage when the festivities arrive.
Several factors can influence the speed of your amaryllis development:
- Indoor Temperatures: Warmer rooms (around 70°F or 21°C) will encourage faster growth, while cooler spots will slow the process down.
- Light Exposure: Once the shoot emerges, placing the pot in a bright, sunny window will promote strong, healthy stems.
- Bulb Size: Larger, premium bulbs often produce more flower stalks and may bloom slightly more reliably than smaller specimens.
If you find that your amaryllis is developing faster than expected as Christmas approaches, you can easily slow it down by moving the pot to a cooler room with less direct light. Conversely, if the bulb seems sluggish, moving it to a warmer location near a heat source can help accelerate the process.
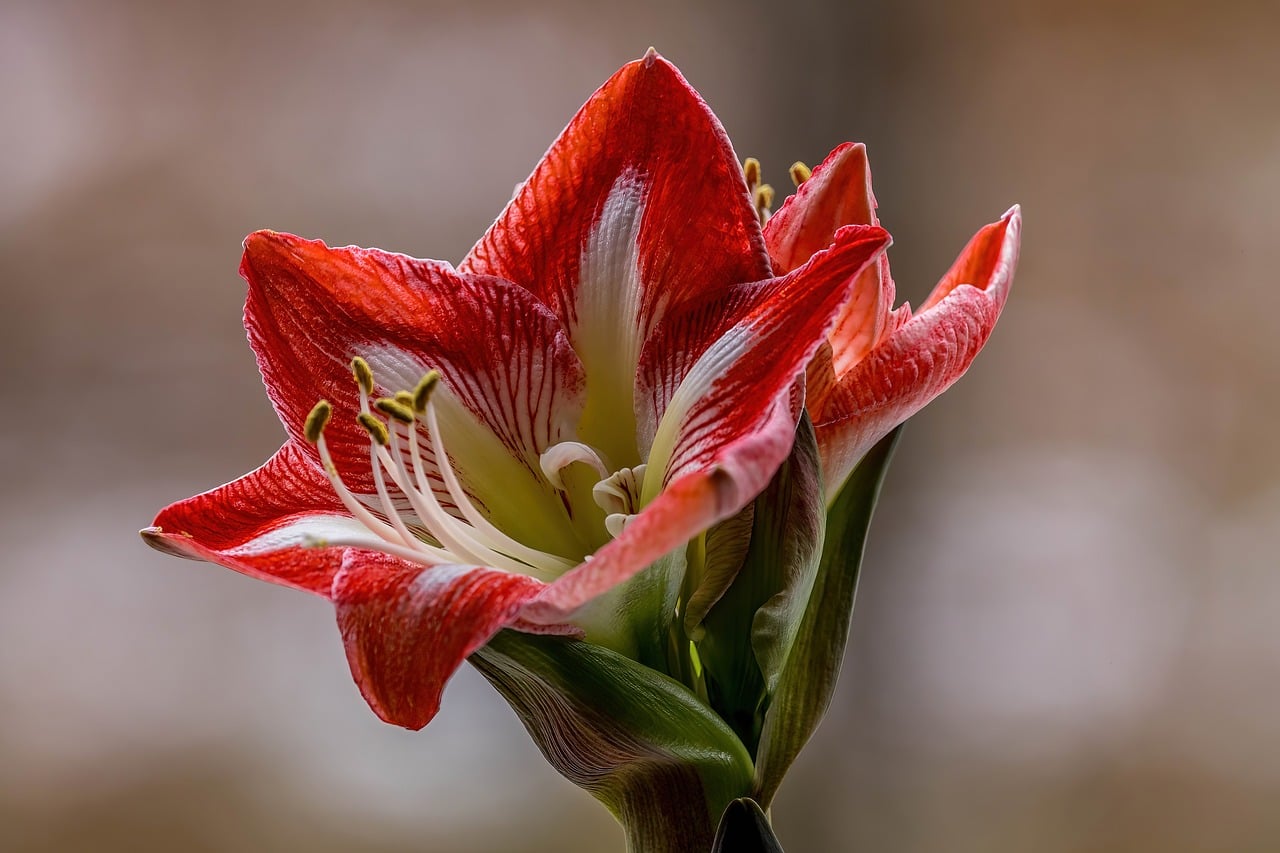
Keep a close eye on the flower buds. Once they begin to show color, you can move the plant to a more prominent display area in your home. By managing these environmental variables, you can effectively “fine-tune” the bloom time, ensuring your home is decorated with spectacular, trumpet-shaped flowers exactly when you want them most. Remember to rotate the pot every few days to ensure the heavy flower stalks grow straight rather than leaning toward the light.
Selecting and Preparing Your Bulbs
Success starts with selecting high-quality bulbs. When shopping, look for the largest, firmest bulbs available. A healthy amaryllis bulb should feel surprisingly heavy for its size. Avoid any bulbs that show signs of mold, bruising, or soft, mushy spots, as these are indicators of decay that will prevent successful blooming.
Once you have selected your bulbs, proper preparation is essential to wake them from dormancy and encourage a strong, vibrant display for the holidays. Follow these steps to ensure your bulbs are ready for planting:
- Hydrate the roots: Before placing your bulb in soil, soak only the root zone in a shallow container of lukewarm water for two to four hours. This rehydrates the dried roots and signals to the bulb that it is time to begin active growth.
- Protect your skin: Always wear gardening gloves when handling amaryllis bulbs. The sap contained within the bulb tissue can cause contact dermatitis or skin irritation for many people.
- Inspect the crown: Ensure the neck of the bulb is clean and free of debris. If you notice any loose, papery outer skins that are peeling away easily, gently remove them to reveal the healthy bulb underneath.
After soaking, pat the roots dry gently with a paper towel. Do not leave the bulb sitting in water for an extended period, as this can encourage rot. Once prepared, the bulb should be planted immediately in a well-draining potting mix. Choose a pot that is only one to two inches wider in diameter than the bulb itself; amaryllis prefer a snug fit, which helps manage moisture levels and encourages the plant to focus its energy on flower production rather than excessive root expansion. By starting with a healthy, hydrated bulb, you set the stage for a spectacular Christmas bloom.
Potting and Planting Essentials
Choosing the right container is the most critical step in ensuring your amaryllis thrives. Unlike many houseplants that require ample room to spread, amaryllis bulbs prefer to be snug. Select a pot that is only one to two inches wider than the diameter of the bulb. If the container is too large, the excess soil holds too much moisture, which can easily lead to bulb rot.
Ensure your pot has adequate drainage holes at the bottom. Amaryllis bulbs hate sitting in water; proper drainage is essential for healthy root development.
When you are ready to plant, follow these steps to ensure proper placement:
- Fill the bottom of the pot with a high-quality, well-draining potting mix.
- Position the bulb in the center, ensuring the roots are spread downward.
- Add more soil around the sides, gently firming it in place.
- Leave the top third of the bulb exposed above the soil line to prevent moisture from accumulating on the neck of the bulb.
Use a sharp, clean trowel to move your potting mix efficiently. When working with garden tools, always prioritize safety. Keep your fingers clear of the metal blades at all times, especially when scooping or leveling soil. Once you have finished potting, wipe your tools clean with a dry cloth to prevent rust and store them securely in a shed or drawer, out of reach of children or pets.
After planting, water the soil sparingly until you see the first signs of green growth. Place the pot in a warm, sunny location to encourage the bulb to wake up from its dormancy. By keeping the bulb snug and the soil well-drained, you create the perfect environment for a spectacular holiday display. Remember that consistency is key; avoid overwatering during the initial weeks, as the bulb needs to establish its root system before it can support those heavy, dramatic blooms.
Optimizing Growth Conditions
To ensure your amaryllis blooms precisely for the holiday season, creating the right environment is vital. Once you have potted your bulb, place it in a warm, bright location. A sunny windowsill is ideal, as consistent warmth acts as the primary trigger for root and stalk development. Aim for a spot that maintains a temperature between 68°F and 75°F (20°C–24°C).
Light management is equally important for the structural integrity of your plant. Because amaryllis are phototropic, they will naturally lean toward the strongest light source. To prevent a crooked or top-heavy flower stalk, follow these practical maintenance steps:
- Rotate your pot a quarter-turn every two to three days. This simple action ensures the stem receives even light exposure on all sides, encouraging it to grow straight and sturdy.
- Monitor the soil moisture closely. Water sparingly until you see the first sign of green growth emerging from the bulb. Once active growth begins, keep the soil consistently moist but never waterlogged.
- Avoid placing the pot directly over a heating vent or radiator. While these bulbs love warmth, dry, intense heat can cause the soil to dehydrate too quickly and may shorten the lifespan of the eventual blooms.
If you notice the stalk growing too rapidly or becoming weak, you may need to provide support. A decorative bamboo stake or a discreet plant support ring can help hold the heavy blossoms upright once they begin to open. By providing steady light and careful rotation, you help the plant focus its energy on producing vibrant, symmetrical flowers rather than struggling to reach for the sun.
Remember that the transition from a dormant bulb to a full holiday display typically takes six to eight weeks. If your home is cooler than average, the process may take slightly longer; if it is exceptionally warm, growth may accelerate. Keep a close eye on the development pace and adjust your placement accordingly to time the bloom perfectly for your festivities.

Troubleshooting and Post-Bloom Care
Even with careful planning, amaryllis bulbs can be unpredictable. If you notice your plant is growing too slowly to meet your holiday deadline, move the pot to a warmer area, such as a sunny windowsill or near a gentle heat source. Conversely, if the flower stalk emerges too quickly and threatens to bloom before Christmas, relocate the plant to a cooler room (around 60°F or 15°C) to slow down its development.
Once the flowers have faded, your focus should shift from display to long-term plant health. Proper care now ensures the bulb stores enough energy to bloom again next year.
- Pruning: Use clean, sharp shears to cut the spent flower stalk back to the neck of the bulb. Be careful not to damage the strap-like leaves, as these are essential for photosynthesis.
- Hydration: Continue watering your amaryllis whenever the top inch of soil feels dry. Do not let the soil dry out completely, as the plant remains active.
- Nutrition: Apply a balanced, water-soluble fertilizer every two to four weeks. This provides the nutrients necessary for the bulb to grow robust foliage and store energy for future blooms.
Keep the plant in a bright, sunny location throughout the spring and summer. The more healthy, green leaves you can maintain, the stronger the bulb will be for the following season.
While most issues can be managed with simple environmental adjustments, keep a close eye on the bulb itself. If you notice the bulb feels soft, squishy, or emits a foul odor, it may be suffering from rot due to overwatering or poor drainage. If you are unsure about the health of your bulb or notice signs of severe decay, consult a local nursery professional. They can help you determine if the bulb is salvageable or if it is time to start fresh with a new, healthy specimen.

Dedicated team of gardening enthusiasts with years of hands-on experience testing lawn mowers, gardening tools, and outdoor equipment. We help home gardeners and professionals alike make informed buying decisions with honest, thorough reviews. From push mowers to pruning shears, we test it all so you don’t have to. Got a gardening tool you’d like us to review? Get in touch!