
You can easily grow a new pothos plant by taking a healthy stem cutting and placing it in water or soil. This straightforward process allows you to expand your indoor garden without buying new plants. By following a few simple steps, you will quickly see your propagation project develop into a thriving, vibrant vine.
While pothos are famously resilient, success depends on choosing the right stem and providing optimal conditions. You do not need expensive lawn care equipment or heavy outdoor power tools for this task. A sharp pair of clean hand tools and a bit of patience are all that is required for effective garden maintenance.
This comprehensive guide covers the necessary tools, preparation, and care steps to ensure your new clippings successfully take root and thrive in your home garden. From selecting the perfect node to managing light and moisture, we provide the practical expertise you need to master the art of propagating pothos from cuttings today.

Essential Tools and Preparation
Before you begin propagating your pothos, gathering the right equipment is essential for the health of both the parent plant and your new cuttings. Using the correct tools ensures clean wounds that heal quickly, significantly reducing the risk of infection or plant stress.
Start by selecting a pair of sharp, high-quality pruning shears or household scissors. A dull blade can crush the delicate stem tissue rather than slicing through it, which often leads to rotting or stunted root development. If your tools have seen previous use in the garden, take a moment to clean them thoroughly.
Sterilization is a critical, non-negotiable step in garden maintenance. Before making any cuts, wipe your blades down with a cloth or cotton ball soaked in 70% isopropyl alcohol. This simple practice eliminates bacteria, fungi, and viruses that could otherwise be transmitted from other plants, protecting your pothos from potential pathogens.
To ensure a successful and safe propagation process, keep the following items ready:
- Sterilized cutting tool: Sharp shears or scissors for a clean, precise slice.
- Isopropyl alcohol: For disinfecting blades before and between cuts.
- Gardening gloves: Recommended if you have sensitive skin, as pothos sap contains calcium oxalate crystals that may cause mild irritation or itching upon contact.
- Clean workspace: A flat, sanitized surface to lay out your cuttings during the preparation phase.
Beyond these specific tools, consider your overall environment. A well-lit, stable area allows you to work with precision. If you are working with a large, established pothos, ensure you have enough space to maneuver your shears without damaging adjacent vines. Once your tools are prepped and your workspace is clear, you are ready to identify the healthiest nodes for propagation.
Remember that the quality of your initial cut dictates the future vigor of the plant. By taking the time to prepare properly, you minimize the shock to the parent vine and provide your cuttings with the best possible start. Treat your tools with care, keep them sharp, and always prioritize hygiene to maintain a thriving indoor garden. With these basics addressed, you can proceed with confidence, knowing you have created the ideal conditions for successful root growth and long-term plant health.
Selecting and Taking the Perfect Cutting
Selecting the right vine is the most critical step in propagating a healthy pothos. Before you make any cuts, examine your parent plant for signs of vigor. Look for a vine that is actively growing, free of yellowing leaves, and shows no evidence of pests or disease. A robust parent plant ensures your cutting has the energy reserves needed to develop a strong root system.
Once you have identified a healthy vine, you must locate the nodes. The node is the small, slightly raised brown bump or ridge found on the stem exactly where a leaf petiole meets the main vine. This is the biological powerhouse of the plant; it contains the meristematic tissue capable of producing new roots and shoots. If you cut without including a node, the stem will simply rot in water rather than rooting.
To ensure a clean, successful propagation, follow these steps:
- Sterilize your tools: Always wipe your hand pruners or shears with isopropyl alcohol before use. This prevents the transfer of pathogens from other plants to your fresh cutting.
- Measure carefully: Aim for a cutting that is between 4 and 6 inches long. This length provides enough stem surface area for multiple roots to emerge while remaining manageable for a small glass or jar.
- Position the cut: Using your sterilized shears, make a clean, diagonal cut approximately one inch below the node. The diagonal angle increases the surface area for water intake and prevents the stem from sitting flush against the bottom of your container, which can restrict oxygen flow.
- Check the foliage: Ensure your cutting includes at least 3 to 4 healthy, undamaged leaves. These leaves will provide the necessary photosynthesis to support the cutting while it establishes its new root system.
After you have made the cut, remove any leaves that would fall below the waterline in your chosen vessel. Submerged leaves will decay and foul the water, potentially introducing bacteria that could kill the cutting. By selecting a high-quality section of the vine and using proper cutting techniques, you set the stage for rapid, healthy root development and a thriving new plant.
Rooting Your Pothos in Water
Propagating pothos in water is a straightforward process that requires minimal equipment. By using the right approach, you can successfully root your cuttings and prepare them for long-term growth.
Start by selecting a clean glass jar or vase. Using clear glass allows you to monitor root development easily and ensures you can spot any potential issues, such as algae growth or water cloudiness, before they affect the cutting.
Follow these steps to ensure your cutting thrives:
- Fill your container with room-temperature, filtered water. Chlorine found in some tap water can occasionally irritate sensitive cuttings, so letting tap water sit out for 24 hours is a practical way to allow the chemicals to dissipate.
- Place your cutting into the water, ensuring that at least one exposed node—the small brown bump where the leaf meets the stem—is fully submerged. This is where the roots will emerge.
- Position the cutting so that all leaves remain well above the water line. If leaves sit in the water, they will begin to decay, which introduces bacteria and can kill the cutting.
- Place the jar in a location that receives bright, indirect light. Avoid direct sunlight, as this can overheat the water and encourage excessive algae growth.
Maintenance is key to a healthy start. Refresh the water every three to five days to keep it oxygenated and free of debris. If you notice the water becoming cloudy, change it immediately to provide a clean environment for the developing root system.
While you do not need heavy-duty outdoor power equipment or specialized gardening tools for this stage, having a pair of sharp, sterilized hand pruners or shears is essential for taking the initial cutting. Clean tools prevent the spread of pathogens, ensuring your plant starts its life cycle without infection. Once the roots reach approximately two to three inches in length, your pothos will be ready to transition from its water home into a pot filled with well-draining indoor potting mix. Regular monitoring during this water-based phase is the most effective way to guarantee a robust root system, which serves as the foundation for a lush, trailing houseplant that will eventually require standard garden maintenance and occasional pruning to keep it looking its best.
Transplanting to Soil
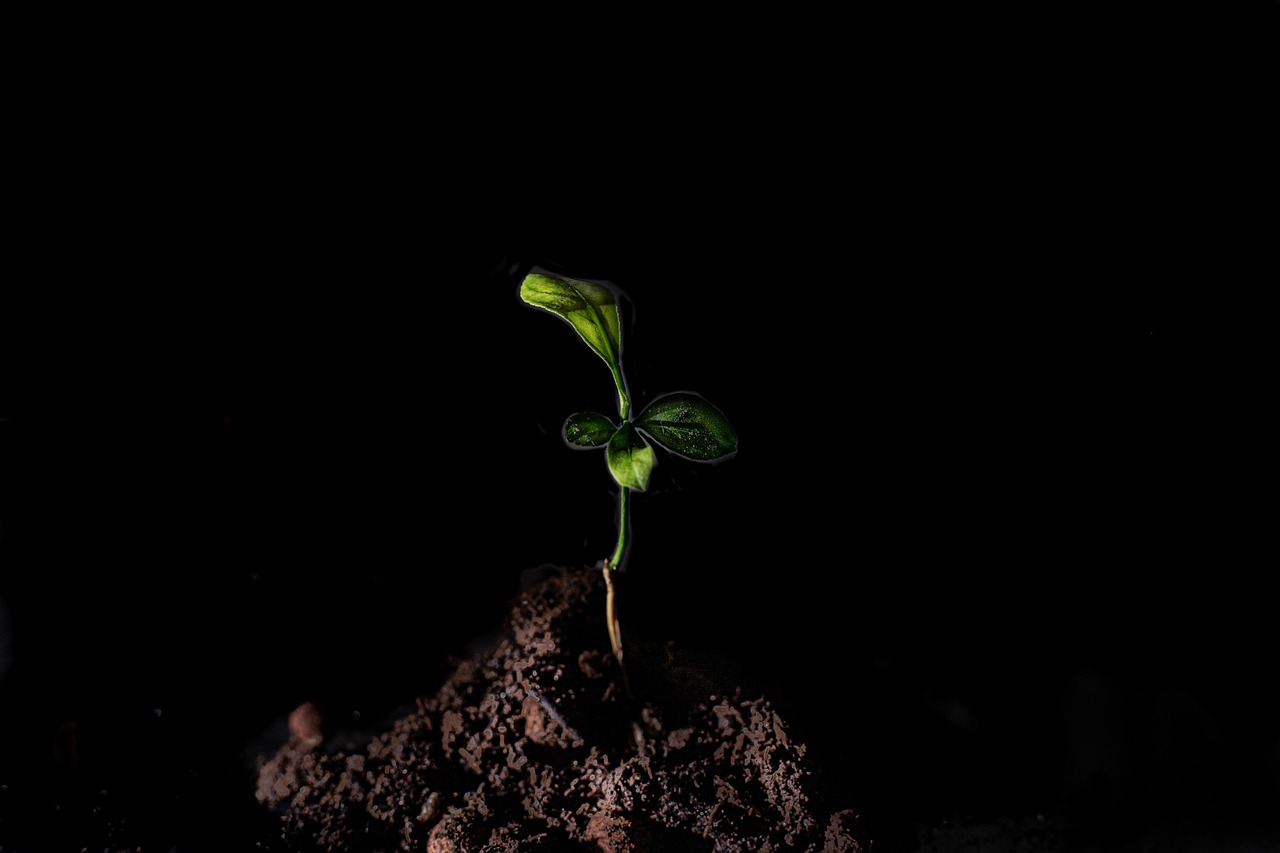
Once your pothos cuttings have developed roots approximately two inches long, they are ready to transition from water to soil. This stage is critical for establishing a strong, healthy root system that will support the plant’s future growth.
Start by selecting an appropriate container. It must have drainage holes at the bottom to allow excess moisture to escape; stagnant water is the leading cause of root rot in pothos. Fill the pot with a high-quality, well-draining indoor potting mix. Avoid heavy garden soil, which can compact and suffocate young roots.
When you are ready to plant, follow these steps to ensure a smooth transition:
- Fill the pot about two-thirds full with your potting mix.
- Create a small well in the center using your finger or a hand trowel.
- Gently place the rooted cutting into the well, being careful not to snap the delicate, fragile white roots.
- Fill in the remaining space with soil, lightly firming it down around the stem to provide stability.
- Water the plant thoroughly until moisture begins to drip from the drainage holes.
The transition from a water-based environment to a soil-based one can be stressful for a cutting. To help the plant acclimate, keep the soil consistently moist—but not waterlogged—for the first seven to ten days. You can check the moisture level by inserting your finger about an inch into the soil; if it feels dry, add a small amount of water.
Place your newly potted pothos in a location that receives bright, indirect light. Avoid direct sunlight, which can scorch the leaves while the root system is still establishing itself. After the first week, you can gradually transition to a standard watering schedule, allowing the top inch of soil to dry out completely before watering again.
If you notice the plant wilting slightly during the first few days, do not be alarmed. This is a common reaction as the plant adjusts to its new medium. Maintain consistent care, and you will soon see new leaf growth, signaling that your pothos has successfully taken hold in its new home. With the right potting mix and proper drainage, your cutting will quickly mature into a lush, vining houseplant.

Ongoing Care and Troubleshooting
Once your pothos cutting is successfully transplanted into soil, the transition period is critical. Your primary goal is to maintain consistent moisture without saturating the potting mix. Use a small hand trowel or a moisture meter to check the top inch of soil; if it feels dry to the touch, provide a light watering. Avoid overwatering, as young roots are highly susceptible to rot in dense, waterlogged soil.
Position your new plant in a spot that receives bright, indirect light. While pothos are known for their tolerance of low-light conditions, a cutting establishing its root system benefits from steady, filtered light to encourage growth. If you notice the leaves beginning to yellow, this is often a sign of environmental stress:
- Check for overwatering: If the soil feels muddy or the pot lacks proper drainage, the roots may be suffocating. Allow the soil to dry out slightly before the next watering.
- Assess light exposure: Yellowing can occur if the plant is receiving too much direct sunlight, which scorches the foliage. Move the container to a location further from the window or behind a sheer curtain.
If your cutting fails to show signs of root development after several weeks, do not immediately discard it. Use a clean pair of garden snips to inspect the submerged portion. Ensure that at least one healthy leaf node is fully submerged in water, as roots will only emerge from these specific junction points. If the water has become cloudy or stagnant, replace it entirely with fresh, room-temperature water. Stagnant water lacks the oxygen necessary for root respiration.
For long-term maintenance, keep your pruning shears sharp and clean. Regular maintenance of your gardening tools prevents the spread of pathogens to your delicate cuttings. If the cutting remains stunted, ensure the ambient temperature is consistently warm, as cold drafts can significantly slow down the rooting process. Patience is key; while some cuttings root within days, others may take several weeks to establish a robust enough system to support new leaf growth. By monitoring the moisture levels and light quality, you provide the optimal environment for your pothos to thrive as it graduates from a simple cutting to a mature houseplant.

Dedicated team of gardening enthusiasts with years of hands-on experience testing lawn mowers, gardening tools, and outdoor equipment. We help home gardeners and professionals alike make informed buying decisions with honest, thorough reviews. From push mowers to pruning shears, we test it all so you don’t have to. Got a gardening tool you’d like us to review? Get in touch!