
Fungus gnats are a common frustration for indoor gardeners, often appearing as tiny black flies hovering around soil. To keep them out of your plants, you must break their lifecycle by allowing the top layer of soil to dry out completely between waterings and using yellow sticky traps to capture the adults.
While these pests are primarily a nuisance, they can damage delicate roots if left unchecked in your garden maintenance routine. Understanding that these flies thrive in consistently moist environments is key to effective control. Achieving a gnat-free home requires consistent monitoring rather than a single quick fix, so patience remains your best tool.
This guide explains how to identify, eliminate, and prevent these pests using practical, non-toxic methods to protect your houseplants. We will explore essential hand tools for soil aeration, proper watering techniques, and organic treatments that keep your indoor greenery thriving. Follow these steps to reclaim your garden from unwanted pests and ensure healthy growth.
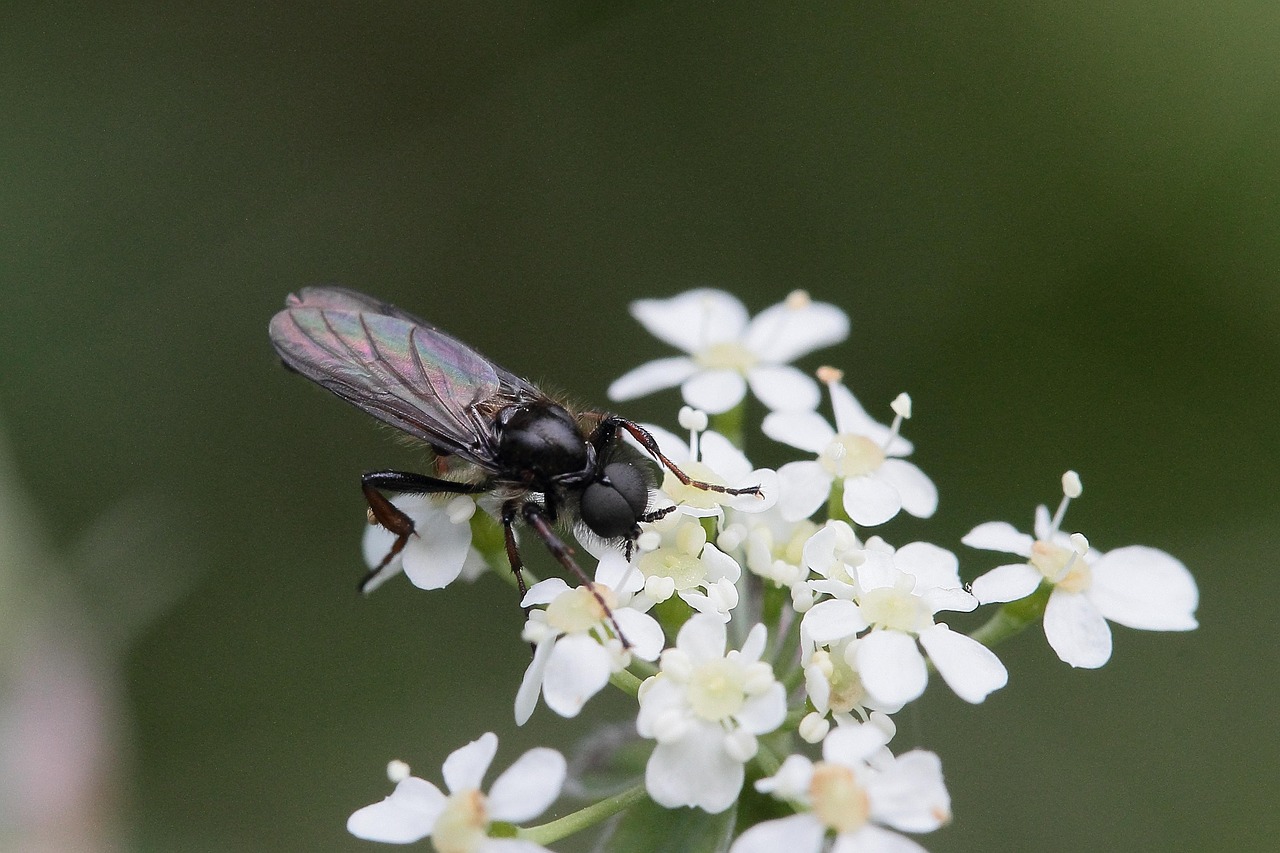
Identify and Confirm a Fungus Gnat Infestation
Before you reach for heavy-duty garden maintenance products or outdoor power equipment, you must accurately identify the pest. Misidentifying fungus gnats can lead to wasted effort and unnecessary chemical use. These pests are primarily a nuisance in indoor environments, often thriving in the damp, organic-rich soil of houseplants.
The most common sign of an infestation is the presence of small, dark, mosquito-like flies hovering near the soil surface or resting on the lower leaves of your plants. While they are weak fliers, you will often notice them darting around immediately after you water or disturb the pot.
To confirm their presence, inspect the top inch of your potting medium. Fungus gnat larvae are translucent, legless, and have a distinct black head. They feed primarily on decaying organic matter and fungi, but in high populations, they will turn their attention to the tender root hairs of your plants, causing yellowing leaves and stunted growth.
If you suspect an infestation but are not seeing adult flies, use these practical diagnostic steps:
- Yellow Sticky Traps: Place these small, adhesive cards near the base of your plants. Fungus gnats are highly attracted to the bright yellow color. If you see tiny black specks stuck to the card, you have confirmed an active population.
- Potato Slices: Place a raw slice of potato on the surface of the soil. Leave it overnight. If larvae are present, they will migrate to the underside of the potato to feed, making them easy to spot when you lift the slice the next morning.
- Soil Inspection: Gently scrape back the top layer of soil. If you see small, worm-like larvae scurrying away from the light, you have identified the source of the problem.
Distinguishing fungus gnats from other common pests is essential for effective home gardening. Unlike aphids or spider mites, which typically colonize the foliage, fungus gnats are soil-dwellers. If you see insects flying but find no evidence of larvae in the soil or sticky traps, you may be dealing with a different pest, such as shore flies or fruit flies. Confirming the lifecycle stage ensures that your subsequent treatment—whether it involves adjusting your watering habits or applying biological controls—is targeted and successful.
Stop the Lifecycle by Adjusting Watering Habits
The most effective way to eliminate fungus gnats is to disrupt their breeding cycle. These pests rely on consistently moist soil to lay their eggs and for their larvae to thrive. By adjusting your watering routine, you create an environment that is hostile to their development without harming your plants.
The golden rule is to allow the top two inches of potting soil to dry out completely between waterings. When the surface layer remains dry, the larvae—which feed on organic matter and fungal growth in the damp soil—cannot survive. Before adding more water, test the soil moisture by inserting your finger or a wooden chopstick two inches deep. If you feel any dampness, wait another day or two before watering.
Proper drainage is equally critical to maintaining a healthy, pest-free environment. If your containers lack adequate drainage holes, water accumulates at the bottom, creating a stagnant reservoir that encourages gnat reproduction. Follow these steps to improve your soil management:
- Check your pots: Ensure every container has functional drainage holes at the base. If you are using decorative cachepots without holes, always lift the inner nursery pot out to water it in the sink.
- Clear the saucers: Never allow your plants to sit in standing water. After watering, wait 15 minutes and dump any excess liquid that has collected in the saucer or tray.
- Use well-draining soil: If your current potting mix stays wet for too long, consider repotting with a blend that includes perlite or pumice to increase aeration and drainage.
- Bottom-water sparingly: While bottom-watering can be beneficial, it often keeps the top layer of soil moist for longer periods. If you have an active infestation, switch to top-watering until the soil surface has fully dried out.
By forcing the soil surface to dry out, you effectively starve the larvae and prevent adult gnats from finding a suitable place to deposit new eggs. This cultural control method is the most reliable, chemical-free way to break the lifecycle and protect your indoor garden from further damage. Consistency is key; once you establish a rhythm of letting the soil breathe, the gnat population will naturally collapse.

Physical and Biological Control Methods
Preventing fungus gnats requires a two-pronged approach that targets both the adult insects and the larvae living within the soil. By disrupting their life cycle, you can effectively manage an infestation without relying on harsh chemicals.
Physical Barriers
Adult fungus gnats are attracted to moist soil to lay their eggs. You can prevent this by creating a physical barrier that makes the surface inhospitable. Apply a one-half to one-inch layer of one of the following materials over the top of your potting mix:
- Coarse sand
- Decorative gravel
- Horticultural grit
These materials dry out quickly after watering, which discourages adults from landing and laying eggs. Furthermore, the sharp texture of grit or coarse sand makes it difficult for larvae to navigate or survive near the surface.
Biological Controls
If you already have an active infestation, physical barriers alone may not be enough to eliminate the larvae already feeding on organic matter in the soil. In these cases, biological controls are the most effective and safest solution for home environments.
The gold standard for gnat control is Bacillus thuringiensis israelensis, commonly known as Bti. This naturally occurring bacterium is highly specific; it targets the digestive systems of fungus gnat larvae while remaining completely harmless to your houseplants, pets, and humans.
When using Bti, keep these practical tips in mind:
- Application: Bti is typically available as a liquid concentrate or a drench. Mix it according to the manufacturer’s instructions and apply it to the soil during your regular watering routine.
- Consistency: Because Bti only affects the larval stage, you may need to repeat the treatment every few weeks to catch new generations as they hatch.
- Safety: Always read the product label carefully. While Bti is safe, using the correct concentration ensures the treatment is effective against the infestation.
By combining a top-dressing to stop new egg-laying with Bti to eliminate existing larvae, you can break the breeding cycle and restore the health of your indoor garden. Always ensure your pots have proper drainage, as keeping the soil surface drier between waterings is the best long-term prevention strategy.
Safe Maintenance and Tool Hygiene
Maintaining a clean workspace is one of the most effective ways to break the life cycle of fungus gnats. When you are pruning damaged roots or removing infested topsoil, your tools can easily become carriers for larvae or fungal spores. If you move from an infested plant to a healthy one without cleaning your gear, you risk spreading the infestation throughout your entire collection.
To prevent cross-contamination, prioritize tool hygiene by following these practices:
- Disinfect between uses: Always wipe your garden shears, trowels, and soil knives with a cloth soaked in 70% isopropyl alcohol. This quickly kills any lingering eggs or fungal pathogens that might be clinging to the blades.
- Keep blades sharp: Dull hand tools cause jagged, uneven cuts that take longer for a plant to heal. These compromised areas are more susceptible to rot, which attracts fungus gnats. Use a sharpening stone or file regularly to ensure clean, precise cuts.
- Clean after soil work: If you use hand tools to mix potting media or scrape away the top layer of soil, scrub them with warm, soapy water after you finish. Allow them to air dry completely before storing them in your garden shed.
For gardeners managing larger projects, such as mixing bulk soil or repotting multiple plants with power equipment, safety must remain a priority. Soil dust can contain tiny gnat eggs, fungal spores, and other irritants that should not be inhaled. To protect your health while maintaining your garden:
- Wear a dust mask: Use an N95-rated respirator or a quality dust mask when operating power mixers or handling dry potting soil to avoid inhaling airborne debris.
- Prioritize ventilation: Always perform soil mixing and repotting in a well-ventilated area, such as a garage with the door open or an outdoor potting bench. Proper airflow helps dissipate dust clouds and reduces the concentration of airborne pathogens.
- Organize your space: Keep your potting area free of organic debris, such as fallen leaves or spilled soil. Fungus gnats thrive in damp, decaying matter; by keeping your workspace tidy and your tools sanitized, you create an environment where these pests cannot gain a foothold.

Frequently Asked Questions and Long-Term Care
Clearing a fungus gnat infestation requires patience and consistency. While you may see a reduction in adult activity within a week of using yellow sticky traps and adjusting your watering habits, it often takes three to four weeks to fully break the life cycle. This duration accounts for the time it takes for existing eggs and larvae in the soil to mature and be eliminated.
If you have diligently applied treatments—such as mosquito bits or hydrogen peroxide solutions—but still notice gnats after a month, it is time to reassess your soil. Persistent infestations often indicate that the larvae have deeply embedded themselves within the organic matter of your potting mix.
In cases where the infestation remains stubborn, perform a full repotting:
- Remove the plant from its current container and gently shake away as much old soil as possible.
- Inspect the root system for signs of rot or damage, which often accompany chronic overwatering.
- Discard the old potting mix entirely; do not attempt to reuse or compost it, as it likely contains dormant eggs.
- Repot the plant into a clean container using fresh, high-quality, well-draining potting soil.
- Ensure your new pot has adequate drainage holes to prevent future moisture buildup.
When repotting, avoid using garden soil, as it is too dense and can harbor pests. Instead, opt for a sterile, peat-free indoor potting mix. Adding a thin layer of horticultural sand or decorative gravel to the top of the soil surface can also act as a physical barrier, making it difficult for adult gnats to lay new eggs in the future.
If you notice that your plant continues to decline despite these efforts, or if you suspect a more severe root issue such as fungal decay or root aphids, do not hesitate to seek professional help. Bring a sample of the plant or clear photos to a local garden center or a qualified horticulturist. They can provide a professional diagnostic assessment and recommend specific, safe treatments tailored to your plant’s species. Maintaining a consistent watering schedule and ensuring proper airflow around your plants remain your best long-term defenses against recurring pest problems.

Dedicated team of gardening enthusiasts with years of hands-on experience testing lawn mowers, gardening tools, and outdoor equipment. We help home gardeners and professionals alike make informed buying decisions with honest, thorough reviews. From push mowers to pruning shears, we test it all so you don’t have to. Got a gardening tool you’d like us to review? Get in touch!