
Learning how to care for a Norfolk Island Pine is essential for keeping these iconic, symmetrical houseplants healthy in your home. Despite their festive, pine-like appearance, these trees are not true pines and require specific indoor conditions to thrive. By understanding their unique environmental needs, you can enjoy their lush, evergreen beauty throughout the entire year.
While these trees are popular choices for holiday decor, they are actually tropical plants that demand consistent care. They are not as hardy as outdoor evergreens and can easily struggle if placed in the wrong spot or watered incorrectly. Setting realistic expectations about their humidity and light preferences is the first step toward long-term success.
This comprehensive guide provides all the practical advice you need to maintain a vibrant Norfolk Island Pine. We will break down the exact light, water, and humidity requirements necessary to prevent browning needles and stunted growth. Follow these expert tips to ensure your indoor tree remains a stunning, healthy focal point in your living space.

Light and Temperature Requirements
Norfolk Island Pines are native to subtropical regions, meaning they require specific environmental conditions to mimic their natural habitat. Providing the right balance of light and temperature is the most critical factor in preventing needle drop and ensuring your tree remains lush throughout the year.
These plants thrive in bright, indirect light. The ideal placement is near a window where the plant can receive plenty of ambient brightness without being exposed to the intense, magnifying rays of the afternoon sun. If your Norfolk Island Pine is placed in a spot with too little light, it will begin to stretch, lose its symmetrical shape, and shed its lower needles.
To maintain optimal health, follow these lighting and temperature guidelines:
- Avoid direct sun: Harsh, midday sunlight can quickly scorch the delicate needles, leaving behind unsightly brown patches. If your window receives direct sun, use a sheer curtain to diffuse the light.
- Rotate regularly: Because these trees lean toward the light, rotate the pot a quarter-turn every time you water to ensure even growth on all sides.
- Consistent warmth: Keep your plant in a room that stays between 65 and 75 degrees Fahrenheit. While they can tolerate slightly cooler temperatures, they struggle if the mercury drops consistently below 60 degrees.
- Protect from extremes: Avoid placing your tree near heating vents, radiators, or fireplaces. The dry, hot air will dehydrate the plant rapidly. Similarly, keep the tree away from drafty doorways or air conditioning units, as sudden temperature fluctuations can cause significant stress.
If you notice your plant leaning heavily or the needles turning a pale, yellow-green color, it is a clear indicator that the lighting conditions are insufficient. Conversely, crisp, brown, or brittle needles often suggest the plant is either too close to a heat source or is receiving too much direct, burning sunlight. Monitoring these physical cues will help you find the perfect “sweet spot” in your home for your Norfolk Island Pine to flourish.
Watering and Humidity Needs
Norfolk Island Pines are native to tropical environments, meaning they have specific moisture requirements that differ significantly from standard houseplants. Achieving the right balance is the key to preventing needle drop and keeping your tree vibrant throughout the year.
To determine when to water, check the top inch of soil with your finger. If it feels dry to the touch, it is time to hydrate the plant. When you water, ensure the moisture reaches the entire root ball, but never allow the tree to sit in standing water. Always use a pot with drainage holes; if water pools at the bottom, the roots will quickly succumb to rot.
Humidity is just as important as soil moisture. In a typical home environment, the air is often too dry, especially during winter months when heating systems are running. To replicate the humid conditions these trees crave, consider these practical methods:
- Misting: Use a spray bottle to mist the foliage with room-temperature water several times a week. This helps keep the needles supple and prevents browning.
- Pebble Trays: Place your pot on a tray filled with pebbles and a small amount of water. Ensure the bottom of the pot sits on the stones, not directly in the water, to increase the ambient humidity around the plant.
- Grouping: Place your Norfolk Island Pine near other houseplants. As plants transpire, they create a small microclimate of higher humidity that benefits the entire group.
If you notice the tips of the needles turning brown and crispy, it is a clear sign that the air is too dry. Conversely, if the needles turn yellow or drop off suddenly, you may be overwatering or providing poor drainage. By monitoring the soil texture and prioritizing consistent humidity, you can mimic the tropical conditions these trees need to thrive indoors for years to come.
Soil and Fertilization
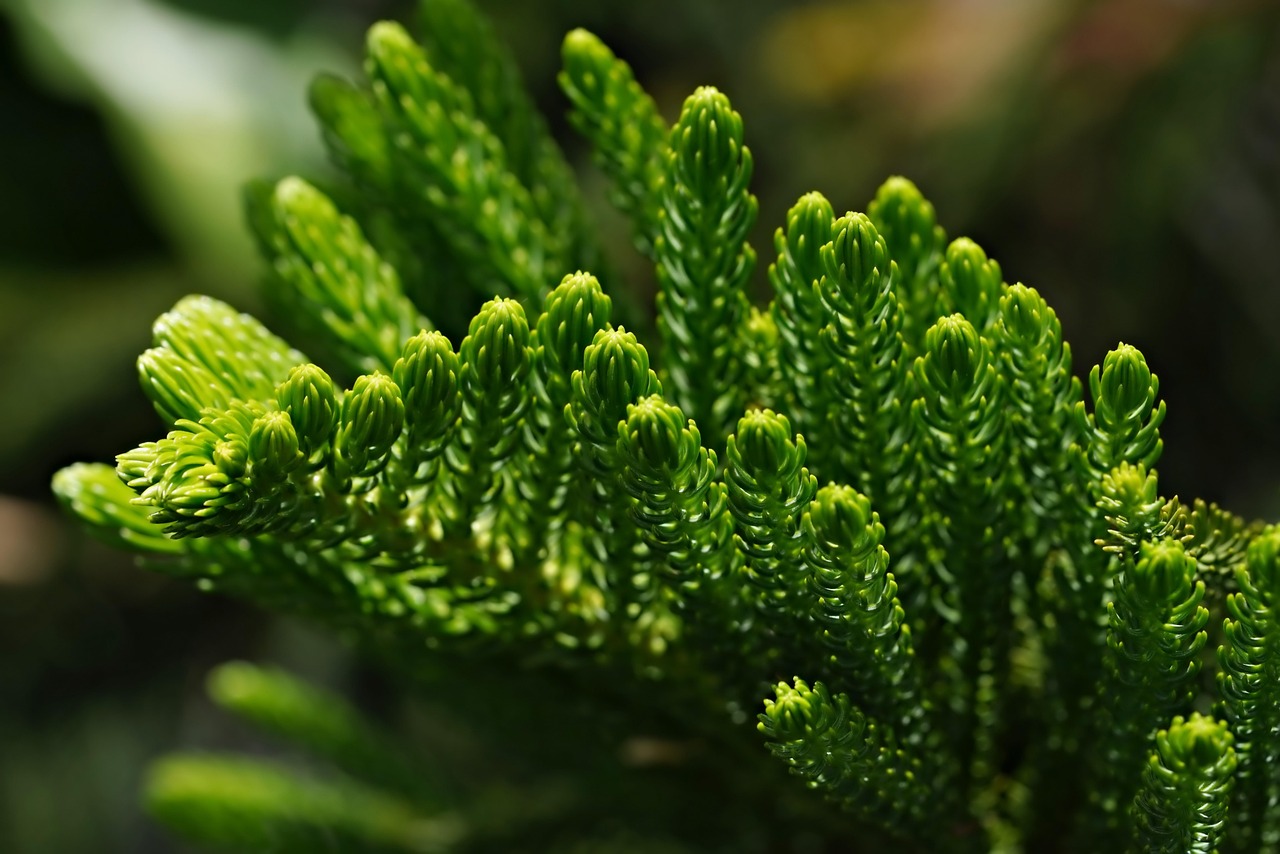
Norfolk Island Pines are native to subtropical regions, meaning they thrive in soil that mimics their natural environment. Because these plants are susceptible to root rot, the most critical factor in your potting choice is drainage. Always use a container with drainage holes and a high-quality, well-draining potting mix. A blend designed for indoor plants, amended with a little extra perlite or peat moss, works best to create the slightly acidic environment these trees prefer.
Proper nutrition is essential for maintaining the lush, symmetrical growth that makes Norfolk Island Pines such popular houseplants. During the active growing season—typically spring and summer—your plant will benefit from regular nourishment. Follow these guidelines to feed your tree safely:
- Use a balanced, water-soluble liquid fertilizer formulated for houseplants.
- Dilute the fertilizer to half the strength recommended on the product label to prevent nutrient burn.
- Apply this diluted mixture once every month throughout the growing season.
Consistency is key, but timing is equally important. As the days shorten and temperatures drop in the autumn, your Norfolk Island Pine will naturally slow its growth. By the time winter arrives, the plant enters a period of dormancy. During this phase, it is vital to stop fertilizing entirely. Continuing to feed a dormant plant can lead to a buildup of salts in the soil, which may damage the delicate root system.
When spring returns and you notice new, bright green growth emerging at the tips of the branches, you can resume your monthly feeding schedule. If you ever notice the needles yellowing or the tips turning brown despite proper watering, check your soil drainage first. If the soil remains soggy, the roots may be struggling to breathe. In such cases, hold off on fertilizer until the plant shows signs of recovery and the soil moisture levels have stabilized. By balancing soil acidity and seasonal feeding, you provide the foundation for a healthy, long-lived indoor tree.
Pruning and Maintenance Safety
Norfolk Island Pines are prized for their perfectly symmetrical, tiered growth habit. Because of this, they require very little maintenance. You should never attempt to prune the main central leader (the top growing point) of the tree. Removing this tip will permanently ruin the plant’s natural silhouette and prevent it from growing taller, as it cannot regenerate a new central leader.
While heavy pruning is unnecessary, you may need to perform light maintenance to keep your tree looking its best. Over time, it is normal for the lowest branches to turn yellow or brown as they age. These branches will not turn green again and can be safely removed to tidy the plant’s appearance.
Follow these steps to ensure you prune safely and effectively:
- Use the right tools: Always use clean, sharp gardening shears. Dull blades can crush the stems, leading to ragged wounds that invite disease and increase plant stress.
- Protect your skin: Although the foliage is soft in appearance, it can be slightly prickly to the touch. Wear gardening gloves to protect your hands from minor scratches while you work.
- Cut close to the trunk: When removing a dead or yellowing branch, make your cut flush with the main trunk. Avoid leaving unsightly stubs, which can become entry points for pests or rot.
- Disinfect your shears: Wipe your blades with rubbing alcohol before and after pruning. This simple step prevents the accidental spread of pathogens between your houseplants.
If you notice a significant portion of the tree turning yellow, it is often a sign of environmental stress rather than a need for pruning. Before reaching for your shears, evaluate the plant’s current conditions. Check that the soil is not waterlogged, ensure the tree is receiving adequate bright, indirect light, and confirm that it is not positioned near a cold draft or a heating vent. Addressing these underlying issues is far more effective for the long-term health of your Norfolk Island Pine than trimming away the symptoms.
Troubleshooting Common Issues
Even with the best intentions, Norfolk Island pines can occasionally show signs of stress. Observing your plant closely allows you to intervene before minor issues become major setbacks.
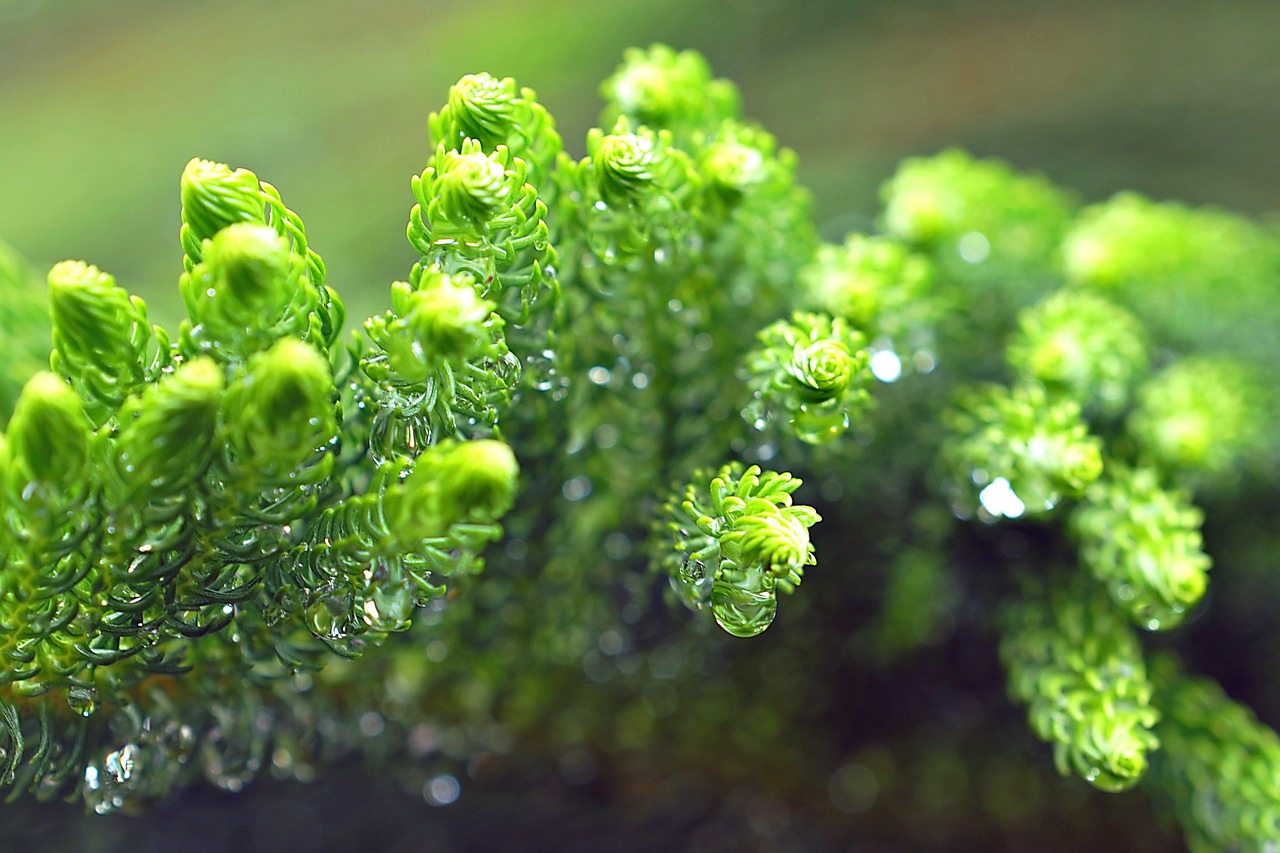
If you notice needles turning brown, crisping at the tips, or falling off prematurely, your plant is likely signaling an environmental imbalance. These trees are native to tropical climates and struggle in the dry air common in most homes. To remedy this, increase the ambient humidity by grouping the plant with others, using a pebble tray, or running a humidifier nearby. Simultaneously, check your watering schedule; ensure the soil remains consistently moist but never waterlogged, as dry or soggy roots are primary causes of needle drop.
If you notice your Norfolk Island pine beginning to lean or grow lopsided, it is simply reaching for the sun. To encourage symmetrical, upright growth, follow these steps:
- Rotate your pot a quarter-turn every time you water.
- Ensure the plant is placed in a spot with bright, indirect light.
- Avoid direct, harsh sunlight, which can scorch the delicate needles.
Pests can also occasionally inhabit your tree. If you spot white, cottony patches, you are likely dealing with mealybugs. You can often remove these by dabbing the affected areas with a cotton swab dipped in rubbing alcohol. Inspect the undersides of branches regularly, as pests prefer these hidden spots.
If your plant’s health continues to decline despite your best efforts to adjust lighting, humidity, and moisture levels, do not hesitate to seek help. Persistent issues may indicate an underlying fungal problem or a root-bound container that requires repotting. In these cases, take a clear photo of the plant and consult a local nursery professional. They can provide specialized advice tailored to your specific climate and the current condition of your tree, helping you nurse your Norfolk Island pine back to full health.

Dedicated team of gardening enthusiasts with years of hands-on experience testing lawn mowers, gardening tools, and outdoor equipment. We help home gardeners and professionals alike make informed buying decisions with honest, thorough reviews. From push mowers to pruning shears, we test it all so you don’t have to. Got a gardening tool you’d like us to review? Get in touch!