
You should sow allium seeds in late autumn or early winter to mimic their natural growth cycle. This timing allows the seeds to undergo a necessary period of cold stratification before they sprout in the spring. Growing these plants from seed is a rewarding way to add architectural beauty to your landscape.
Be aware that growing alliums from seed requires patience, as many varieties take several years to reach maturity and produce their iconic spherical blooms. While it is a slower process than planting bulbs, starting from seed is significantly more cost-effective and allows you to cultivate unique species that are rarely found in nurseries.
This guide explains the ideal timing and conditions for sowing allium seeds to ensure successful germination and healthy plant development. We will walk you through the essential steps, from preparing your seed trays to providing the right soil moisture, helping you nurture these striking perennials from tiny seeds into impressive garden focal points.

The Best Time to Sow Allium Seeds
Timing is the most critical factor when growing alliums from seed. Unlike many annual flowers that thrive in the warmth of spring, most allium species require a process known as cold stratification to break their natural dormancy. Without this exposure to chilling temperatures, the seeds may fail to germinate entirely.
The best time to sow allium seeds is in late autumn or early winter, typically between October and December. By planting during this window, you allow the seeds to experience natural seasonal temperature fluctuations. This mimics their native environment, signaling to the embryo that winter has passed and it is time to sprout once the soil begins to warm in the spring.
If you live in a region with mild winters or are starting seeds in containers, you can follow these practical steps to ensure success:
- Sow outdoors: Place your seeds in pots filled with a well-draining, gritty seed-starting mix. Cover them lightly with a thin layer of horticultural grit or sand.
- Expose to cold: Leave the containers in a sheltered, unheated area, such as a cold frame or against a north-facing wall, where they will be exposed to frost and rain.
- Monitor moisture: Ensure the compost remains barely moist throughout the winter. Avoid waterlogging, which can cause the seeds to rot before they have a chance to wake up.
- Spring transition: As temperatures rise in early spring, move the pots to a sunny position. Keep a close watch for the first signs of green shoots, which often resemble thin blades of grass.
Patience is essential. Some allium varieties are slow to germinate and may take several weeks to show growth. Resist the urge to bring them indoors prematurely, as the consistent warmth of a house can interfere with the stratification process. By working with the natural cycle of the seasons, you provide your alliums with the strongest possible start for a healthy, vibrant bloom.
Preparing Your Sowing Environment
Successfully germinating allium seeds begins with creating a sterile, supportive environment. Because alliums are prone to rot if kept in soggy conditions, selecting the right medium is critical. Choose a high-quality, lightweight seed-starting mix that contains perlite or vermiculite. These components improve aeration and drainage, ensuring the delicate roots can access oxygen while preventing water from pooling around the seeds.
Before you fill your containers, ensure they are thoroughly cleaned. If reusing pots or trays, scrub them with a mild soap solution and rinse well to eliminate lingering pathogens that could threaten your seedlings. Proper drainage holes are non-negotiable; if your containers lack them, drill or punch new holes in the bottom to allow excess moisture to escape freely.
Your safety is just as important as the health of your plants. When preparing your workstation, follow these practical safety guidelines:
- Wear protective gloves: Always use gardening gloves to shield your skin from soil-borne bacteria, fungi, and potential skin irritants found in potting media.
- Handle tools with care: When using garden snips, trowels, or labels, keep your fingers away from sharp edges. Always cut away from your body to prevent accidental lacerations.
- Maintain a clear workspace: Keep your area organized to avoid tripping or knocking over tools. If a tool becomes dull, sharpen it properly or replace it, as dull blades require more force and increase the risk of slipping.
By prioritizing a clean, well-draining environment and maintaining safe handling practices, you create the best possible foundation for your alliums. A structured approach at this stage reduces the risk of damping-off disease and ensures that your gardening experience remains both productive and injury-free. Once your containers are filled and your workspace is set, you will be ready to sow your seeds at the optimal depth for consistent, healthy germination.
Step-by-Step Sowing Instructions
Successful allium germination requires mimicking their natural cycle. By following these precise steps, you provide the conditions necessary for these bulbs to establish strong root systems before spring growth begins.
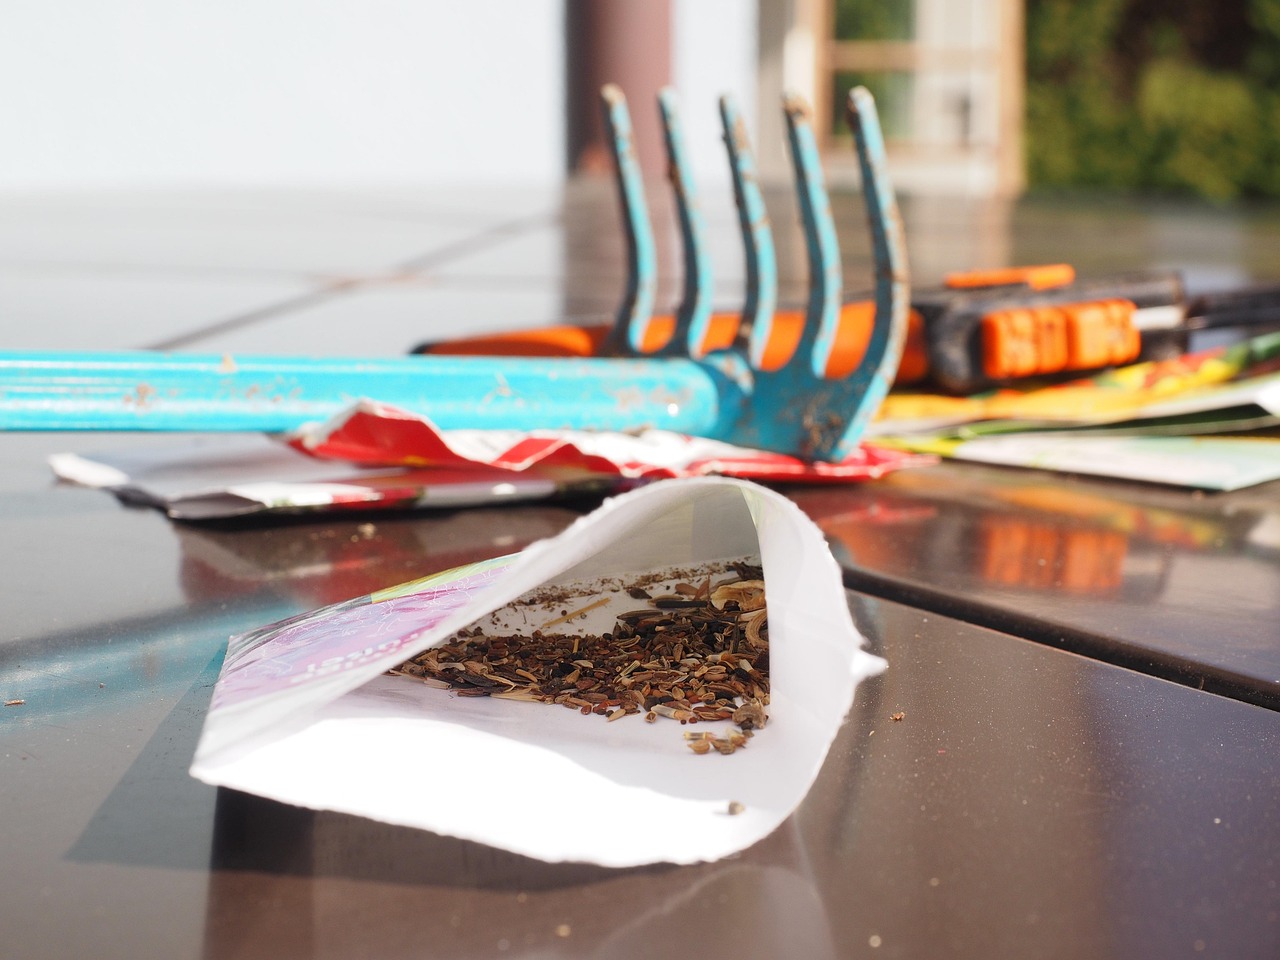
Start by filling small pots or seed trays with a high-quality, sterile seed-starting compost. Ensure the medium is moist but not waterlogged. Gently firm the surface to create a level base, then scatter your allium seeds thinly across the soil. Because many allium species require light to trigger germination, do not bury them deeply. Instead, lightly dust the seeds with a very thin layer of horticultural grit or vermiculite. This allows light to reach the seeds while maintaining essential humidity around them.
Once sown, follow these steps to ensure proper development:
- Label clearly: Always mark the container with the variety and the date of sowing to track progress.
- Provide cold stratification: Place your containers in a cold frame or a sheltered, unheated area outdoors. Allium seeds require a period of exposure to winter temperatures to break dormancy.
- Monitor moisture: Check the pots periodically throughout the winter. The compost should remain slightly damp; if it feels dry to the touch, mist it lightly with water.
- Maintain protection: If you are placing pots directly outdoors rather than in a cold frame, protect them from heavy rain or strong winds, which could wash away the fine grit or dislodge the seeds.
Avoid the temptation to move these containers indoors. Artificial warmth will disrupt the natural stratification process and often leads to poor or erratic germination. Keep the pots in their sheltered outdoor spot until you see the first signs of green shoots emerging in early spring. Once seedlings appear, ensure they receive plenty of natural light and keep the compost consistently moist as they begin to grow. This patience during the winter months is the secret to producing healthy, vigorous alliums that will reward you with spectacular blooms in the coming seasons.
Managing Germination and Seedling Growth
As spring temperatures climb, your allium seeds will begin to wake from their dormancy. Germination timing varies by species, but you should start inspecting your containers daily once the weather warms. Look for tiny, grass-like shoots pushing through the soil surface. This is a critical stage where consistent observation makes the difference between a thriving crop and failed efforts.
Once you spot the first signs of life, light becomes your most important tool. Allium seedlings require bright, indirect light to develop strong, sturdy stems. If you are growing them indoors or in a greenhouse, place them in a south-facing window or under supplemental grow lights for 12 to 14 hours a day. Without sufficient light, seedlings will become “leggy”—stretching thin and weak in a desperate search for energy—which often leads to them collapsing.
Water management is equally vital during these early weeks. While the soil must remain consistently moist to support delicate root systems, it must never be soggy. Excess water restricts oxygen flow to the roots and creates the perfect environment for “damping off,” a common fungal disease that can kill seedlings overnight.
Follow these best practices to ensure healthy growth:
- Check moisture daily: Touch the soil surface; if it feels dry to the fingertip, add a small amount of water.
- Improve drainage: Ensure your containers have adequate drainage holes to prevent standing water at the base.
- Increase airflow: If seedlings are in a humid environment, gentle air circulation helps prevent fungal issues.
- Handle with care: Allium stems are incredibly fragile. If you need to thin the seedlings or transplant them, hold them only by their leaves rather than the stem to avoid crushing the vascular tissue.
By balancing light exposure with careful, measured watering, you provide the stability these young plants need to transition from fragile sprouts into robust, garden-ready bulbs.

Follow-Up Care and Common Questions
Growing alliums from seed is a rewarding long-term project, but it requires a significant amount of patience. Unlike many annual flowers, most allium species do not bloom in their first year. In many cases, it can take two to four years for a bulb to reach a mature, flowering size. During this time, your focus should be on building a strong, healthy root system.
Consistency is the most important factor in your follow-up care routine. Keep your seedling beds or containers strictly weed-free, as young alliums do not compete well with vigorous weeds for nutrients, sunlight, or water. Hand-pulling weeds gently is best to avoid disturbing the delicate, developing bulbs beneath the soil surface.
Once your seedlings are well-established and putting on active growth, you can support their development with a light feeding program:
- Apply a balanced, water-soluble liquid fertilizer diluted to half-strength.
- Feed only during the active growing season, typically in early spring.
- Avoid over-fertilizing, as excess nitrogen can lead to weak, floppy foliage rather than robust bulb growth.
- Always water the soil thoroughly before and after applying liquid fertilizer to prevent root burn.
As the foliage begins to yellow and die back naturally in the summer, resist the urge to trim it prematurely. The leaves are busy photosynthesizing, sending vital energy down into the bulb for the following season. Wait until the foliage is completely withered and brown before gently removing it.
If you encounter persistent issues, such as stunted growth, yellowing leaves that appear out of season, or signs of pest infestations like onion maggots or aphids, do not panic. Alliums are generally hardy, but they can be sensitive to specific soil-borne pathogens. If you notice unusual symptoms that do not resolve with basic adjustments to water or light, contact your local university horticultural extension office. These professionals can provide region-specific guidance and diagnostic help to ensure your allium patch thrives for years to come.

Dedicated team of gardening enthusiasts with years of hands-on experience testing lawn mowers, gardening tools, and outdoor equipment. We help home gardeners and professionals alike make informed buying decisions with honest, thorough reviews. From push mowers to pruning shears, we test it all so you don’t have to. Got a gardening tool you’d like us to review? Get in touch!