
As an Amazon Associate, we earn from qualifying purchases. This means if you click on a link and buy a product, we may receive a small commission at no extra cost to you. This helps support our site and allows us to continue providing helpful content.
Hydrangeas are beloved for their stunning, voluminous blooms and ability to transform garden spaces. To best grow hydrangeas, you must provide them with rich, well-draining soil and a location that offers morning sun with protection from harsh afternoon heat. Following these specific environmental requirements is the secret to achieving those iconic, vibrant flower clusters.
While these shrubs are relatively resilient, they do require consistent attention to thrive in your landscape year after year. Understanding your specific variety is crucial, as different types have unique pruning needs and light preferences. Setting realistic expectations early on will help you avoid common mistakes that often lead to stunted growth or blooms.
This guide covers the essential steps for planting, watering, and maintaining healthy hydrangeas to ensure they flourish in your garden. We will walk you through soil preparation, proper hydration techniques, and seasonal care tips that encourage robust development. Read on to master the practical skills needed to cultivate a breathtaking, long-lasting hydrangea display.
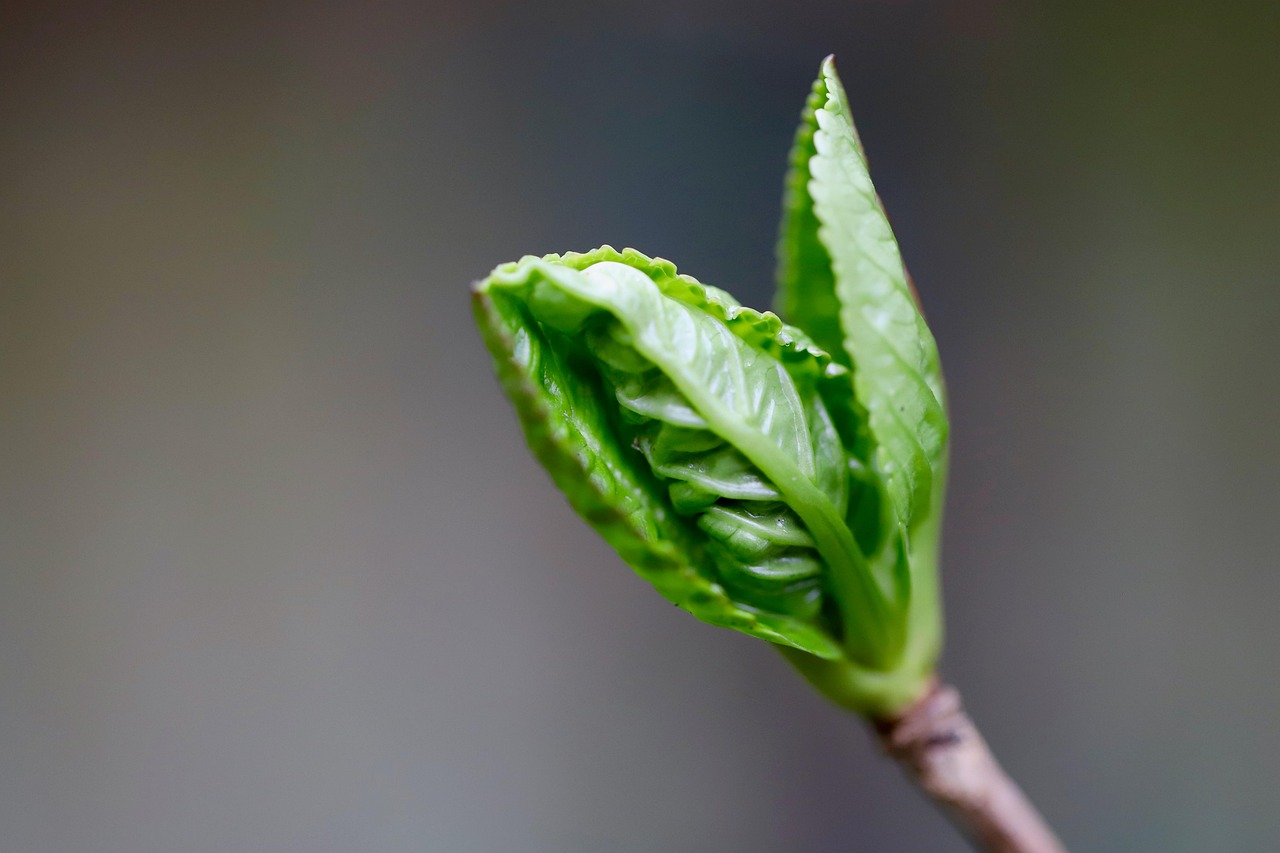
Choosing the Right Location and Soil
Success with hydrangeas begins long before you dig the first hole. Choosing the right location is the single most important factor in ensuring your plants thrive rather than just survive. While specific needs can vary by variety, most hydrangeas perform best when they receive morning sun followed by filtered afternoon shade. In cooler northern climates, they may tolerate more direct sun, but in warmer regions, protection from the intense afternoon heat is essential to prevent wilting and scorched foliage.
Once you have identified a suitable spot, focus your attention on the soil. Hydrangeas are thirsty plants, but they are also highly susceptible to root rot if left in standing water. They require soil that is rich in organic matter and offers excellent drainage.
To prepare your planting site for long-term health, follow these practical steps:
- Test your drainage: Dig a hole 12 inches deep and fill it with water. If it takes more than a few hours to drain completely, choose a different location or amend the soil with organic material to improve aeration.
- Incorporate organic matter: Mix three to four inches of high-quality compost or aged manure into the top eight inches of your soil. This improves nutrient density and helps the soil retain the right amount of moisture.
- Check the pH: Soil acidity significantly influences flower color in bigleaf hydrangeas (Hydrangea macrophylla). Acidic soil (pH below 6.0) typically produces blue blooms, while neutral to alkaline soil (pH above 7.0) encourages pink flowers.
Avoid planting your hydrangeas directly under large trees, as the tree roots will aggressively compete for both water and nutrients. If you are dealing with heavy clay soil, consider planting in raised beds to ensure the roots remain well-oxygenated. By taking the time to select a site with the right balance of light and soil structure, you provide your hydrangeas with the stable foundation they need to produce vibrant, reliable blooms year after year.
Planting Your Hydrangeas Correctly
Timing is critical when establishing hydrangeas in your landscape. The best time to plant is during the mild temperatures of spring or early autumn. Planting during these windows allows the root system to establish itself before the intense heat of summer or the freezing temperatures of winter arrive.
Before you begin, choose a location that receives morning sun and afternoon shade, as most hydrangeas thrive in these conditions. Once you have selected the perfect spot, follow these steps to ensure your plant gets the best possible start:
- Dig the hole: Excavate a hole that is twice as wide as the current root ball but no deeper than the container the plant came in. Planting too deep can cause the crown to rot.
- Position the plant: Gently remove the hydrangea from its pot and loosen any circling roots. Place it in the center of the hole, ensuring the top of the root ball is level with the surrounding soil surface.
- Backfill: Fill the hole with a mixture of your native soil and a bit of organic compost. As you fill, gently firm the soil with your hands to provide stability.
- Eliminate air pockets: Water the area thoroughly immediately after planting. This settles the soil around the roots and removes hidden air pockets that could dry out the plant.
After planting, apply a two-to-three-inch layer of organic mulch, such as shredded bark or pine needles, around the base of the shrub. Keep the mulch a few inches away from the main stem to prevent moisture-related issues. This layer is essential for regulating soil temperature and retaining consistent moisture, which is vital for new hydrangeas.
Monitor your new hydrangea closely during its first growing season. While established plants are relatively resilient, young hydrangeas require consistent watering. Check the soil moisture frequently; if the top inch feels dry to the touch, provide a deep soaking. With proper initial placement and care, your hydrangea will be well-positioned to reward you with lush foliage and vibrant blooms for years to come.

Watering and Fertilization Basics
Hydrangeas are notoriously thirsty plants, and their name—derived from the Greek words for “water vessel”—is a direct hint at their primary requirement. To keep your hydrangeas thriving, you must maintain consistently moist soil. However, there is a fine line between hydration and saturation. Aim to keep the ground damp to the touch, but never soggy, as waterlogged roots can quickly lead to rot.
When watering, technique is just as important as volume. Always direct your hose or watering can toward the base of the plant. Avoid spraying the foliage or the blooms directly. Wet leaves can create a humid microclimate that encourages fungal diseases like powdery mildew, which can ruin your plant’s aesthetic and health.
To ensure your hydrangeas have the energy to produce those iconic, lush blooms, a thoughtful fertilization schedule is essential. You do not need to overfeed these plants; instead, focus on steady, sustainable nourishment.
Follow these guidelines for effective feeding:
- Timing: Apply fertilizer once in early spring, just as new growth begins to emerge. A second, lighter application can be made in late June if your soil is particularly sandy or poor in nutrients.
- Product Choice: Use a balanced, slow-release granular fertilizer (such as a 10-10-10 formula). Slow-release options are safer because they feed the plant gradually, preventing the “burn” that can occur with high-concentration, fast-acting synthetic products.
- Application: Sprinkle the granules evenly around the base of the plant, extending out to the drip line—the area directly beneath the outer circumference of the branches.
- Watering In: Always water the area thoroughly after applying fertilizer to help the nutrients penetrate the soil and reach the root zone.
By keeping the soil consistently hydrated and providing a gentle boost of nutrients at the start of the season, you provide the foundation your hydrangeas need to grow vigorously and bloom reliably year after year.
Safe Pruning Techniques and Tool Care
Pruning is essential for maintaining the health and vigor of your hydrangeas, but timing is everything. Because different varieties set buds on either old or new wood, cutting at the wrong time can eliminate next year’s blooms. Generally, mopheads and lacecaps (old wood bloomers) should be pruned immediately after flowering, while panicle and smooth hydrangeas (new wood bloomers) are best pruned in late winter or early spring before new growth begins.
Regardless of the variety, the quality of your cuts matters. Always use sharp, high-quality bypass pruners. Unlike anvil pruners, which can crush delicate stems, bypass blades act like scissors to create clean, precise cuts. These clean wounds heal faster, significantly reducing the risk of fungal infections or pest infestations entering the plant.
To ensure a safe and effective pruning session, follow these best practices:
- Protect your hands: Always wear durable gardening gloves. Hydrangea stems can be woody and sharp, and gloves prevent scratches and blisters while providing a better grip.
- Sanitize your equipment: Disease can easily travel between plants on dirty blades. Wipe your pruners thoroughly with rubbing alcohol or a 10% bleach solution after each use, especially if you suspect any part of the plant is diseased.
- Maintain tool sharpness: Dull blades tear plant tissue rather than slicing through it. Sharpen your pruners at the start of each season to ensure effortless, clean cuts.
- Prioritize safety: Sharp tools are hazardous. When you are finished pruning, wipe the blades dry to prevent rust and store them immediately in a secure location, such as a locked shed or high shelf, well out of reach of children and pets.
By keeping your tools clean and sharp, you protect both the longevity of your gardening equipment and the health of your hydrangeas. Proper maintenance ensures that your shrubs remain productive, aesthetically pleasing, and free from preventable diseases year after year.

Troubleshooting and Ongoing Care
Hydrangeas are generally resilient, but they occasionally require troubleshooting to reach their full flowering potential. If your shrubs fail to bloom, the culprit is often improper pruning. Many popular varieties, such as bigleaf hydrangeas, set their flower buds on “old wood” from the previous season. If you prune these in late winter or early spring, you inadvertently remove the buds before they can open. Always research your specific cultivar to determine if it blooms on old or new wood before reaching for your shears.
Environmental factors also play a significant role in plant health. During intense summer heatwaves, hydrangeas frequently wilt even if the soil is moist, as their large leaves lose water faster than the roots can absorb it. If wilting persists into the evening, increase your watering frequency. Applying a two-to-three-inch layer of organic mulch, such as shredded bark or pine needles, around the base of the plant helps retain soil moisture and stabilizes root temperatures.
If you live in a region with harsh winters, protect your plants to ensure the buds survive until spring. You can gently wrap the shrubs in burlap or surround them with a cage filled with straw to prevent frost damage to the dormant buds.
When monitoring your plants, keep an eye out for these common warning signs:
- Leaf spots: Often caused by fungal issues due to overhead watering. Aim your hose at the base of the plant to keep foliage dry.
- Pests: Aphids or spider mites may appear during dry spells. A steady stream of water or insecticidal soap is usually sufficient for minor infestations.
- Yellowing leaves: This can indicate nutrient deficiencies or poor drainage. Check soil pH, as hydrangeas prefer slightly acidic conditions to absorb nutrients effectively.
If you notice persistent issues, unusual spots, or stunted growth that does not resolve with basic care, consult your local cooperative extension office. They provide expert, region-specific diagnostic help and can guide you through safe treatment options tailored to your local environment.

Dedicated team of gardening enthusiasts with years of hands-on experience testing lawn mowers, gardening tools, and outdoor equipment. We help home gardeners and professionals alike make informed buying decisions with honest, thorough reviews. From push mowers to pruning shears, we test it all so you don’t have to. Got a gardening tool you’d like us to review? Get in touch!
Keep Reading
How to Care for a Ficus Lyrata: A Practical Guide for Healthy Fiddle Leaf Figs
How to Care for Ficus Elastica: A Practical Guide for Healthy Rubber Plants
How to Care for a Ficus Bonsai: A Beginner Guide
How to Care for a Ficus Plant: A Simple Guide for Thriving Indoor Trees
How to Care for Echeveria: A Simple Guide for Healthy Succulents
How to Care for a Dracaena Marginata: The Complete Guide
How to Care for Dieffenbachia: A Complete Guide to Healthy Dumb Cane Plants
How to Care for a Chinese Money Plant: A Complete Guide
How to Care for Chinese Evergreen: A Complete Guide for Thriving Aglaonema
How to Care for a Calathea Plant: A Complete Guide for Thriving Prayer Plants
How to Care for a Calathea: A Practical Guide for Thriving Plants
How to Care for Cacti and Succulents: A Practical Guide for Beginners
How to Care for a Basil Plant Indoors: A Complete Growing Guide
How to Care for an Indoor Bamboo Plant: A Simple Guide
How to Care for a Lucky Bamboo Plant at Home
How to Care for an Areca Palm Indoors: A Complete Guide
How to Care for a Snake Plant: A Complete Guide for Beginners
How to Care for a Money Plant: A Simple Guide for Thriving Indoor Greenery
How to Buy Neem Oil for Your Garden: A Buyer Guide
How to Build Your Own Small Greenhouse for Year-Round Gardening