
As an Amazon Associate, we earn from qualifying purchases. This means if you click on a link and buy a product, we may receive a small commission at no extra cost to you. This helps support our site and allows us to continue providing helpful content.
To grow hydrangeas successfully, you must provide them with partial shade and consistent moisture in well-draining, nutrient-rich soil. These popular shrubs thrive when planted in early spring or autumn, allowing their root systems to establish before extreme temperatures arrive. By selecting the right variety for your climate, you can enjoy stunning, voluminous blooms every single season.
Hydrangeas are beloved for their lush, voluminous blooms, but they can be intimidating for new gardeners who worry about pruning or color changes. While these plants are relatively hardy, they do require specific environmental conditions to reach their full potential. Understanding your local soil pH and sunlight patterns is the most important context for long-term success.
This guide breaks down the essential steps to successfully planting and maintaining healthy hydrangeas, ensuring your garden benefits from their vibrant color and reliable seasonal displays. We will explore practical techniques for watering, fertilizing, and seasonal pruning to keep your plants vigorous. Follow these expert tips to transform your outdoor space into a thriving, hydrangea-filled sanctuary this year.
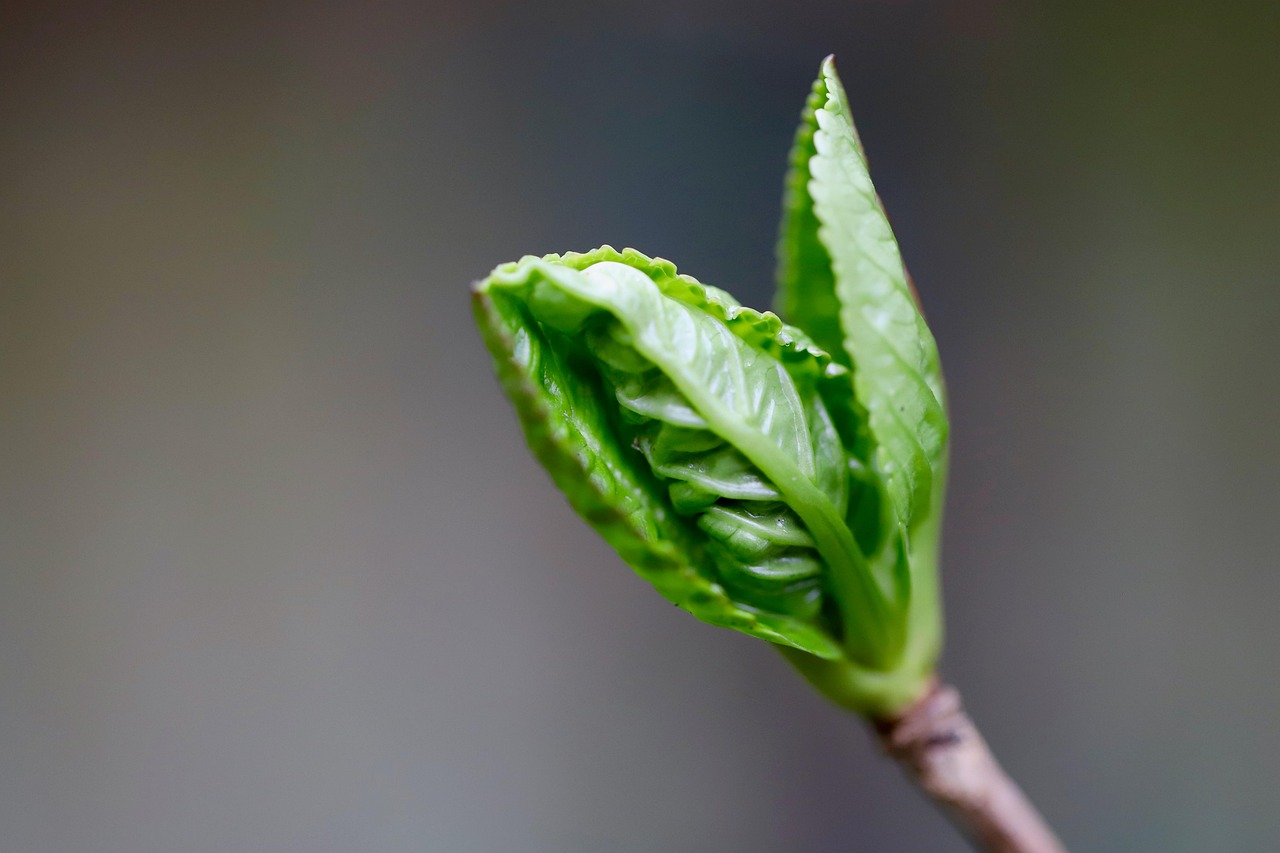
Selecting the Right Spot for Your Hydrangeas
Choosing the ideal location is the most critical step in ensuring your hydrangeas thrive. While specific varieties have unique needs, most hydrangeas perform best in a site that receives gentle morning sunlight followed by cooling afternoon shade. Intense, direct midday sun can quickly scorch leaves and cause blooms to wilt prematurely.
Before planting, observe how light moves across your garden throughout the day. If you live in a region with particularly hot summers, prioritize a spot that stays shaded from noon until evening. Conversely, in cooler northern climates, your plants may tolerate more direct sun to encourage robust flowering.
Beyond light, soil quality and protection are essential for long-term health. Follow these guidelines to prepare the perfect site:
- Prioritize Drainage: Hydrangeas require moist, well-draining soil. Avoid low-lying areas of your yard where water tends to pool, as “wet feet” can lead to root rot.
- Enrich the Earth: These shrubs are heavy feeders. Amend your native soil with generous amounts of organic matter, such as compost or aged manure, to improve nutrient content and moisture retention.
- Provide Shelter: Position your hydrangeas in a location protected from harsh, drying winds. Strong gusts can damage delicate petals and dehydrate the foliage rapidly.
- Allow Space: Check the mature size of your specific variety before digging. Planting too close to foundations or other shrubs can restrict airflow, increasing the risk of fungal issues like powdery mildew.
Finally, consider the proximity to your water source. Because hydrangeas are thirstier than many other landscape shrubs, choosing a spot that is easy to reach with a hose or irrigation system will make routine care much more manageable. If you are planting near a building, ensure the site is far enough away to avoid the “rain shadow” created by roof overhangs, which can prevent natural rainfall from reaching the root zone. By balancing light, drainage, and protection, you create a stable environment that allows your hydrangeas to grow strong and bloom reliably year after year.
Planting Techniques for Long-Term Success
The secret to thriving hydrangeas begins with timing. Aim to plant your hydrangeas in early spring or fall when temperatures are mild. These cool, moderate periods allow the root system to establish itself before the stress of intense summer heat or winter frost sets in.
When you are ready to plant, follow these steps to ensure structural stability and nutrient access:
- Prepare the site: Dig a hole that is exactly as deep as the root ball but twice as wide. This loose soil allows roots to spread outward easily.
- Positioning: Place the plant in the center of the hole. Ensure the top of the root ball is level with the surrounding soil surface. Planting too deep can cause stem rot, while planting too shallow may lead to drying out.
- Backfilling: Fill the remaining space with a mixture of native soil and high-quality organic compost. This combination provides essential nutrients while improving soil drainage.
- Hydration: Water the area thoroughly immediately after planting. This settles the soil around the roots and eliminates air pockets that could cause the roots to desiccate.
Safety is a critical component of successful gardening. Always wear sturdy, clean gardening gloves throughout the process. High-quality gloves serve two vital purposes: they protect your skin from potential irritation caused by soil-borne pathogens and prevent minor abrasions from rocks or debris hidden in the earth. If you are handling older, woodier hydrangea varieties, gloves also provide a necessary barrier against stiff stems or thorns.
After planting, apply a two-inch layer of organic mulch, such as shredded bark or pine needles, around the base of the shrub. Keep the mulch a few inches away from the main stem to prevent moisture buildup against the bark. This layer acts as an insulator, maintaining consistent soil moisture levels and suppressing competitive weeds, creating an ideal environment for your hydrangeas to mature into healthy, long-lasting garden features.

Watering and Fertilization Best Practices
Hydrangeas are notoriously thirsty plants that thrive when their moisture needs are met consistently. Their large, lush leaves lose water quickly, especially during hot summer afternoons. To keep your hydrangeas healthy, aim to keep the soil consistently moist but never waterlogged. Poor drainage can lead to root rot, which is often fatal.
The best way to manage hydration is to water deeply at the base of the plant rather than overhead. Watering the foliage can encourage fungal diseases like powdery mildew. If you notice the leaves drooping slightly during the heat of the day, check the soil moisture. If the top inch of soil feels dry, it is time to provide a deep soaking.
Feeding your hydrangeas correctly is just as important as watering. A well-nourished plant will produce more vibrant blooms and stronger stems. Follow these guidelines for effective fertilization:
- Timing: Apply a balanced, slow-release fertilizer (such as a 10-10-10 formula) in early spring, just as the buds begin to swell but before significant new growth appears.
- Application: Spread the fertilizer evenly around the drip line of the shrub—the area directly beneath the outer circumference of the branches—to ensure the roots absorb the nutrients efficiently.
- Avoid Late Feeding: Do not apply high-nitrogen fertilizers after mid-summer. Late-season fertilization forces a flush of soft, tender growth that will not have time to harden off before the first frost. This weak growth is highly susceptible to winter damage and can compromise the plant’s health for the following year.
If you live in an area with sandy soil, you may need to water more frequently, as moisture drains away quickly. Conversely, if your soil is heavy clay, ensure you have amended it with organic matter to improve drainage. When in doubt, perform a simple finger test; if the soil feels like a wrung-out sponge, your hydrangea has the perfect amount of hydration to support its growth cycle.
Pruning Safely and Effectively
Pruning hydrangeas is essential for maintaining plant health and encouraging vibrant blooms, but timing is everything. The most critical step is identifying whether your specific variety blooms on “old wood” or “new wood.”
If you prune at the wrong time, you risk cutting off next year’s flower buds. Understanding your hydrangea’s growth cycle prevents this common mistake:
- Old Wood Varieties: These hydrangeas (such as Bigleaf, Oakleaf, and Mountain hydrangeas) set their buds in late summer or fall on growth from the previous season. Prune these immediately after they finish flowering in mid-summer. Avoid winter or early spring pruning, as you will remove the developing buds.
- New Wood Varieties: These types (such as Panicle and Smooth hydrangeas) produce flowers on the current season’s growth. It is best to prune these in late winter or very early spring before new growth begins.
When you are ready to prune, always use sharp, sterilized bypass pruners. Bypass pruners act like scissors, providing a clean, precise cut that heals quickly. Avoid using anvil-style pruners, which can crush stems and invite disease. Sterilize your blades with rubbing alcohol between plants to prevent the spread of pathogens.
Safety should be your top priority in the garden. Shrubs often have dense, stiff branches that can snap back unexpectedly. Always wear safety glasses to protect your eyes from stray twigs or debris. When making cuts, maintain a firm grip on the branch you are removing and ensure your fingers remain well clear of the blade’s path at all times. Never reach blindly into the center of a dense shrub; instead, clear away outer branches first to gain a better view of the plant’s structure.
By following these guidelines, you ensure your hydrangea remains healthy, well-shaped, and ready to produce a spectacular display of flowers during the next growing season.

Keep Reading
How to Care for a Lime Tree in a Pot: A Practical Guide
How to Care for Lilacs Indoors: A Practical Guide
How to Care for an Indoor Lemon Tree for Healthy Growth
How to Care for a Lemon Plant in a Pot: A Practical Guide
How to Care for Lemon Balm Indoors: A Practical Guide
How to Care for a Lavender Tree Indoors: A Practical Guide
How to Care for a Lavender Tree in a Pot
How to Care for Lavender Indoors: A Practical Guide for Success
How to Care for Lavender in a Pot for Thriving Potted Plants
How to Care for a Large Peace Lily: A Complete Guide
How to Care for a Large Fiddle Leaf Fig: A Practical Guide for Indoor Success
How to Care for Kalanchoe Succulents: A Complete Guide
How to Care for Kalanchoe Plants Indoors: A Complete Guide
How to Care for Kalanchoe Indoors: A Simple Guide for Thriving Plants
How to Care for Kalanchoe Blossfeldiana: A Complete Guide
How to Care for a Juniper Bonsai Tree Indoors: A Practical Guide
How to Care for a Juniper Bonsai Indoors: A Practical Guide
How to Care for Jasmine Indoors: A Practical Guide for Fragrant Blooms
How to Care for a Japanese Peace Lily: A Complete Guide
How to Care for a Japanese Money Plant: A Simple Growing Guide
Common Questions and Ongoing Maintenance
One of the most frequent frustrations for gardeners is a hydrangea that refuses to bloom. This is often caused by improper pruning. If you prune your shrubs in late summer, fall, or early winter, you may be cutting off the buds for the following year. Always research your specific variety; bigleaf hydrangeas (Hydrangea macrophylla) bloom on old wood, while panicle hydrangeas bloom on new growth. Late spring frosts can also damage developing buds, leading to a season of foliage without flowers.
If you are looking to change the color of your blooms, soil pH is the key. This only applies to bigleaf varieties. The availability of aluminum in the soil dictates whether your flowers turn pink or blue:
- For Blue Blooms: Increase soil acidity by adding aluminum sulfate or organic matter like pine needles or peat moss.
- For Pink Blooms: Increase alkalinity by adding garden lime.
Keep in mind that white hydrangeas are generally not affected by pH and will remain white regardless of soil adjustments.
Ongoing maintenance is essential for vibrant, healthy plants. Consistent monitoring throughout the growing season allows you to catch issues before they spread. If you notice persistent yellowing leaves (chlorosis), it often indicates a nutrient deficiency or poor drainage. If you spot powdery mildew or other fungal spots, remove the affected foliage immediately to improve airflow.
While general care tips are helpful, environmental factors can vary significantly by region. If you encounter persistent problems that do not respond to basic adjustments, do not hesitate to reach out for professional help. Your local university extension office or a certified master gardener can provide specific diagnostic assistance based on your local soil composition and climate. They are an invaluable resource for identifying pests or diseases that may be unique to your immediate area. By staying observant and proactive, you can ensure your hydrangeas remain a healthy, stunning focal point in your landscape for years to come.

Dedicated team of gardening enthusiasts with years of hands-on experience testing lawn mowers, gardening tools, and outdoor equipment. We help home gardeners and professionals alike make informed buying decisions with honest, thorough reviews. From push mowers to pruning shears, we test it all so you don’t have to. Got a gardening tool you’d like us to review? Get in touch!