
You should plant crocus bulbs in the autumn, specifically between September and November, before the ground freezes. This timing allows the bulbs to establish strong roots during the cooler months, ensuring they emerge as vibrant signs of spring. Getting this window right is essential for a successful, colorful display after the winter thaw.
While crocuses are famously hardy, they still require specific conditions to thrive throughout the year. Remember that these small bulbs need well-draining soil to prevent rot, especially during wet winters. Managing your expectations is important, as these plants perform best when given a period of cold dormancy before their early spring debut.
This guide explains the ideal planting window, soil requirements, and essential safety tips to ensure your garden blooms beautifully. We will walk you through the proper planting depth and spacing techniques needed for healthy growth. By following these practical steps, you can create a reliable, recurring floral landscape that brightens your garden every single season.
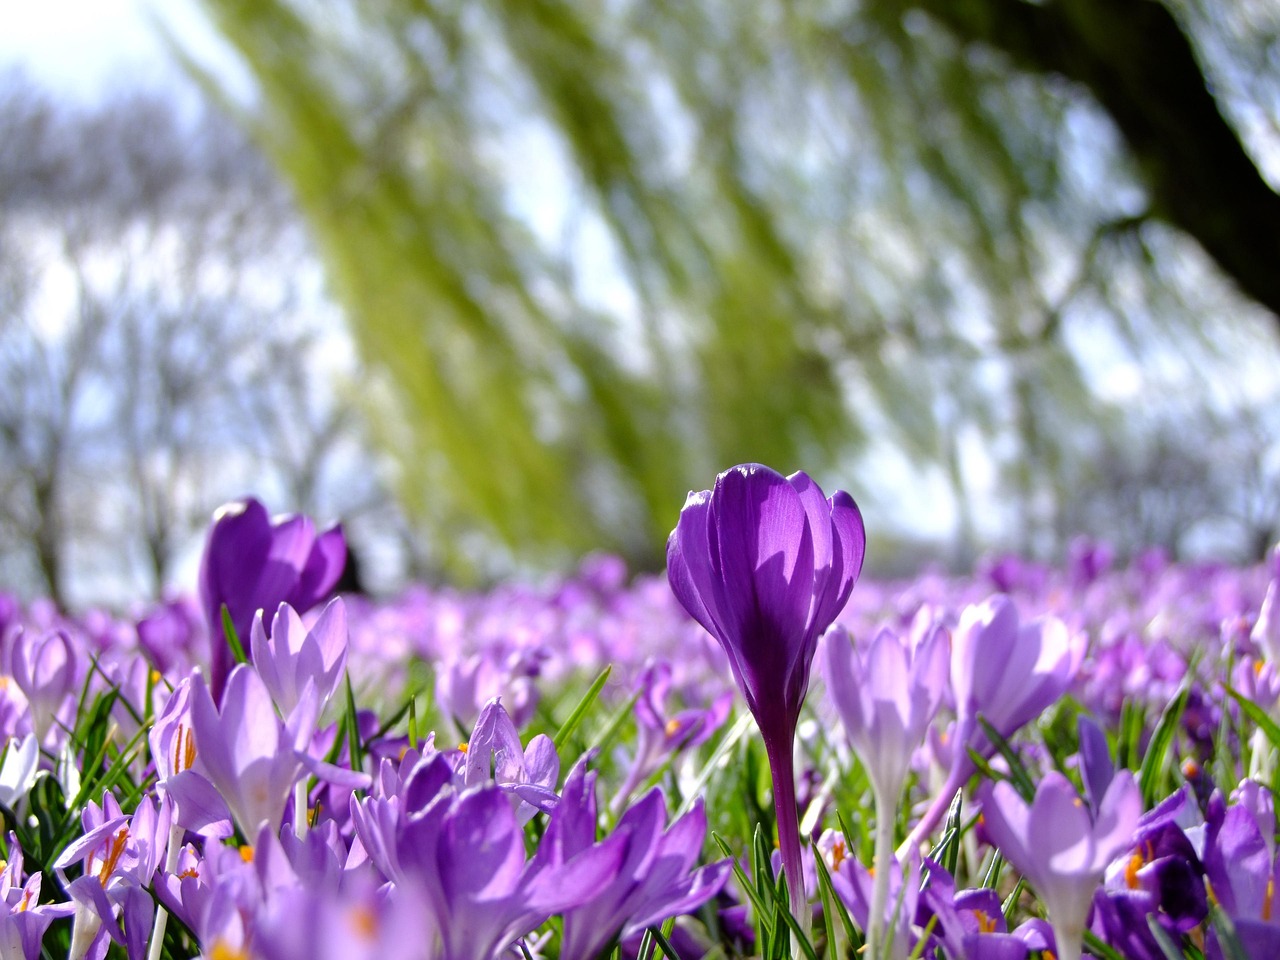
The Ideal Planting Window for Crocus Bulbs
To ensure a vibrant display of color when spring arrives, timing is everything. Crocuses are hardy bulbs that require a specific period of cold dormancy to trigger their blooming cycle. If you plant them too early, they may sprout prematurely in the warmth; plant them too late, and they will struggle to establish roots before winter sets in.
The ideal window for planting crocus bulbs is during the autumn, typically between September and November. For the best results, aim to get your bulbs into the ground at least six weeks before the first hard frost of the season. This timeframe allows the bulbs to settle into the soil and develop a robust root system before the ground freezes solid.
Follow these practical steps to determine the perfect moment for your region:
- Monitor local temperatures: Aim for a time when soil temperatures have cooled down, ideally dropping below 60°F (15°C).
- Check your frost date: Look up the average first frost date for your specific zip code and count back six weeks to establish your deadline.
- Assess soil workability: Ensure the ground is not yet hardened by frost, as you need to be able to dig down 3 to 4 inches comfortably.
If you live in a region with very mild winters, you may need to “pre-chill” your bulbs in the refrigerator for several weeks before planting to simulate the necessary cold dormancy. Conversely, in colder climates, prioritize planting earlier in the autumn window to ensure the bulbs are firmly established before the soil becomes unworkable.
By respecting this natural cycle, you provide your crocuses with the energy they need to emerge strong and healthy as soon as the snow begins to melt. Proper timing is the most effective way to guarantee that your garden will be one of the first to welcome the new season with bright, reliable blooms.
Selecting the Right Location and Soil Conditions
Selecting the ideal location is the most important step to ensure your crocus bulbs survive the winter and bloom vigorously in early spring. These resilient flowers perform best when they receive full sun to partial shade. If you are planting in a climate with very hot springs, choose a spot that offers some afternoon shade to extend the life of the blossoms.
Drainage is the single most critical factor for bulb health. Crocus bulbs are highly susceptible to rot if they sit in standing water. When scouting your garden, look for areas that dry out quickly after a rainstorm. Avoid low-lying spots or heavy depressions where water tends to pool, as these will almost certainly lead to bulb decay.
Before you dig, assess your soil texture. Crocus bulbs prefer loose, friable soil that allows roots to penetrate easily. If your garden consists of heavy clay, you must improve the structure before planting. Adding organic matter is the most effective way to achieve this.
Follow these steps to prepare your soil for optimal drainage and nutrition:
- Test your soil drainage by digging a small hole and filling it with water; if it takes more than an hour to drain, you need to amend the area.
- Mix in 2 to 3 inches of high-quality compost, aged manure, or leaf mold into the top 8 inches of soil.
- If your soil is extremely dense, incorporate a small amount of horticultural grit or coarse sand to further improve aeration.
By providing a well-draining environment, you ensure that the bulbs remain healthy during their dormant winter phase. Proper site selection not only prevents rot but also creates a nutrient-rich foundation that fuels the rapid growth required for early spring flowering. Once you have amended the soil and confirmed the site drains well, you are ready to plant your bulbs at the appropriate depth, typically three times the height of the bulb, to protect them from temperature fluctuations and pests.

Tools and Safety Guidelines for Planting
Successful crocus planting begins with the right equipment. Using the proper tools not only makes the job easier but also ensures you place your bulbs at the correct depth for optimal spring growth.
For small-scale planting or container gardening, a sturdy hand trowel is essential. If you are planting a large drift of crocus bulbs in a lawn or flower bed, consider using a dedicated bulb planter. This tool allows you to remove a precise plug of soil, making it easier to maintain consistent spacing and depth across your garden.
Safety should always be your priority when working in the soil. Follow these guidelines to protect yourself while preparing your garden:
- Wear gardening gloves: Always use durable gloves to shield your hands from blisters, sharp rocks, hidden debris, and potential soil-borne irritants.
- Use power tools with caution: If you are planting hundreds of bulbs and opt to use a power auger, always wear safety goggles to protect your eyes from flying dirt and debris. Keep your hands well clear of the rotating bit at all times.
- Maintain your equipment: Keep your trowel and bulb planter clean and dry to prevent rust.
- Secure your workspace: Never leave sharp tools lying on the grass or soil where they could be stepped on or hidden by mulch. Always store them in a shed, garage, or secure tool rack immediately after you finish your work.
Before you begin digging, ensure the ground is workable and not frozen solid. If the soil is too compacted or rocky, do not force your tools, as this can lead to hand strain or damage to your equipment. Instead, moisten the soil slightly or use a soil fork to loosen the area first. By keeping your tools in good condition and prioritizing your personal safety, you create a more efficient planting process that allows you to focus on the rewarding task of establishing your spring-blooming display.
Step-by-Step Planting Instructions
Successfully planting crocus bulbs requires precision to ensure they establish strong roots before the ground freezes. Follow these steps to give your spring-blooming bulbs the best start.
First, prepare your planting area by loosening the soil to a depth of about 6 inches. Remove any weeds or large rocks that might obstruct root growth. Crocuses thrive in well-draining soil, so if your garden area tends to hold water, mix in some organic compost to improve drainage.
When placing the bulbs, follow these specific guidelines for optimal growth:
- Orientation: Always place bulbs with the pointed end facing upward. If you are unsure, plant them on their side; the sprout will naturally find its way to the surface.
- Depth: Bury the bulbs 3 to 4 inches deep. Planting too shallow can expose them to frost damage, while planting too deep may delay blooming.
- Spacing: Space bulbs approximately 3 inches apart. This allows enough room for the plants to multiply over the coming years.
For a naturalized, meadow-like appearance, avoid planting in rigid, straight rows. Instead, scatter your bulbs randomly across the planting area and bury them exactly where they land. This irregular clustering mimics how crocuses grow in the wild, creating a more visually appealing and organic display when they bloom.
Once the bulbs are in position, cover them with the excavated soil. Use your hands or a garden rake to press down firmly on the surface. This step is crucial, as it eliminates large air pockets around the bulb that could cause it to dry out or rot.
Finally, water the area thoroughly immediately after planting. A deep watering helps settle the soil around the bulbs and signals the start of the root-development phase. If you are planting in a dry autumn, keep the soil lightly moist until the first hard frost arrives. By following these steps, you ensure your garden is well-prepared for a vibrant display of color when spring arrives.

Follow-up Care and Common Questions
Once your crocus bulbs are in the ground, they require very little intervention. Because they are naturally frost-hardy, they are well-equipped to handle winter conditions. However, applying a light, two-inch layer of organic mulch—such as shredded leaves or straw—can help insulate the soil, preventing the ground from heaving during extreme temperature fluctuations.
Watering is generally unnecessary during the winter months, as the bulbs are dormant. If you experience an exceptionally dry autumn, a light watering immediately after planting is sufficient to help them settle. Avoid overwatering, as soggy soil can cause the bulbs to rot before they have a chance to establish roots.
Common challenges for gardeners often involve local wildlife. If you notice signs of squirrels, chipmunks, or voles digging up your planting site, consider these protective measures:
- Lay a piece of chicken wire or hardware cloth over the planting area, securing the edges with landscape staples.
- Cover the soil surface with heavy stones or thorny brush to deter digging.
- Plant bulbs slightly deeper than recommended if your soil type allows, which makes them harder for pests to detect.
If you remain unsure about the specific timing for your area, do not guess. Microclimates can vary significantly even within the same county. The most reliable resource for region-specific advice is your local cooperative extension office. They provide data based on historical frost dates and soil temperatures tailored to your exact hardiness zone.
By keeping the area clear of debris and ensuring the soil remains well-drained, you set the stage for a vibrant display. Remember to mark the location of your bulbs with small garden stakes. This simple habit prevents you from accidentally digging them up while preparing your beds for annuals in the late spring. With minimal effort, your crocus will return reliably, signaling the arrival of spring for years to come.

Dedicated team of gardening enthusiasts with years of hands-on experience testing lawn mowers, gardening tools, and outdoor equipment. We help home gardeners and professionals alike make informed buying decisions with honest, thorough reviews. From push mowers to pruning shears, we test it all so you don’t have to. Got a gardening tool you’d like us to review? Get in touch!