
Planting crocus bulbs is a simple way to guarantee early spring color in your garden. Understanding the correct timing and planting conditions is key to ensuring these hardy perennials return year after year. By getting them into the soil during the right window, you set the stage for a vibrant, reliable display every single season.
Most gardeners find the best success when planting crocus bulbs in the fall, specifically between September and November. You want the ground to be cool, but not yet frozen solid, allowing the bulbs to establish strong root systems before winter dormancy. Timing this correctly is essential for preventing premature growth during warm spells.
This guide covers everything you need to know to get your bulbs in the ground at the perfect time. We will walk you through site selection, proper planting depth, and essential soil preparation techniques. Follow these practical steps to create a thriving patch of early spring blooms that will brighten your landscape effortlessly.
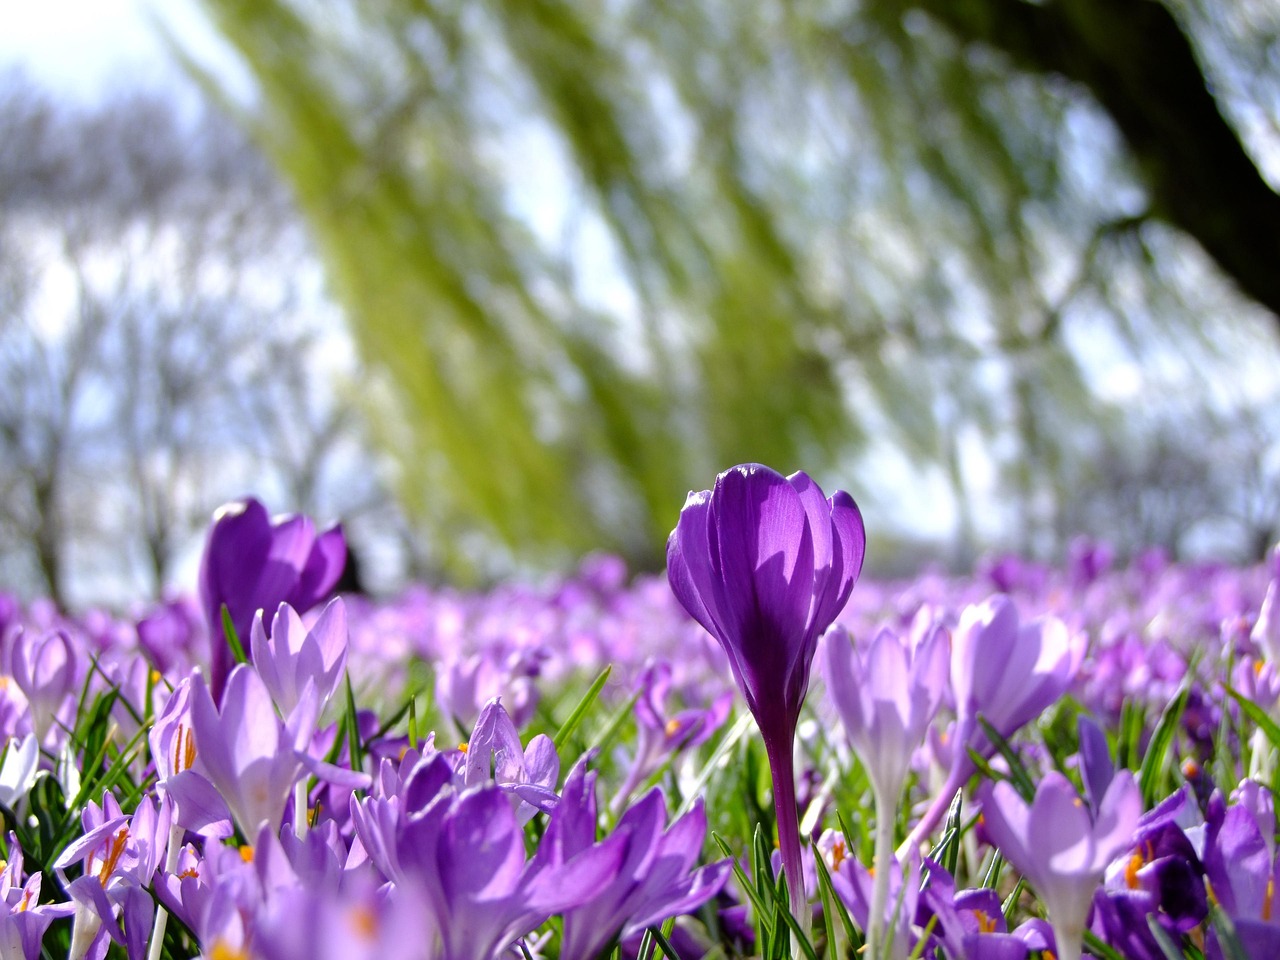
The Ideal Time to Plant Crocus Bulbs
Crocus bulbs are heralds of spring, but their vibrant display depends entirely on timing. Because these bulbs require a specific period of cold dormancy to trigger their growth cycle, they must be planted in the autumn. Attempting to plant them in the spring will result in poor performance or no blooms at all.
The ideal window for planting crocus bulbs is between September and November. To ensure the best results, aim to get them into the ground at least six weeks before the first hard frost in your region. This timeframe is critical because it provides the bulbs with enough time to establish a healthy, robust root system before the soil freezes solid for the winter.
When planning your planting schedule, keep these practical tips in mind:
- Check your local frost date: Consult a local gardening extension or weather service to determine when the ground typically freezes in your area.
- Avoid premature planting: If you plant too early while the soil is still warm, the bulbs may sprout prematurely, making them vulnerable to winter damage.
- Prioritize soil drainage: Regardless of when you plant, ensure the site has excellent drainage. Crocus bulbs are prone to rotting if they sit in waterlogged soil during the winter months.
- Prepare the site: If the ground is becoming difficult to work with due to early cold snaps, you can loosen the soil ahead of time or add organic matter to keep it workable.
By planting during this autumn window, you mimic the natural cycle of the bulb. The cooling soil temperatures signal the plant to focus its energy downward, anchoring itself firmly. Once the winter chill passes, the bulb will be perfectly positioned to draw on its stored energy, allowing it to push through the soil and provide those first welcome splashes of color as soon as the snow begins to melt.
Choosing the Right Location and Soil
Crocuses are resilient harbingers of spring, but their success largely depends on where they are tucked into the ground. Before you start digging, take a moment to observe your garden’s light patterns. These bulbs perform best in spots that receive full sun to partial shade. While they can tolerate some dappled light, they require sufficient sunlight to recharge for the following year’s bloom.
Soil quality is just as critical as light exposure. Crocuses demand well-draining soil to thrive. If these bulbs sit in standing water, they are highly susceptible to fungal rot, which will quickly kill them. Before planting, perform a simple drainage test by digging a small hole and filling it with water; if it takes more than a few hours to drain, your soil likely needs amendment.
If your garden consists of heavy clay soil, do not be discouraged. You can easily improve the environment for your bulbs by incorporating organic matter. Follow these steps to prepare your planting site:
- Clear the area of weeds and debris.
- Loosen the soil to a depth of at least 8 to 10 inches.
- Mix in generous amounts of well-rotted compost, leaf mold, or horticultural grit.
- Ensure the amendment is thoroughly blended to create a loose, friable texture that allows water to pass through easily.
By adjusting the soil structure, you create a hospitable home that encourages healthy root development. If you are planting in an area prone to extreme moisture, consider planting your bulbs on a slight slope or in a raised bed to encourage natural runoff. Taking these extra steps during the planting phase ensures your crocuses return year after year, rewarding your efforts with vibrant, early-season color. Remember, a little extra preparation in the autumn saves you from disappointment when spring arrives.

Safe Planting Techniques and Tools
Successful crocus planting begins with using the right tools to create the perfect environment for your bulbs. To ensure the best results, use either a dedicated bulb planter or a sturdy hand trowel to dig holes approximately three to four inches deep. A bulb planter is particularly efficient for creating uniform holes, while a trowel offers more versatility if you are planting in rocky or compacted soil.
Safety is paramount when working with garden tools. To protect your hands from cuts, scrapes, and blisters, always wear a pair of durable, well-fitting leather gardening gloves. These provide a necessary barrier between your skin and the soil, as well as the sharp edges of your equipment.
Follow these best practices to maintain a safe and efficient workflow:
- Inspect your tools: Before starting, ensure all blades are clean and free of rust. Dull or corroded tools require more force to use, which increases the risk of slipping.
- Maintain proper hand placement: When pushing a bulb planter into the earth, keep your fingers clear of the cutting edge and the downward pressure points.
- Secure your equipment: Once you have finished planting, clean your tools, dry them thoroughly, and store them in a locked shed or secure storage box. Never leave sharp implements lying on the ground where they could be stepped on or accessed by children.
Consistent tool maintenance not only keeps you safe but also ensures your equipment lasts for many seasons. If you notice a tool becoming blunt, use a sharpening file to restore the edge, as a sharp tool is actually safer and easier to control than a dull one. By taking these simple precautions, you can focus entirely on the rewarding process of establishing your spring-blooming crocus display. Proper preparation today guarantees a healthier, more vibrant garden when the snow finally melts and your bulbs begin to emerge.
Step-by-Step Planting Instructions
Planting crocus bulbs is a straightforward process that sets the stage for a vibrant spring display. Once you have prepared your soil and dug holes at the appropriate depth—typically three to four inches—follow these steps to ensure your bulbs establish themselves successfully.
Place each bulb into the hole with the pointed, narrow end facing upward. This orientation allows the stem to grow directly toward the surface with minimal energy expenditure. If you are struggling to identify the top from the bottom, do not worry; simply plant the bulb on its side. Crocus bulbs possess a natural geotropism, meaning the sprout will instinctively curve upward to find the light regardless of the initial position.
To achieve a professional, naturalized look, follow these spacing and finishing guidelines:
- Spacing: Place bulbs approximately three inches apart. Planting them in small clusters rather than rigid rows creates a more organic, meadow-like appearance when they bloom.
- Backfilling: Gently cover the bulbs with the removed soil. Ensure the area is level with the surrounding ground to prevent water from pooling, which can cause the bulbs to rot.
- Firming: Press down lightly on the soil surface with your hand or the back of a rake. This removes large air pockets that could dry out the roots, ensuring the bulb maintains good contact with the soil.
- Hydration: Water the planting site thoroughly immediately after covering. This settles the soil around the bulb and triggers the initial root development phase.
Avoid over-saturating the soil in the weeks following planting. While the bulbs need moisture to wake up, they require well-draining conditions to remain healthy throughout the winter dormancy period. If you live in an area prone to heavy winter rains, ensure your garden bed is raised or amended with organic matter to improve drainage. With these simple steps, your crocus will be well-positioned to emerge as the first heralds of spring in your garden.

Follow-Up Care and Common Questions
Once your crocus bulbs are in the ground, they require very little intervention. They are hardy, low-maintenance perennials that prefer to be left undisturbed to naturalize over time. However, a few simple steps during the off-season will ensure a stronger display next spring.
Keep the planting area clear of heavy leaf litter or thick mulch. While a light layer of organic material is beneficial, dense piles can trap excessive moisture, potentially leading to bulb rot during the dormant winter months.
If you live in an area with active squirrels, chipmunks, or other rodents, your freshly planted bulbs may be viewed as a snack. To protect your investment, consider these practical deterrents:
- Lay a piece of chicken wire or hardware cloth over the planting site and secure it with landscape staples until the ground freezes.
- Apply a layer of sharp grit or crushed stone over the soil surface to discourage digging.
- Plant your bulbs deeper than the recommended depth to make them less accessible to surface-level foragers.
The most critical phase of care occurs after the flowers fade. It is tempting to trim back the grass or foliage as soon as the petals drop, but you must resist this urge. The green leaves are essential for photosynthesis, allowing the plant to store energy in the bulb for the following year’s growth.
Wait until the foliage has turned yellow and withered completely before mowing or clearing the area. If you remove the leaves while they are still green, you effectively starve the bulb, which often leads to a failure to bloom the following spring. If your crocuses are planted in a lawn, adjust your mowing schedule to accommodate this natural die-back period. By allowing the plant to complete its full life cycle, you ensure a vibrant, recurring display that will multiply and spread for years to come.

Dedicated team of gardening enthusiasts with years of hands-on experience testing lawn mowers, gardening tools, and outdoor equipment. We help home gardeners and professionals alike make informed buying decisions with honest, thorough reviews. From push mowers to pruning shears, we test it all so you don’t have to. Got a gardening tool you’d like us to review? Get in touch!