
You should plant caladium bulbs once soil temperatures consistently reach at least 65°F to 70°F. This typically occurs in late spring, several weeks after your region’s final frost date has passed. Planting them too early in cold, damp soil often leads to bulb rot rather than the vibrant, heart-shaped foliage you are expecting.
Because these plants are native to tropical climates, they are extremely sensitive to chilly conditions. They will not begin to sprout until the earth is sufficiently warm, so rushing the process rarely yields faster results. Patience is essential; waiting for the right weather ensures your tubers establish a strong, healthy root system early on.
This guide provides all the practical steps you need to successfully cultivate these stunning tropical plants. From identifying the perfect outdoor timing to preparing your garden beds for optimal growth, we cover everything required for a lush, colorful display. Follow these expert tips to ensure your caladiums thrive throughout the entire growing season.
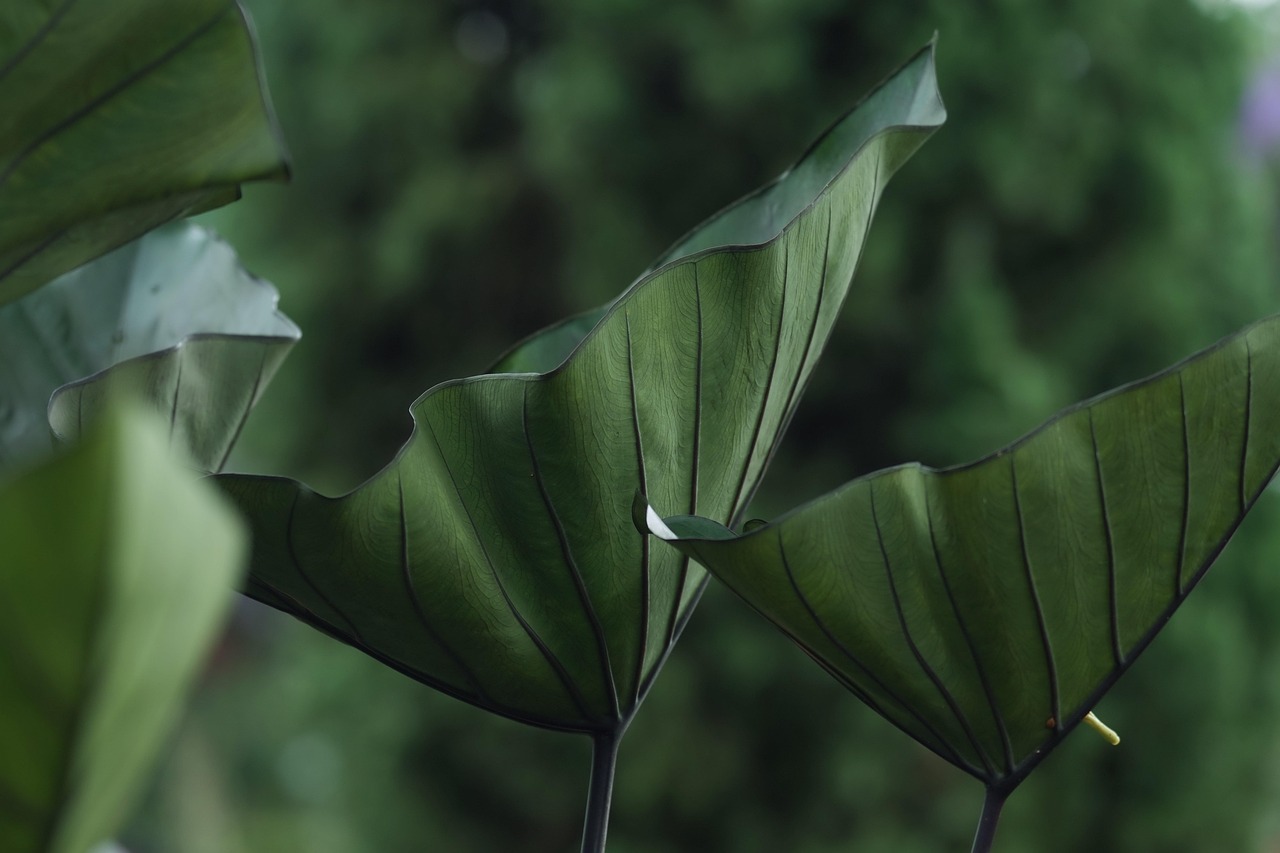
The Golden Rule of Soil Temperature
Caladiums are tropical plants that originated in the warm, humid climates of South America. Because of this heritage, they are exceptionally sensitive to cold. Treating them like hardy perennials will almost certainly lead to disappointment. The most critical factor in your success is not the calendar date, but the temperature of the earth itself.
You should never plant caladium bulbs until the soil has warmed to a consistent range of 65 to 70 degrees Fahrenheit. Planting too early, especially when the ground is still cold and damp, creates a high risk of bulb rot. In these conditions, the dormant tuber cannot initiate growth, leaving it vulnerable to soil-borne pathogens that will cause it to decay before it ever produces a leaf.
If you live in a cooler climate, patience is your best gardening tool. Do not rush to get them in the ground just because the sun feels warm on a spring afternoon. Instead, follow these practical guidelines to ensure your bulbs thrive:
- Wait until all danger of frost has officially passed in your region.
- Ensure that nighttime air temperatures are consistently staying above 60 degrees Fahrenheit for several days in a row.
- Check the soil feel; if the ground still feels icy or sluggish to the touch, wait another week.
If you are eager to get a head start, you can bypass the cold soil issue by starting your caladiums in containers indoors. Place the pots in a warm spot, such as near a radiator or on a heat mat, to mimic their native tropical environment. Once the outdoor soil finally reaches that golden 65-degree mark, you can transplant your sprouted caladiums into the garden. This method provides the warmth they crave while protecting them from the unpredictable fluctuations of early spring weather. By prioritizing soil warmth, you ensure that your caladiums have the best possible environment to establish strong roots and vibrant, lush foliage throughout the growing season.
Regional Planting Timelines
Caladiums are true tropical plants that thrive in heat and humidity. Because they are highly sensitive to cold soil, timing your planting based on your specific climate zone is essential for success. Planting too early in cool, damp soil can cause the bulbs to rot before they have a chance to sprout.
In warmer climates, such as the deep South, you can typically plant caladium bulbs directly outdoors as early as late March or April. At this point, the soil has usually warmed sufficiently to trigger growth. If you garden in northern regions, you must exercise more patience; it is best to wait until late May or early June, once all danger of frost has passed and night temperatures consistently remain above 65°F (18°C).
If you live in a cooler region and are eager to get a head start on the growing season, you can begin sprouting your bulbs indoors. This method allows you to enjoy lush foliage much earlier in the summer.
Follow these steps for a successful indoor start:
- Begin the process four to six weeks before your area’s average last frost date.
- Plant the bulbs in shallow pots or trays filled with a well-draining, moist potting mix.
- Place the containers in a warm location, such as on top of a refrigerator or near a heat mat, as caladiums require soil temperatures of at least 70°F to break dormancy.
- Once the danger of frost has passed and the soil outdoors is warm, carefully transplant the sprouted bulbs into your garden beds.
Regardless of your region, remember that soil temperature is more important than the calendar date. If you are unsure, use a soil thermometer to ensure the ground has reached at least 65°F. If the soil feels cold to the touch, it is safer to wait another week. Providing this warmth from the beginning ensures your caladiums will develop strong root systems and vibrant, healthy leaves throughout the season.

Essential Tools and Safety Precautions
Before you begin planting your caladium bulbs, gathering the right equipment ensures the process is efficient and safe. Caladiums require precise placement, so having the correct tools on hand prevents unnecessary strain and promotes better growth.
For most garden beds, a sturdy garden trowel is the most effective tool. It allows you to dig holes at the ideal depth of two inches with precision. Avoid using overly large shovels, as they often disturb too much soil and make it difficult to maintain the consistent spacing required for these tubers.
Prioritize your personal safety by using the following gear:
- Gardening Gloves: Wear thick, fitted gloves to protect your skin from sharp rocks, hidden debris, or potential irritants found in potting mixes and garden soil.
- Safety Goggles: If you are using a power tiller to prepare a large bed, wear goggles to shield your eyes from flying dust, soil particles, and small stones.
- Ear Protection: When operating loud power equipment, use earplugs or earmuffs to prevent long-term hearing damage.
If you are preparing a large area with a power tiller, always remain vigilant. Keep your hands and feet well clear of the moving tines at all times. Before attempting any maintenance, such as cleaning the blades or checking the engine, ensure the power source is completely disconnected. Never leave a running tiller unattended, even for a moment.
Finally, consider the ergonomics of your planting session. If you are planting a large number of bulbs, use a foam kneeling pad to reduce pressure on your joints. Maintaining good posture while you work will help you avoid back strain. By preparing your workspace with these tools and safety habits, you create an environment where your caladiums can thrive and your gardening experience remains injury-free. Taking these small precautions before you start digging ensures that your focus remains entirely on the health and placement of your new plants.
Proper Planting Depth and Orientation
To give your caladiums the best start, proper orientation is essential. Each bulb features a knobby, rough side—this is where the eyes or growth points are located. Always place the bulb with this knobby side facing upward to ensure the shoots can emerge easily toward the surface.
Planting depth is equally important for long-term health. Bury each bulb approximately two inches deep. Planting too shallow can expose the bulb to drying winds or sun scorch, while planting too deep may delay sprouting or cause the bulb to rot in cooler, damp soil.
Spacing depends on the look you want to achieve in your garden beds or containers:
- For a dense, lush carpet: Space bulbs six inches apart. This creates a full, overlapping effect that suppresses weeds and provides high-impact color.
- For individual specimen plants: Space bulbs ten to twelve inches apart. This allows each plant enough room to develop its full, dramatic foliage size without competing for resources.
Once you have positioned the bulbs, cover them with a light layer of soil. Avoid packing the earth down firmly, as caladiums prefer loose, well-draining soil that allows for easy root penetration and oxygen flow.
After planting, keep the garden bed consistently moist. Caladiums are tropical plants that thrive on humidity and steady hydration. While you should avoid waterlogging the soil—which can lead to bulb decay—keeping the area damp will encourage rapid growth as soon as the soil temperatures rise above 70°F (21°C). If you are planting in containers, ensure the pots have adequate drainage holes to prevent standing water.
By focusing on these specific planting mechanics, you create the ideal environment for your caladiums to establish a strong root system. Once the foliage begins to break the surface, you will be rewarded with the vibrant, heart-shaped leaves that make these plants a favorite for shaded and semi-shaded landscapes.
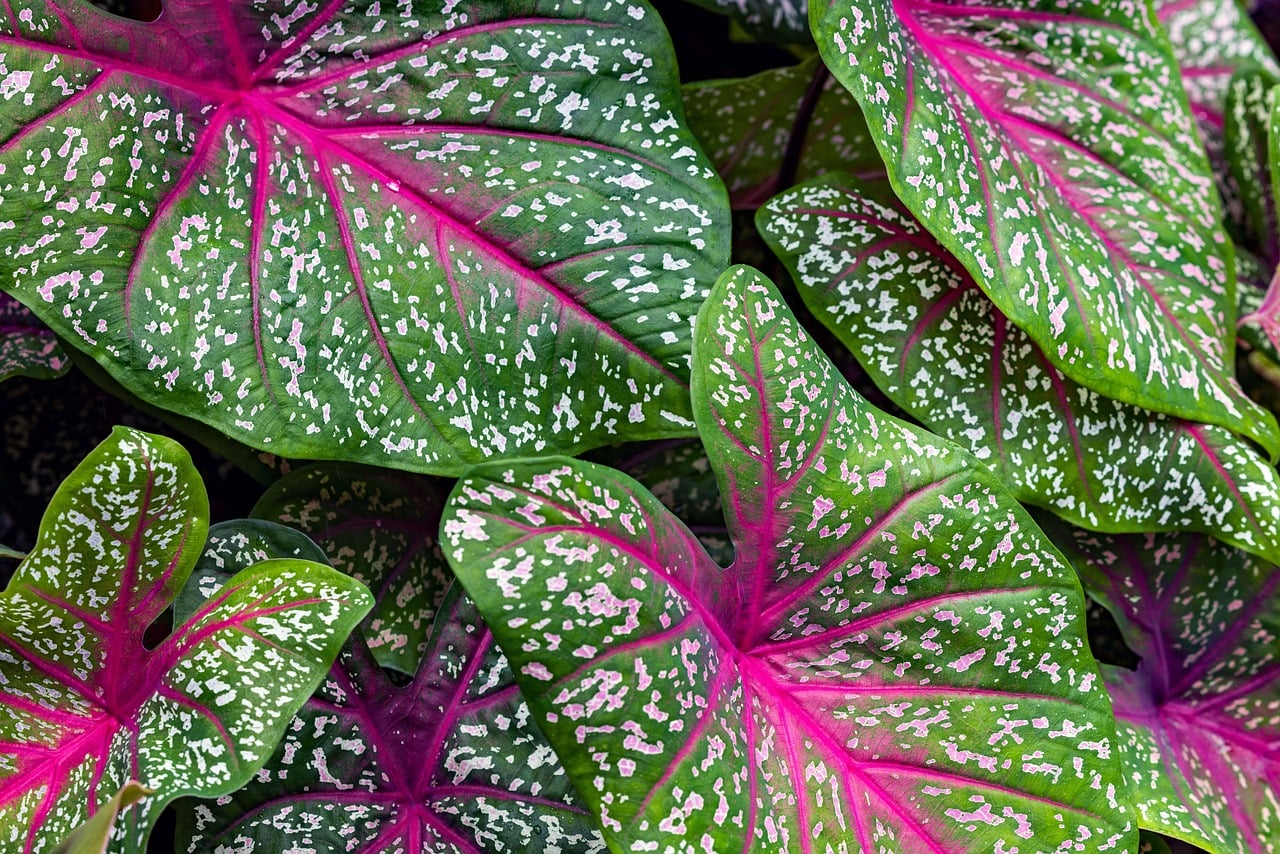
Follow-up Care and Common Questions
Once your caladium bulbs are in the ground, consistent moisture is the key to success. Keep the soil evenly damp, similar to the texture of a wrung-out sponge. However, be careful to avoid waterlogging the area. Excessively wet soil prevents oxygen from reaching the bulb and frequently leads to fungal rot, which can kill the plant before it ever breaks the surface.
Patience is essential, as these tropical plants require warm soil to activate. If your bulbs show no signs of life after four weeks, gently brush away the top layer of soil to inspect them. If the bulb feels mushy or emits a foul odor, it has likely succumbed to rot and should be removed. If it remains firm, it may simply need more time and higher soil temperatures to thrive.
Because caladiums are tropical, they are not winter-hardy in most regions. To ensure their survival for the following year, follow these steps as the weather cools:
- Wait for the foliage to yellow and die back naturally in the fall.
- Carefully dig up the tubers before the first frost hits.
- Clean off excess soil and allow the tubers to air-dry in a shaded, well-ventilated spot for a few days.
- Store them in a mesh bag or a container filled with dry peat moss or sawdust.
- Keep the container in a dark, dry location where temperatures remain between 60°F and 70°F.
If you are uncertain about the specific planting window for your region, do not guess. Consult your local cooperative extension office. These organizations provide localized data based on your specific hardiness zone and historical frost dates, ensuring you plant at the optimal moment for your climate. Following these regional guidelines is the most reliable way to avoid early-season cold damage and guarantee a vibrant, lush display of foliage throughout the summer months.

Dedicated team of gardening enthusiasts with years of hands-on experience testing lawn mowers, gardening tools, and outdoor equipment. We help home gardeners and professionals alike make informed buying decisions with honest, thorough reviews. From push mowers to pruning shears, we test it all so you don’t have to. Got a gardening tool you’d like us to review? Get in touch!