
Knowing when to plant ranunculus bulbs is the secret to achieving those iconic, multi-layered blooms. Because these corms are sensitive to temperature, timing your planting based on your climate zone is essential for success. In mild Mediterranean climates, you should plant them in the fall, while colder regions require waiting until late winter or early spring.
Successful gardening requires understanding that ranunculus are cool-weather lovers that struggle in extreme summer heat. They thrive when daytime temperatures remain moderate, allowing them to establish strong roots before the flowers emerge. If you plant them too late, the heat will cause the plants to go dormant prematurely, resulting in stunted growth and fewer vibrant blossoms.
This guide provides the practical knowledge you need to master your planting schedule regardless of where you live. We will explore how to prepare your corms, choose the ideal soil conditions, and protect your young plants from unexpected frost. Follow these expert tips to ensure your garden is filled with stunning, professional-quality ranunculus displays throughout the upcoming growing season.

Understanding Your Climate Zone
Success with ranunculus begins with understanding your local climate. These stunning, rose-like flowers are cool-season plants that perform best when temperatures remain consistently between 50 and 70 degrees Fahrenheit. Because they dislike extreme heat and struggle in deep freezes, your planting window depends entirely on your hardiness zone.
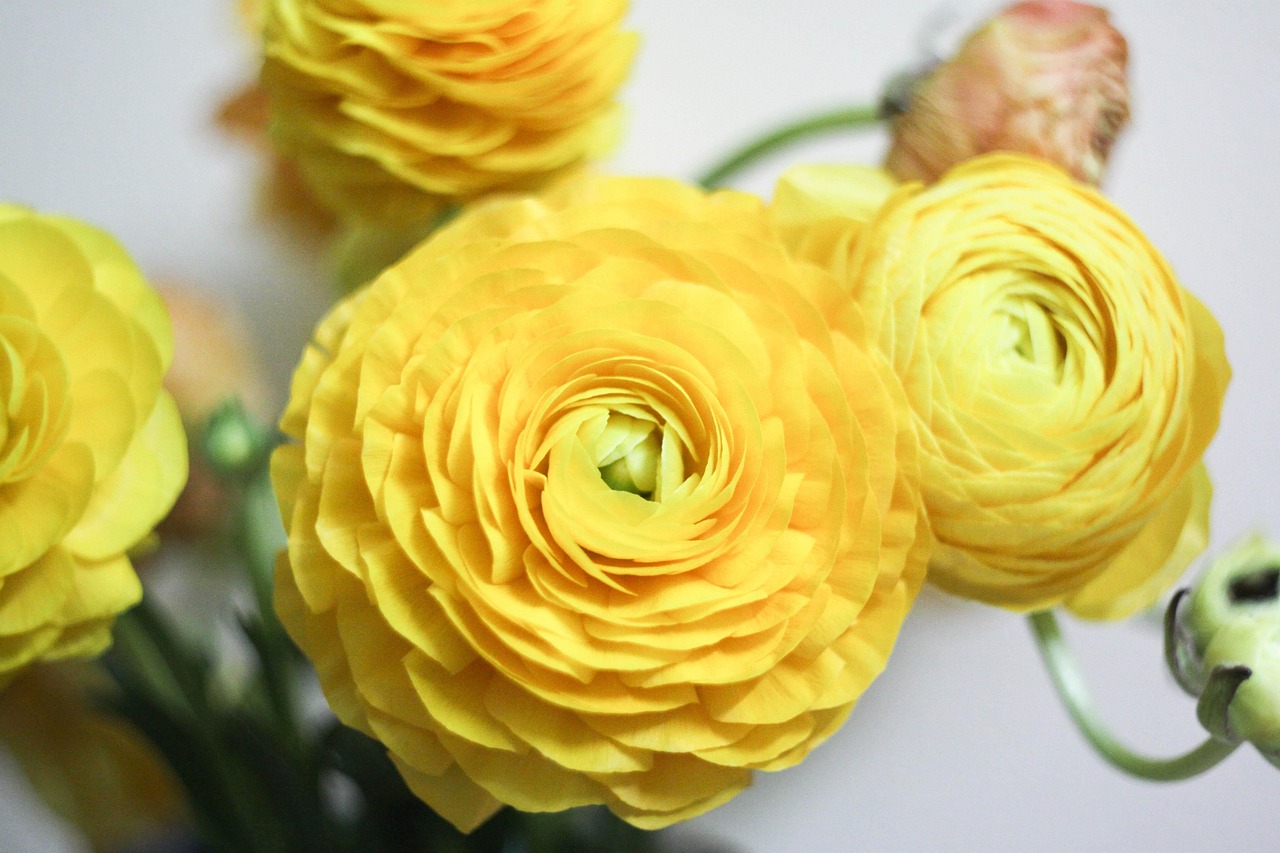
If you live in a mild climate—typically USDA zones 8 through 10—where winter temperatures rarely dip below 20 degrees Fahrenheit, fall is the ideal time to plant. Planting in autumn allows the bulbs to establish a strong root system during the cool, moist months. This head start results in larger, more vigorous plants that bloom earlier in the spring.
In colder regions with harsh, freezing winters, you must adjust your strategy to protect the bulbs from rotting in frozen ground. In these areas, wait until early spring to plant. Specifically, aim to get your bulbs in the soil once the ground has thawed and the threat of a hard, killing frost has passed. If an unexpected late freeze is forecasted after you have planted, simply cover the emerging sprouts with a light layer of mulch or horticultural fabric for protection.
To determine the best timing for your specific location, consider these practical steps:
- Check your local frost dates: Search online for your city’s average last spring frost date to ensure you aren’t planting too early.
- Monitor soil temperature: Ranunculus bulbs prefer soil that has warmed slightly but is not hot. A soil thermometer can help you identify the 50-degree threshold.
- Assess drainage: Regardless of your zone, these bulbs require excellent drainage. If your soil is heavy clay, amend it with organic matter or compost before planting to prevent the bulbs from sitting in water, which leads to decay.
By aligning your planting schedule with these temperature requirements, you provide your ranunculus with the stable environment they need to produce their signature, papery blooms.
Essential Tools and Safety Precautions
Before you begin planting your ranunculus bulbs, gather your essential gear to ensure the process goes smoothly. Having everything within reach prevents unnecessary trips back and forth and keeps you focused on the task at hand. You will need a sturdy trowel for digging, a pair of durable gardening gloves, and a reliable watering can with a gentle rose attachment.
Your hands are your most important gardening tools, so protecting them is a priority. Always wear thick, well-fitting work gloves when handling soil or using garden implements. This simple step prevents blisters, protects your skin from abrasive grit, and shields you from accidental cuts if you encounter hidden rocks or sharp debris in the garden bed.
Maintaining your equipment is just as important as using it correctly. Keep your trowels and hand cultivators clean and sharp. A sharp blade ensures precise soil penetration, which reduces physical strain on your wrists and prevents unnecessary soil compaction. After each use, wipe away dirt and moisture to prevent rust, which can dull edges and weaken the metal over time.
Safety extends to how you manage your workspace. Follow these best practices to keep your garden area secure:
- Organize your workspace: Never leave sharp tools lying on the ground where they could be stepped on or hidden by mulch.
- Secure storage: Always store tools in a locked shed or a high shelf immediately after use, keeping them well out of reach of children and pets.
- Check your surroundings: Before digging, ensure you are aware of any underground utility lines or irrigation pipes in the area.
By keeping your tools clean, sharp, and properly stored, you create a safer environment for yourself and your family. Proper preparation not only protects your hands but also ensures that your ranunculus bulbs are planted at the correct depth with minimal disturbance to the surrounding soil structure. Taking these precautions allows you to enjoy the gardening process with confidence and ease.

Preparing the Soil and Corms
Before you place your ranunculus corms into the ground, proper preparation is essential to ensure they survive the winter and bloom vigorously in spring. These corms, which resemble tiny, dried-up octopus claws, are highly susceptible to rot if they sit in waterlogged soil. Taking these specific steps before planting will give your flowers the best possible start.
Rehydrating the Corms
Because ranunculus corms are sold in a dehydrated state, they must be rehydrated before they enter the soil. Follow this simple process:
- Place the corms in a bowl of room-temperature water.
- Soak them for exactly three to four hours.
- Remove them promptly once they appear plump and firm.
Do not be tempted to soak them overnight. Leaving them in water for too long will cause the delicate tissue to decay or turn mushy, effectively killing the plant before it even begins to grow.
Preparing the Garden Bed
Ranunculus thrive in loose, nutrient-rich soil that allows excess moisture to drain away quickly. If your garden soil is heavy clay, it will likely trap too much water, leading to bulb rot. To improve your planting site:
- Clear the area of weeds and debris.
- Mix in several inches of high-quality organic compost or well-rotted manure.
- Ensure the soil is loose and friable to a depth of at least six inches.
If you are gardening in an area with poor drainage, consider planting your ranunculus in raised beds or containers. This provides better control over the moisture levels and ensures the “claws” remain healthy throughout the dormant season. Once the soil is amended and the corms are rehydrated, they are ready to be planted with the claw side facing downward. By focusing on these soil conditions and pre-planting care, you significantly reduce the risk of failure and set the stage for a spectacular spring display of vibrant, rose-like blooms.
Correct Planting Depth and Spacing
Proper planting technique is essential for successful ranunculus growth. After soaking your corms in room-temperature water for three to four hours to rehydrate them, inspect each one. You will notice a cluster of small, claw-like appendages; these should always be oriented downward when placed in the soil.
For optimal development, follow these spacing and depth guidelines:
- Planting Depth: Bury the corms approximately two inches deep. Planting too shallow can expose them to temperature fluctuations, while planting too deep may delay sprouting.
- Spacing: Space each corm six inches apart. This distance provides adequate airflow and prevents competition for soil nutrients, which is vital for producing healthy, long-stemmed blooms.
If you are utilizing containers rather than garden beds, drainage is your most critical consideration. Ensure your pots feature multiple, unobstructed drainage holes at the base. Ranunculus corms are highly susceptible to fungal issues and rot if they sit in saturated soil.
Once you have positioned the corms, cover them gently with loose, well-draining potting mix or garden soil. Pat the surface lightly to ensure contact, but do not compress the earth, as this can impede root penetration.
Water the area lightly immediately after planting to settle the soil. However, exercise restraint thereafter. Resist the urge to keep the soil consistently damp during the initial phase. Overwatering before the first green shoots emerge is the leading cause of corm decay. Wait until you observe visible growth pushing through the soil surface before establishing a regular watering schedule. Once active growth begins, keep the soil consistently moist but never waterlogged to support the plant’s rapid development.
Follow-up Care and Troubleshooting
Once your ranunculus bulbs are in the ground, they require consistent monitoring to ensure a successful bloom. While they are hardy, they are sensitive to extreme weather fluctuations. If a late frost is forecasted after your shoots have emerged, cover them with a lightweight frost cloth or burlap overnight. Remove the covering during the day to allow for proper airflow and sunlight exposure.
Pest and disease management is a standard part of the growing process. Keep a close eye on the foliage for signs of trouble:
- Aphids: These small insects often cluster on the undersides of leaves. If you spot them, treat the plants with an organic insecticidal soap, following the package instructions carefully.
- Powdery Mildew: This appears as a white, dusty coating on the leaves. It usually thrives in humid, stagnant conditions. Improve air circulation around your plants by thinning out crowded foliage or adjusting your watering schedule to keep leaves dry.
If you notice the foliage yellowing prematurely, your first step should be to evaluate your soil moisture. Ranunculus bulbs are highly susceptible to rot if they sit in waterlogged soil. Before adding more water, push your finger two inches into the dirt; if it feels soggy, hold off on irrigation until the soil dries out slightly. Ensure your garden bed has excellent drainage, as “wet feet” is the most frequent cause of bulb failure.
Finally, remember that ranunculus foliage will naturally begin to yellow and wither once the weather warms and the flowering cycle concludes. This is a normal part of the plant’s life cycle as it directs energy back into the bulb for dormancy. Avoid cutting back the foliage until it has turned completely brown, as this allows the bulb to store the nutrients necessary for next season’s growth. By balancing moisture levels and staying proactive against pests, you provide the best environment for your ranunculus to thrive.

Dedicated team of gardening enthusiasts with years of hands-on experience testing lawn mowers, gardening tools, and outdoor equipment. We help home gardeners and professionals alike make informed buying decisions with honest, thorough reviews. From push mowers to pruning shears, we test it all so you don’t have to. Got a gardening tool you’d like us to review? Get in touch!