
Overgrown shrubs can make a garden look untidy and hinder plant health. This guide explains how to safely and effectively prune back neglected bushes to restore their shape and encourage vigorous new growth. By following these straightforward techniques, you can transform a chaotic, woody mess into a neat, thriving feature of your landscape.
It is important to understand that severe pruning requires patience and the right timing to avoid damaging your plants. While you might be tempted to cut everything back at once, aggressive trimming can stress a shrub if done during the wrong season. We will help you identify the best approach for your specific species.
In the following sections, we will walk you through the essential tools you need and the step-by-step process for thinning out dense branches. You will learn how to make precise cuts that promote airflow and light penetration, ensuring your garden remains healthy, vibrant, and perfectly shaped throughout the entire growing season ahead.
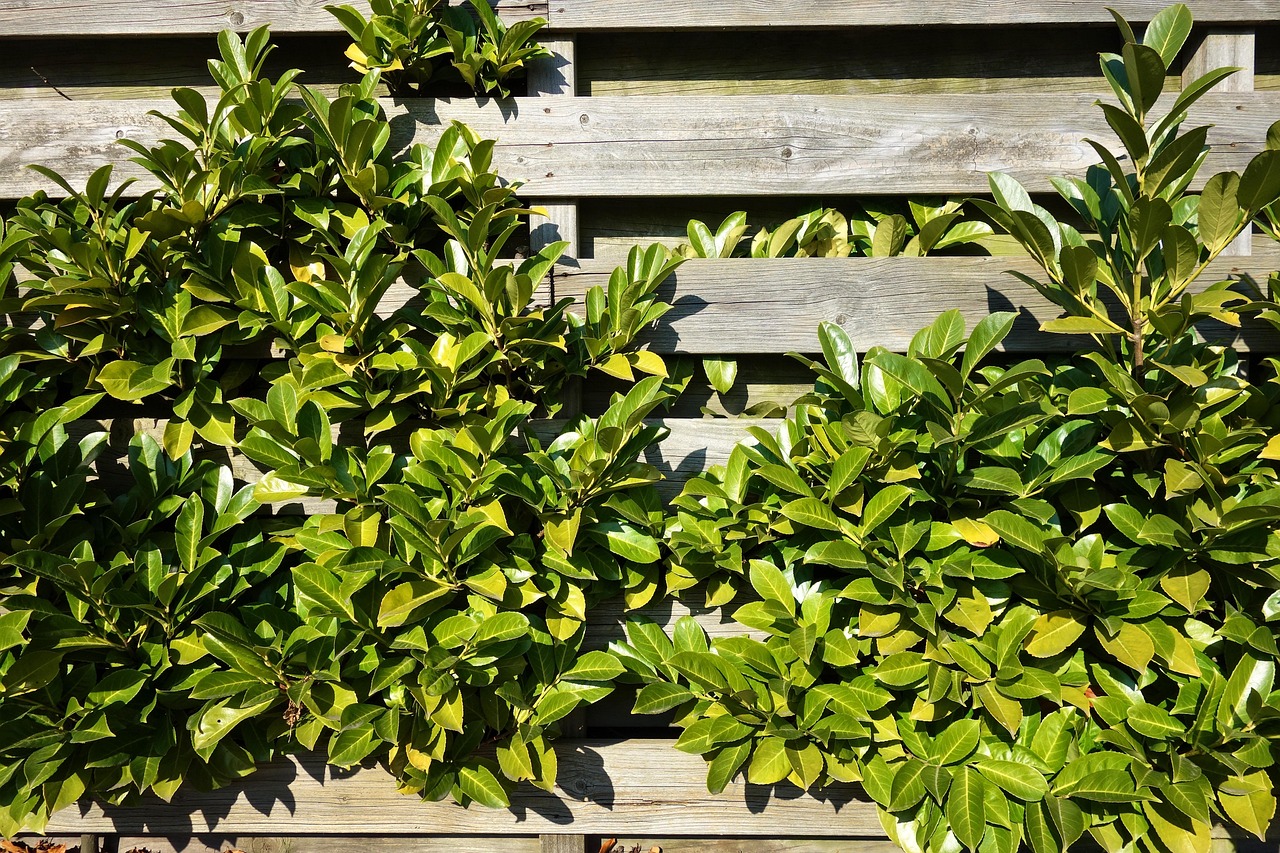
Essential Tools and Safety Preparation
Before you begin trimming overgrown shrubs, gathering the correct equipment is essential for both the health of your plants and your own safety. Using dull or improper tools can crush stems rather than making clean cuts, which invites disease and slows recovery.
Ensure you have these three primary tools ready:
- Bypass pruners: Best for stems up to 3/4 inch in diameter. The scissor-like action ensures a clean, precise cut.
- Loppers: Feature long handles for extra leverage, ideal for branches between 3/4 and 1.5 inches thick.
- Pruning saw: Necessary for woody, overgrown branches thicker than 1.5 inches.
Your physical protection is just as important as the tool selection. Shrubs often hide sharp thorns, hidden debris, and nesting insects. To prevent injuries, always wear heavy-duty gardening gloves, a long-sleeved shirt, and sturdy pants. Protective eyewear is non-negotiable; it shields your eyes from flying wood chips and sharp, snapping twigs that often spring back during the pruning process.
If your project requires power hedge trimmers, take extra precautions to avoid accidents. Always inspect your workspace for hidden obstacles before turning the tool on. If you are using a corded electric model, keep the power cable draped over your shoulder or behind you, ensuring it remains well clear of the cutting path at all times. Never attempt to operate power trimmers while standing on an unstable or makeshift ladder. If the shrub is too tall to reach safely from the ground, use a long-reach manual hedge shear or a sturdy, level platform. If you cannot reach the top of the shrub safely while keeping your feet firmly planted, it is better to leave that section untouched than to risk a fall.
By preparing your gear and prioritizing your safety, you set the stage for a productive pruning session that improves the vigor and appearance of your landscape.
Assessing the Shrub and Planning the Cut
Before you make your first cut, take a moment to closely inspect the shrub. A systematic approach ensures you do not damage the plant’s long-term health while trying to regain control of its size.
Start by identifying and removing the “three Ds”: dead, damaged, or diseased wood. Additionally, look for branches that are crossing or rubbing against each other, as these create entry points for pests and infections. Removing these problematic branches first clears the clutter and improves airflow throughout the canopy.
Once the interior is cleaned up, step back several feet from the plant. Observe the shrub from multiple angles to visualize the desired shape and size. This perspective helps you identify which overgrown branches are truly disrupting the form versus those that simply need a light trim.
When planning your major cuts, keep these safety guidelines in mind:
- The One-Third Rule: Never remove more than one-third of a shrub’s total foliage in a single growing season. Pruning too aggressively at once causes significant plant stress and can lead to a shock response.
- Focus on Stems: Make your cuts just above a bud or a lateral branch that faces outward. This encourages new growth to extend away from the center of the plant, maintaining a natural, open structure.
- Check for Nesting: Before cutting into dense foliage, gently push the branches aside to ensure no birds or wildlife are nesting inside.
If the shrub is severely overgrown, it is often better to spread the renovation process over two or even three years. By removing only the most obstructive branches annually, you allow the plant to recover and produce new, healthy growth at a manageable pace. This gradual approach is far safer than attempting a drastic “haircut” that may leave the shrub stunted or unable to recover its natural vigor. Always use clean, sharp bypass pruners or loppers to ensure your cuts are precise and minimize tissue damage.

Executing the Pruning Process
Before you begin, ensure your pruning shears or loppers are sharp and sanitized with rubbing alcohol. Dull blades crush plant tissue, creating jagged wounds that invite pests and disease, while clean tools ensure a swift, precise recovery for your shrub.
When making your cuts, position your tool at a 45-degree angle, angling the cut away from the bud or branch junction. This specific orientation is vital because it prevents water from pooling on the exposed surface. By allowing moisture to shed naturally, you significantly reduce the risk of rot and fungal infections.
For severely overgrown shrubs, resist the urge to simply shear the outer edges. Instead, focus on a thinning process to restore the plant’s health and vigor:
- Identify the center: Locate thick, tangled clusters of branches in the middle of the shrub that block airflow.
- Remove deadwood: Cut away any dead, diseased, or crossing branches first to clear your workspace.
- Thin for light: Selectively remove older, thicker branches back to the main stem or a healthy outward-facing lateral branch. This allows sunlight to penetrate the inner canopy.
- Monitor density: Aim to remove no more than one-third of the total foliage in a single season to avoid stressing the plant.
Thinning the center is essential for long-term maintenance. When light reaches the interior foliage, the plant continues to produce healthy leaves near the base, preventing it from becoming hollow, leggy, or overly woody. If you notice the center has already become bare, prioritize these thinning cuts to encourage new growth to fill in the gaps over time.
Always step back frequently to assess the shrub’s shape. It is better to make several small, intentional cuts than to remove too much at once. If you are unsure about a specific branch, wait; you can always remove more later, but you cannot put a branch back once it has been severed. Consistent, careful pruning will reward you with a rejuvenated, thriving shrub that fits perfectly within your landscape.
Managing Large or Severely Neglected Shrubs
When a shrub has become excessively woody, leggy, or sparse, standard maintenance pruning is often insufficient. If the structural integrity of the plant is compromised, a rejuvenation prune—also known as “hard pruning”—may be the only solution to restore its health and shape.
This technique involves cutting the entire shrub back to within 6 to 12 inches of the ground. By removing the old, unproductive wood, you force the plant to redirect its energy into developing fresh, vigorous shoots from the root crown.
Important Considerations Before You Begin:
- Timing is critical: Perform this drastic cut only during the dormant season, typically in late winter or very early spring before new buds break.
- Assess plant vigor: Only attempt this on hardy, fast-growing species like forsythia, dogwood, spirea, or privet. Slow-growing or sensitive conifers generally will not recover from this level of stress.
- Energy reserves: Ensure the plant is healthy enough to survive the shock. A shrub that is already dying from disease or severe root damage may not have the stored energy required to push out new growth.
Use clean, sharp loppers or a pruning saw to make clean cuts. Because you are removing a significant portion of the plant’s biomass, it is vital to keep the root zone well-watered and mulched as spring approaches. This provides the hydration necessary to support the sudden flush of new foliage.
Be aware that the shrub will look like a stump for several weeks. Once the growing season begins, you will see rapid development. As these new shoots emerge, you may need to perform “tip pruning” throughout the first summer to encourage branching and prevent the plant from becoming spindly. While this process requires patience, it is the most effective way to reset a neglected landscape feature and achieve a dense, rejuvenated shrub that will thrive for years to come.

Follow-up Care and When to Call a Professional
Pruning is a significant event for any shrub, effectively creating open wounds that the plant must work to heal. Immediately after trimming, give your shrub a deep, thorough watering. This replenishes moisture lost during the process and helps the plant manage the stress of losing foliage. Once the soil is hydrated, apply a two-to-three-inch layer of organic mulch around the base, keeping it a few inches away from the main stem to prevent rot. This layer stabilizes soil temperature and retains essential moisture as the shrub recovers.
In the weeks following your pruning, monitor the plant closely. Look for signs of wilting, yellowing leaves, or sudden pest infestations, which often target plants weakened by heavy cutting. If the shrub shows persistent signs of distress despite proper watering, it may be struggling to recover from the shock.
While DIY pruning is rewarding, certain situations require the expertise of a certified arborist. Attempting to manage these scenarios yourself can lead to severe personal injury or permanent damage to your landscape:
- Proximity to Power Lines: Never attempt to trim branches near utility lines. Electricity can arc, and contact with these lines is often fatal.
- Dangerous Heights: If the job requires a ladder or poses a fall risk, it is safer to hire professionals equipped with harnesses and proper safety gear.
- Large-Scale Removal: Removing massive, established root systems or thick, heavy trunks requires specialized machinery and heavy-duty equipment.
- Structural Integrity: If a shrub is leaning dangerously toward your home or shows signs of deep rot in the main trunk, a professional assessment is necessary to prevent property damage.
Knowing your limits is a key part of responsible gardening. If you feel uncomfortable with the scale or safety requirements of the project, a certified arborist can provide the necessary tools and experience to ensure your garden remains healthy and your property stays secure.

Dedicated team of gardening enthusiasts with years of hands-on experience testing lawn mowers, gardening tools, and outdoor equipment. We help home gardeners and professionals alike make informed buying decisions with honest, thorough reviews. From push mowers to pruning shears, we test it all so you don’t have to. Got a gardening tool you’d like us to review? Get in touch!