
To treat plants for gnats, focus on drying out the top layer of soil and using sticky yellow traps to capture adults. These common pests thrive in moist environments, but you can quickly eliminate them by interrupting their life cycle and adjusting your watering habits to keep your indoor garden healthy and thriving.
Dealing with a fungus gnat infestation requires patience and consistency, as these insects reproduce rapidly in damp potting mix. While they are generally harmless to established plants, their presence can be incredibly frustrating for any indoor gardener. Understanding their behavior is the first step toward reclaiming your home from these persistent, tiny winged intruders.
Discover how to identify and eliminate fungus gnats from your indoor plants using safe, effective methods. This guide provides practical steps to clear an infestation and prevent these pesky insects from returning to your home garden. Follow our expert advice to restore your greenery and maintain a clean, pest-free environment for all your plants.
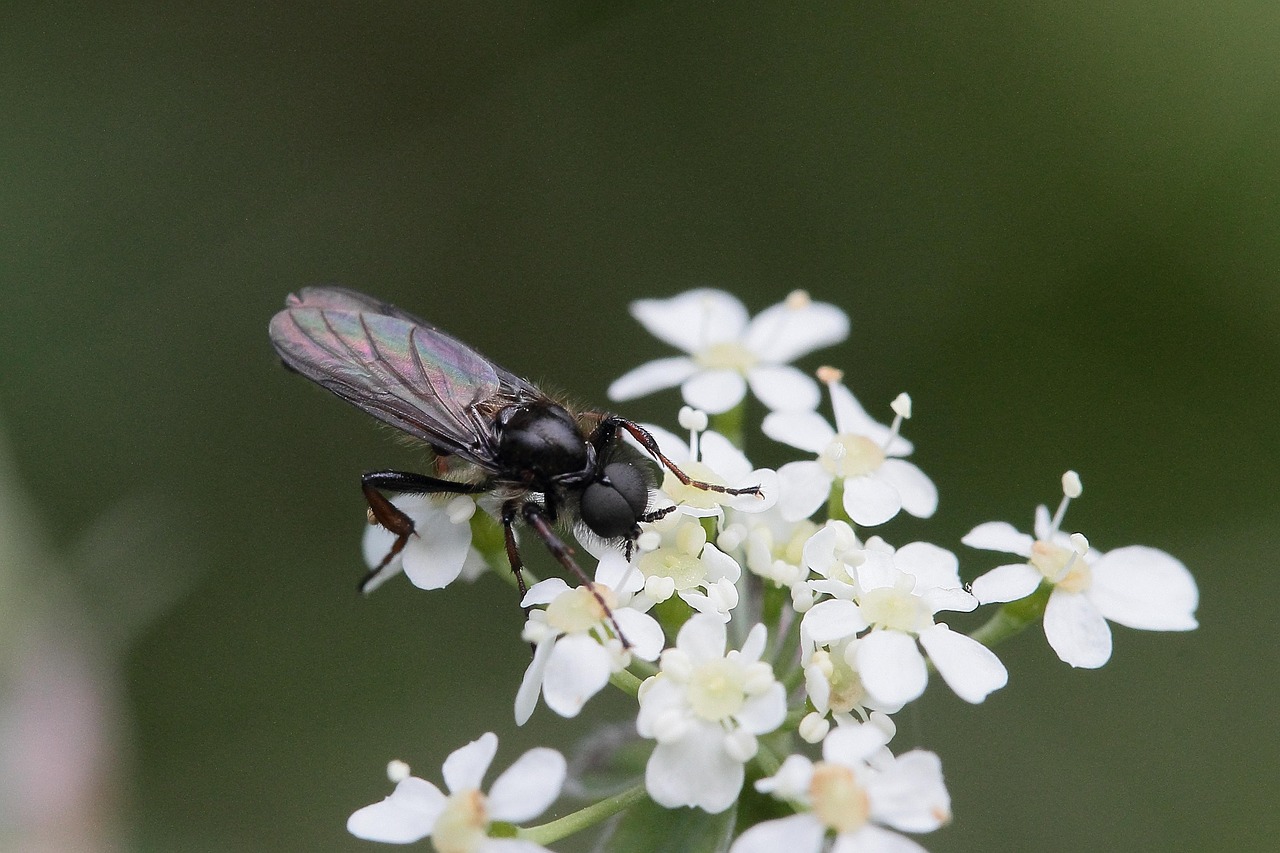
Identifying the Problem: Are They Fungus Gnats?
Before you begin treatment, it is essential to confirm that your pests are indeed fungus gnats. These insects are often mistaken for fruit flies, but their behavior and habitat preferences differ significantly. Fungus gnats are small, delicate, dark-colored flies, typically measuring about 1/8 of an inch long. You will most often spot them hovering near the soil surface of your houseplants or fluttering erratically around windows.
To differentiate them from other common household pests, look for these specific characteristics:
- Flight patterns: Unlike fruit flies, which gravitate toward ripening produce or trash, fungus gnats remain closely tethered to your potted plants.
- Movement: They are weak fliers. You will frequently see them scurrying across the top of the soil rather than flying away immediately when disturbed.
- Habitat: Their presence is almost always linked to the moisture level of your potting medium.
The life cycle of the fungus gnat is entirely dependent on damp, organic-rich soil. Adult females lay their eggs in the top inch of moist potting mix. Once hatched, the larvae feed on decaying organic matter, fungi, and occasionally the tender root hairs of your plants. Because they thrive in humid environments, they are most common in homes where plants are overwatered or have poor drainage.
If you suspect an infestation, perform a simple test: place a slice of raw potato on the surface of the soil and leave it overnight. The larvae are attracted to the starch and will often migrate to the underside of the potato slice, making them easy to spot. If you find small, translucent, worm-like larvae with black heads, you are dealing with fungus gnats.
Understanding this cycle is the first step toward control. Because these pests rely on moist conditions to complete their life cycle, identifying them early allows you to adjust your watering habits immediately, which is often the most effective way to break the cycle and prevent further population growth.
Immediate Treatment: Stopping the Infestation
When you spot fungus gnats buzzing around your houseplants, swift action is essential to prevent a minor nuisance from becoming a full-blown infestation. The goal is to break the lifecycle by simultaneously targeting the flying adults and the larvae living in the soil.
Start by addressing the adult population to stop them from laying more eggs. Yellow sticky traps are the most effective tool for this. Gnats are naturally attracted to the color yellow, and these adhesive cards will capture them on contact. Place the traps at the soil surface level, as this is where gnats congregate to breed.
While traps manage adults, you must treat the soil to eliminate the larvae. These small, worm-like pests feed on organic matter and decaying roots just below the surface. You can safely manage them using one of these two methods:
- Mosquito Dunks: These contain Bacillus thuringiensis israelensis (BTI), a natural bacteria that specifically targets gnat larvae without harming your plants, pets, or humans. Crumble a small piece of a dunk into your watering can or soak it in water for several hours before watering your plants as usual.
- Hydrogen Peroxide Solution: Mix one part 3% hydrogen peroxide with four parts water. Pour this mixture into the soil until it runs out of the drainage holes. You will hear a slight fizzing sound as it contacts the larvae; this is normal and safe for most established plants.
Consistency is key to success. Because these treatments do not always kill eggs, you should repeat your chosen soil treatment every time the plant needs water for at least three weeks. This ensures that any eggs remaining in the soil are neutralized as they hatch. By combining sticky traps with soil treatments, you disrupt the breeding cycle and reclaim your indoor garden from these persistent pests.

Cultural Controls: Adjusting Your Watering Routine
The most effective long-term solution for managing fungus gnats is not a chemical spray, but a fundamental change to your watering routine. Fungus gnats thrive in consistently damp, organic-rich soil, which provides the perfect nursery for their larvae to feed on decaying matter and fungal growth. By interrupting this cycle, you can effectively starve the population.
The golden rule for gnat control is allowing the top one to two inches of soil to dry out completely between waterings. When the surface remains dry, the eggs and larvae—which require high moisture to survive—will desiccate and die. This simple environmental adjustment is often enough to break the infestation cycle within a few weeks.
To master this routine, you must first learn to assess your plant’s actual needs rather than relying on a fixed schedule:
- The Finger Test: Insert your index finger into the soil up to the second knuckle. If you feel moisture, wait another two or three days before watering again.
- Weight Check: Get to know the weight of your pots. A dry pot feels significantly lighter than a saturated one.
- Moisture Meters: If you are unsure, an inexpensive soil moisture probe can provide a more accurate reading of the root zone.
Improving drainage is equally vital. If your soil stays wet for too long, it may be too dense or your pot may lack sufficient drainage holes. Ensure every container has a hole at the bottom to allow excess water to escape. If you suspect your soil is holding too much moisture, consider amending your potting mix with perlite or pumice to increase aeration.
Remember that plants generally prefer a “soak and dry” cycle over constant moisture. By keeping the surface layer dry, you create an inhospitable environment for gnats while encouraging your plants to develop stronger, deeper root systems. Consistency is key; once you stop providing the damp habitat they crave, the adult gnats will eventually stop laying eggs, and the infestation will naturally subside.
Safety and Best Practices for Plant Care
When addressing a fungus gnat infestation, your health and the safety of your household must come first. Before beginning any treatment, protect your skin by wearing gardening gloves. This is essential whether you are handling potting soil, which can harbor bacteria, or applying natural remedies like neem oil or insecticidal soaps that may cause irritation.
Always work in a well-ventilated area. If you are mixing treatments or spraying foliage, ensure there is adequate airflow to avoid inhaling vapors or fine particles. If you are moving plants outdoors for treatment, choose a shaded spot to prevent leaf scorch, and bring them back inside only after the treatment has dried completely.
Practical safety measures include:
- Tool Handling: When repotting plants to replace infested soil, use sharp trowels or shears with caution. Keep these tools clean and stored securely when not in use.
- Chemical Storage: Even natural treatments can be harmful if ingested. Keep all cleaning agents, soaps, and horticultural oils in their original containers, clearly labeled, and stored well out of reach of children and pets.
- Surface Protection: Lay down newspaper or a plastic tarp while working. This prevents soil spills and keeps treatment residues off your furniture and flooring.
- Hygiene: Wash your hands thoroughly with soap and warm water immediately after finishing your plant care routine, even if you wore gloves.
If you have curious pets, consider placing treated plants in a room they cannot access until the soil has dried. Fungus gnat traps, such as yellow sticky cards, should also be placed carefully; while effective, they can be a nuisance if a pet brushes against them. By maintaining a clean and organized workspace, you minimize the risk of accidents and ensure that your focus remains on successfully eliminating the pests. Consistent, careful habits not only protect you but also create a healthier environment for your plants to recover and thrive without the stress of an ongoing infestation.

Follow-Up Care and When to Seek Help
After you have applied your initial treatment, the battle against fungus gnats is not over. These pests have a rapid life cycle, so consistent monitoring is essential to ensure you have broken the breeding chain. For the next two to three weeks, keep a close eye on the soil surface and continue using yellow sticky traps to catch any emerging adults.
If you find that the infestation persists despite consistent treatment, it is time to evaluate your soil. Fungus gnats thrive in constantly damp, organic-rich environments. If your soil remains soggy for long periods, it is likely the root cause. In this case, repotting the plant into a fresh, well-draining potting mix is often more effective than repeated chemical or biological applications.
When repotting, follow these steps to prevent re-infestation:
- Gently remove the plant and wash away as much of the old, infested soil from the root ball as possible.
- Discard the old soil in a sealed bag; do not reuse it or add it to a home compost pile.
- Use a clean pot with adequate drainage holes to prevent future water retention.
- Allow the top inch of the new soil to dry out completely between waterings.
There are instances where a plant may be beyond saving. If you notice significant wilting, yellowing leaves, or mushy stems, the larvae may have already consumed too much of the root system. If the plant shows no signs of recovery after a thorough repotting and treatment cycle, it is often best to dispose of it to protect your other healthy houseplants.
If you are dealing with a large collection of plants or a persistent outbreak that threatens your entire indoor garden, do not hesitate to contact a local nursery or a professional plant care service. They can provide specific advice tailored to your climate and the types of plants you own. Sometimes, a professional perspective is the final step needed to restore balance to your home ecosystem.

Dedicated team of gardening enthusiasts with years of hands-on experience testing lawn mowers, gardening tools, and outdoor equipment. We help home gardeners and professionals alike make informed buying decisions with honest, thorough reviews. From push mowers to pruning shears, we test it all so you don’t have to. Got a gardening tool you’d like us to review? Get in touch!