
Discovering white or fuzzy growth on your potting soil can be alarming, but it is often a manageable issue. You can effectively remove fungus from plant soil by manually scraping away the top layer and improving your container’s drainage. These simple steps will help protect your houseplants and restore their healthy, vibrant appearance quickly.
While seeing mold on soil may look concerning, it is typically a harmless saprophytic fungus feeding on decaying organic matter. It rarely damages healthy plants directly, though it often signals that your current watering or airflow habits need adjustment. Understanding this distinction helps you address the root cause rather than just the surface symptoms.
This guide explains how to identify common soil fungi, safely remove them, and adjust your care routine to prevent them from returning. We will cover essential techniques for soil aeration, proper light exposure, and moisture management. Follow these practical tips to maintain a clean, thriving environment for all your indoor plants throughout the year.
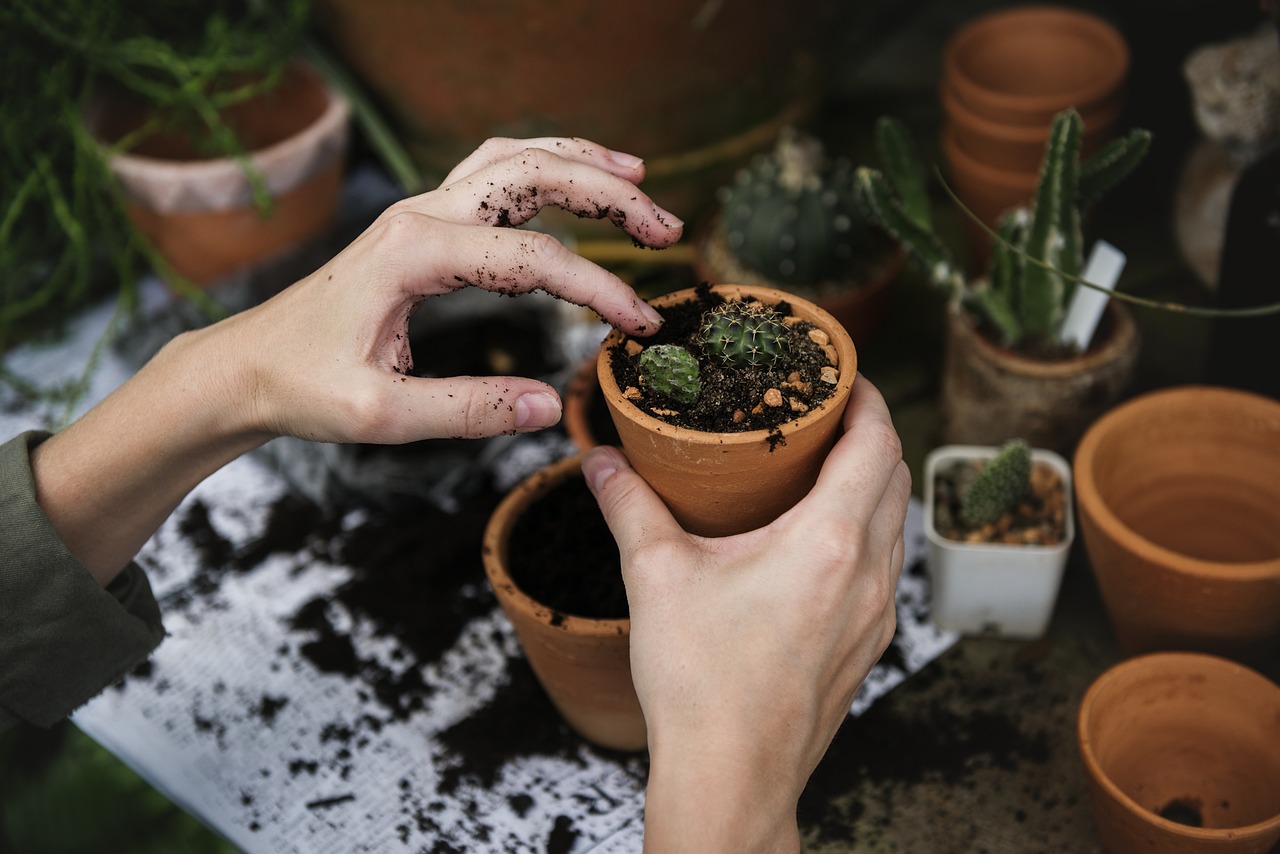
Identify the Type of Soil Growth
Before treating your soil, you must determine if the growth is a harmless nuisance or a genuine threat to your plant’s health. Not all surface activity indicates a diseased plant.
Most white, fuzzy growth is a saprophytic fungus. These organisms are nature’s decomposers; they feed on decaying organic matter in your potting mix, such as wood chips, peat, or leaf litter. While unsightly, this white mold is generally benign and often indicates that your soil is rich in organic material and perhaps staying a bit too moist.
Conversely, dangerous pathogens require immediate intervention. You can distinguish between the two by observing the texture, color, and location of the growth:
- Harmless Saprophytic Fungi: Appears as light, fluffy, white, or yellowish mold on the very surface of the soil. It does not typically spread to the plant stem or roots and often disappears if you allow the soil surface to dry out completely.
- Pathogenic Fungi (e.g., Root Rot): Often manifests as dark, slimy, or grayish patches. If you notice a foul, swampy odor, or if the growth is accompanied by yellowing leaves, wilting, or mushy stems, the issue has likely moved beyond the surface and into the root zone.
To test the soil, gently scrape away the top layer. If the fungus is localized to the surface and the soil underneath appears healthy and smells earthy, it is likely harmless. However, if the soil feels excessively dense, smells like rotting vegetation, or if the plant shows signs of distress, you are likely dealing with a fungal infection that requires repotting or treatment.
Always inspect the base of the stem where it meets the soil. If the stem is firm and green, your plant is likely safe. If the stem is soft, discolored, or shriveled, the fungus is likely a pathogen attacking the plant’s vascular system. In this case, immediate action is necessary to save the plant.
Step-by-Step Removal Process
If you notice fuzzy white or grey growth on your potting soil, acting quickly prevents the fungus from spreading to the plant’s root system. The most effective way to eliminate surface mold is to physically remove the contaminated layer.
Before you begin, prioritize your safety. Mold spores can easily become airborne and cause irritation, especially if you have asthma or respiratory sensitivities. Always wear a pair of garden gloves and a protective dust mask before disturbing the soil surface.
Follow these steps to safely clear the fungus:
- Prepare your tools: Use a clean garden trowel or a large spoon. If you are reusing a tool, wipe it down with rubbing alcohol first to ensure you aren’t introducing new pathogens.
- Remove the layer: Carefully scrape off the top one inch of the affected soil. This is where the majority of the fungal colonies reside.
- Dispose properly: Immediately place the removed soil into a plastic bag. Seal the bag tightly and dispose of it in your outdoor trash bin. Do not add this soil to your indoor compost pile or reuse it for other houseplants, as the spores can remain dormant.
- Sanitize: Once the top layer is removed, wipe the rim of your pot with a damp cloth soaked in a mild hydrogen peroxide solution to kill any lingering spores on the container itself.
After clearing the fungus, allow the remaining soil to dry out more thoroughly between waterings. Fungus thrives in consistently damp environments, so improving airflow around the base of your plant is essential for long-term prevention. If you have a desk fan, running it on a low setting near your plants can help accelerate surface evaporation and discourage future fungal growth. If the mold returns immediately after removal, it may indicate that your potting mix is too dense or lacks proper drainage, which could eventually lead to root rot. In such cases, repotting the plant into fresh, well-draining soil is the safest long-term solution.

Natural Treatments and Soil Amendments
Once you have physically removed the contaminated top layer of soil, your primary goal is to restore a healthy environment and prevent the fungus from returning. Improving airflow and modifying the soil surface are the most effective ways to inhibit further fungal colonization.
Start by ensuring your potting container has adequate drainage holes. Fungus thrives in stagnant, waterlogged conditions; if your pot lacks drainage, water collects at the bottom, creating a perfect breeding ground for mold. If your current pot is problematic, repotting into a container with better drainage is often the safest long-term solution.
To treat the remaining soil and discourage regrowth, you can use common household items that act as natural fungicides:
- Cinnamon: Sprinkle a thin, even layer of ground cinnamon across the surface of the soil. Cinnamon is a potent natural fungicide that effectively kills existing spores and prevents new ones from taking hold.
- Activated Charcoal: If you prefer an odorless alternative, a light dusting of horticultural or activated charcoal works well. It absorbs excess moisture and impurities, creating a hostile environment for fungal growth.
After applying these treatments, adjust your watering habits. Allow the top inch or two of soil to dry out completely before watering again. This “dry-down” period is crucial, as it disrupts the life cycle of most soil-borne fungi.
Finally, improve air circulation around your plants. Stagnant, humid air is a major contributor to surface mold. If your plant is in a corner or a cramped space, consider moving it to a spot with better ventilation or using a small fan to keep the air moving. By combining these soil amendments with improved airflow and reduced moisture, you create a robust defense system that keeps your plants healthy and fungus-free.
Preventing Future Fungal Outbreaks
Once you have cleared existing fungus, your primary goal is to change the environment so it no longer supports mold growth. Fungi thrive in damp, stagnant conditions, so shifting your maintenance habits is the most effective way to prevent a recurrence.
The most common culprit is overwatering. Soil that remains constantly soggy provides the perfect breeding ground for fungal spores. To break this cycle, adopt the “finger test” method:
- Insert your finger into the soil up to the first knuckle (about one inch deep).
- If the soil feels damp, wait a few more days before watering.
- Only water when the top inch of soil feels dry to the touch.
Proper airflow is just as critical as moisture control. Stagnant air allows humidity to settle on the surface of the soil, encouraging fungal blooms. You can improve air circulation by placing a small oscillating fan near your plants on a low setting. This mimics a natural breeze and helps moisture evaporate from the soil surface much faster.
Additionally, consider your plant spacing. When pots are crowded together, they trap pockets of humid air between the foliage and the soil. Giving your plants more physical space allows air to move freely around the pots and leaves, which significantly reduces the likelihood of mold taking hold.
Finally, ensure your containers have adequate drainage holes. Even with a perfect watering schedule, water that sits at the bottom of a pot creates a reservoir for rot and fungus. If your decorative pots lack drainage, use a plastic nursery liner inside them so you can remove the plant to drain excess water after each session. By combining these simple adjustments, you create an environment where your plants can thrive while making it nearly impossible for fungus to return.
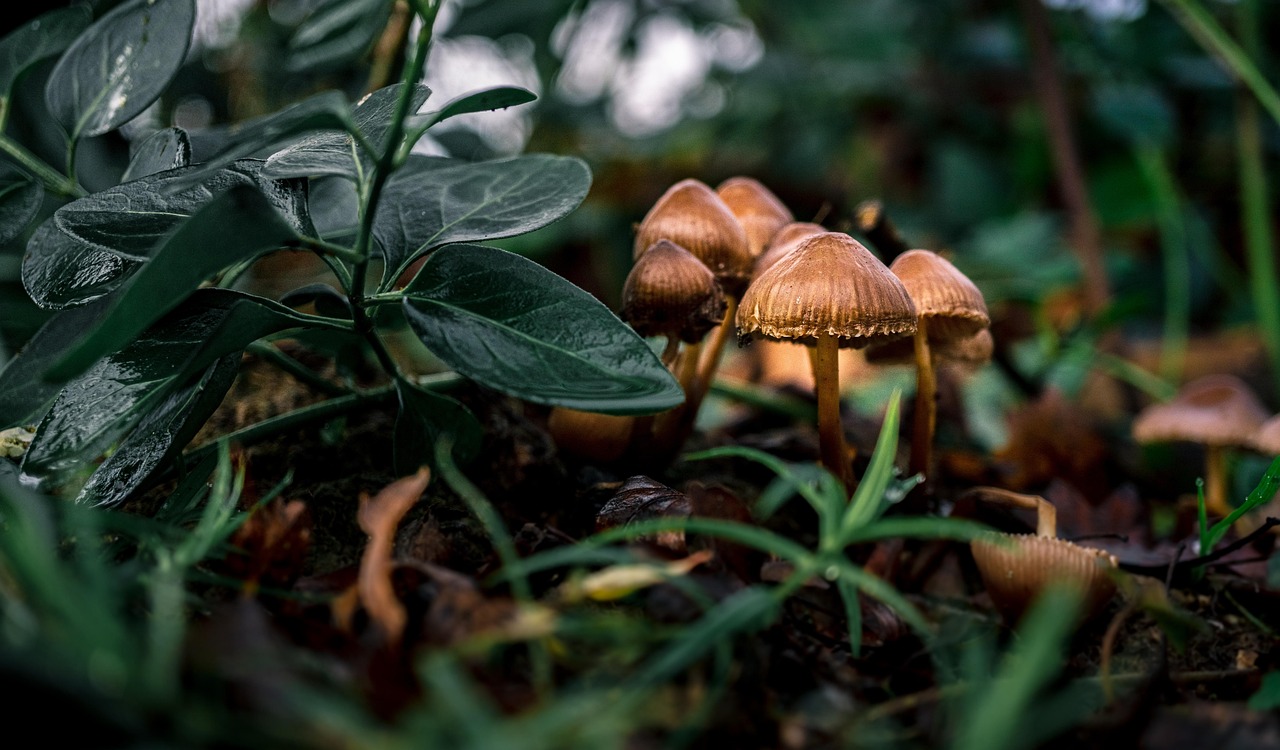
Follow-Up Care and When to Repot
If you have treated the surface of your soil but the fungus continues to reappear, the issue likely resides deep within the root ball. Surface treatments only address the symptoms, not the source. When mold or fungal growth persists, it is time to intervene by repotting your plant entirely.
To successfully repot and eliminate the fungus, follow these steps:
- Gently remove the plant from its current container and shake away as much old, contaminated soil as possible from the roots.
- Inspect the root system carefully. Healthy roots should be firm and pale. If you find any mushy, slimy, or black roots, trim them away using sterile pruning shears.
- Discard the old soil and the existing pot. If you intend to reuse the container, scrub it thoroughly with a mixture of one part bleach to nine parts water to kill lingering fungal spores.
- Repot the plant using a fresh, high-quality, sterile potting mix. Ensure the new pot has adequate drainage holes to prevent future moisture buildup.
Repotting is a significant stressor for any plant, so monitor it closely over the following weeks. Place it in a location with stable temperatures and avoid over-fertilizing until the plant has fully recovered.
In some cases, the damage may be too extensive to reverse. Seek professional advice or consider discarding the plant if you notice advanced signs of root decay, such as:
- Persistent wilting despite adequate soil moisture.
- Widespread yellowing or dropping of leaves.
- A distinct, foul, or swampy odor emanating from the soil, which often indicates anaerobic bacterial or fungal rot.
If your plant exhibits these symptoms, the root system may have already collapsed. In such instances, isolating the plant from your other greenery is essential to prevent the spread of spores. Prevention remains the best defense; always allow the top inch of soil to dry out completely between waterings to keep your indoor environment inhospitable to fungal growth.

Dedicated team of gardening enthusiasts with years of hands-on experience testing lawn mowers, gardening tools, and outdoor equipment. We help home gardeners and professionals alike make informed buying decisions with honest, thorough reviews. From push mowers to pruning shears, we test it all so you don’t have to. Got a gardening tool you’d like us to review? Get in touch!