
Many gardeners struggle with thin or patchy hedges, but the secret to a lush, dense screen lies in your pruning technique. To grow fuller hedges, you must trim them into a tapered shape that is wider at the bottom than the top, ensuring sunlight reaches the lower branches and encourages thick, uniform growth.
Achieving a perfectly dense hedge does not happen overnight, as it requires patience and consistent care throughout the growing season. While it is tempting to trim frequently, allowing your plants to develop a strong framework is essential for long-term health. Understanding these natural growth cycles is the key to preventing woody, sparse stems.
By mastering the balance between light exposure and strategic cutting, you can easily fill in unsightly gaps and maintain a healthy, compact shape year-round. This guide provides a clear, step-by-step process for pruning your hedges effectively. Follow these practical tips to transform your thin plants into a vibrant, full, and private garden barrier.

Understanding the Tapered Shape for Better Growth
The most common mistake gardeners make when pruning hedges is maintaining vertical or top-heavy sides. While a perfectly rectangular hedge might look tidy initially, it is a recipe for long-term decline. Over time, the top foliage shades the lower branches, causing the base to become sparse, woody, and bare.
To achieve a dense, lush hedge from top to bottom, you must prune your plants into a tapered, trapezoidal shape. By ensuring the base is wider than the top, you allow sunlight to reach the lower foliage. This exposure is essential for photosynthesis, which triggers the plant to produce new growth throughout its entire structure.
Follow these guidelines to master the tapered shape:
- Angle your cuts: Trim the sides of the hedge at a slight inward angle as you move upward. The bottom should be significantly wider than the top section.
- Prioritize the base: Never trim the bottom narrower than the top. If the top shades the base, the lower branches will eventually die back, leaving unsightly gaps that are difficult to repair.
- Check your progress: Step back frequently to view the hedge from a distance. A consistent, sloping profile ensures that every leaf receives the energy it needs to thrive.
- Maintain the slope: Even if you prefer a rounded top, keep the sides sloped. This structure mimics the natural growth habit of many shrubs and prevents the “leggy” appearance common in neglected hedges.
By adopting this trapezoidal pruning technique, you encourage the plant to divert its energy into lateral growth. This results in a fuller, healthier hedge that acts as a solid, vibrant screen rather than a collection of thin, woody stalks. Remember, the goal is to create a living wall that is as robust at the ground level as it is at the crown. With consistent shaping, your hedge will remain thick, green, and vigorous for years to come.
Essential Tools and Safety Precautions
Before you begin shaping your hedges, preparation is the most critical step. Using dull or dirty tools is the leading cause of ragged cuts, which leave your plants vulnerable to fungal infections and pests. Always sharpen your blades before starting and sanitize them with rubbing alcohol to ensure clean, quick-healing incisions.
Your personal safety is just as important as the health of your plants. Hedge trimming involves flying debris, sharp thorns, and heavy equipment. To protect yourself effectively, always wear the following gear:
- Heavy-duty gloves: Protect your hands from scratches, thorns, and blisters.
- Safety glasses: Shield your eyes from wood chips and stray twigs.
- Sturdy, closed-toe boots: Provide stability and prevent injury if a tool slips.
If you are using power tools, organization is key to avoiding accidents. Keep power cords positioned behind you at all times to prevent accidental cutting. If you are using battery-powered equipment, ensure your batteries are fully charged before you start; a tool that loses power mid-cut can snag or tear the branch rather than slicing through it.
Height management is a common area where accidents occur. Never attempt to operate hedge shears or trimmers above shoulder height while standing on a ladder. This position compromises your center of gravity and significantly increases the risk of a fall. Instead, follow these safety guidelines:
- Use long-reach pruners to extend your height safely from the ground.
- Utilize a stable, wide-based platform or scaffolding if you must reach higher areas.
- If the hedge is too tall to reach safely, consider a professional service or a lower, more manageable height for your shrubbery.
By keeping your equipment sharp and prioritizing your physical stability, you create a safe environment that allows you to focus on achieving that dense, full growth you desire. Taking these precautions ensures that both you and your hedges remain in peak condition throughout the growing season.

The Best Time to Prune for Maximum Density
Timing your pruning is the most effective way to encourage a thick, lush hedge. By cutting at the right moment, you signal the plant to direct its energy into developing dense, lateral growth rather than just reaching for the sky.
For the majority of deciduous and evergreen hedges, the ideal window for a significant, hard prune is in late winter or early spring. During this period, the plant is still dormant but preparing to enter its active growth cycle. Cutting just before the sap begins to rise ensures that the hedge has the entire growing season to recover and produce a flush of new, leafy shoots.
While hard pruning is reserved for the start of the season, light maintenance trimming can be performed throughout the spring and summer. This helps you keep the desired shape and prevents the hedge from looking ragged. Follow these timing guidelines to protect your plants:
- Late Winter/Early Spring: Perform structural pruning and heavy cutting to stimulate maximum density.
- Active Growing Season: Use light shears to tidy up stray growth and maintain your preferred hedge dimensions.
- Late Autumn: Avoid heavy pruning entirely. Cutting during this time encourages soft, tender growth that cannot harden off before the first frost, which often leads to dieback and winter damage.
If you are working with flowering hedges, adjust your schedule based on their bloom cycle. Prune spring-flowering varieties immediately after their blossoms fade to avoid cutting off next year’s buds. For summer-flowering varieties, stick to the late winter schedule to ensure a strong foundation before the flowers appear.
Consistency is key to density. By removing the tips of the branches, you break the plant’s natural tendency to grow from the top (apical dominance). This forces the plant to sprout new branches from the sides, effectively filling in gaps and creating the dense, privacy-providing wall you want. Always use sharp, clean tools to ensure clean cuts, which help the plant heal faster and prevent disease.
Step-by-Step Pruning Technique
Before you begin shaping your hedge, start by clearing out the clutter. Use sharp, sterilized pruning shears to remove any dead, diseased, or damaged branches. Clearing these out improves airflow throughout the center of the plant, which is essential for preventing fungal growth and encouraging healthy internal foliage.
Once the hedge is cleaned, focus on the sides to establish the structure. To ensure your hedge grows fuller, you must allow sunlight to reach the lower branches. Follow these steps to achieve the correct taper:
- Angle your cuts slightly inward as you move from the bottom to the top.
- Ensure the base of the hedge remains wider than the top.
- Keep the sides straight or slightly curved to prevent the bottom from becoming sparse and leggy.
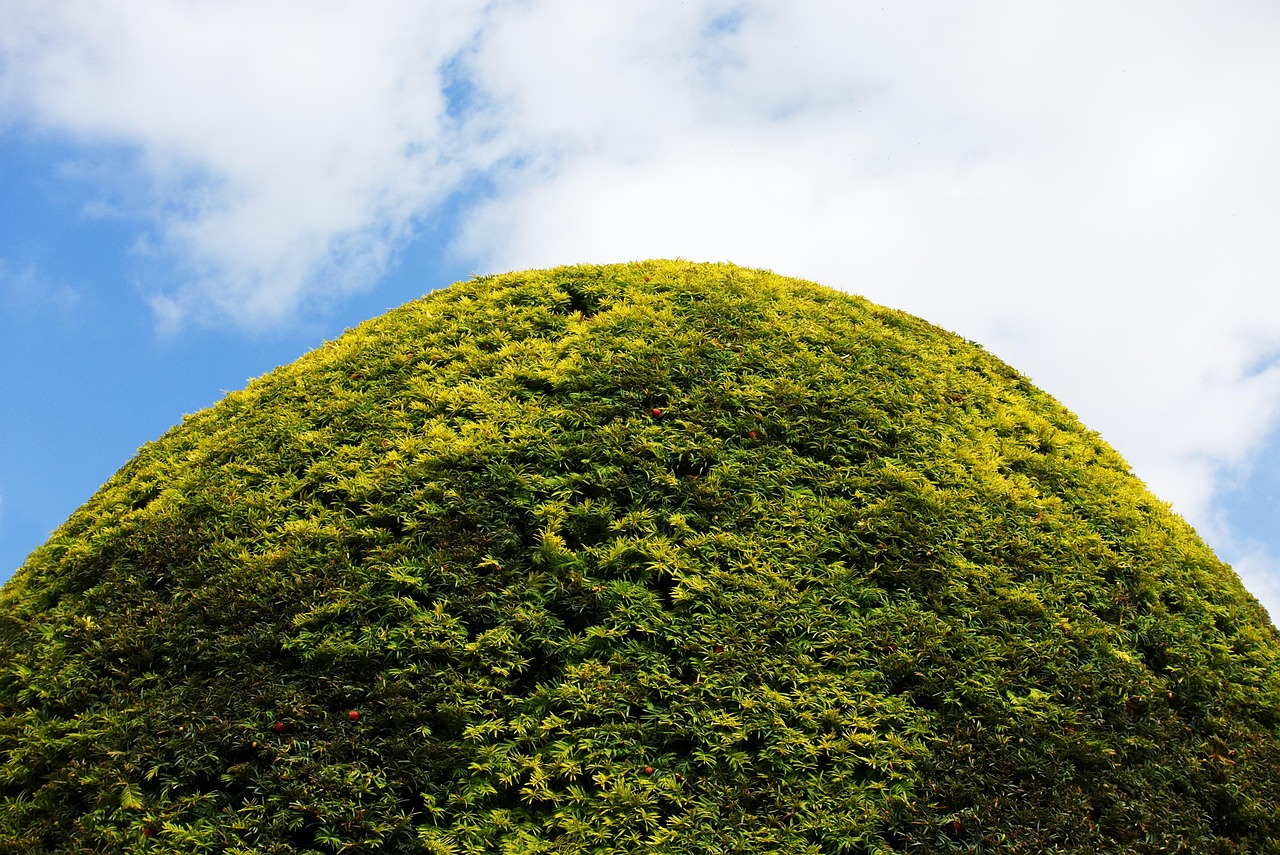
When you reach the top of the hedge, aim for a level or slightly rounded profile. A rounded top helps shed heavy snow in winter and prevents the top from shading out the lower sections of the plant. Avoid cutting completely flat if you live in an area with heavy precipitation, as a rounded top encourages better water runoff.
If your hedge has become severely overgrown or neglected, resist the urge to cut it back drastically in one session. Removing too much foliage at once can shock the plant and lead to permanent bare patches. Instead, follow these recovery guidelines:
- Prune back no more than one-third of the current season’s growth at a time.
- Allow the plant time to recover and produce new, dense shoots before your next pruning session.
- Maintain consistent moisture and light levels to support the plant while it regrows.
By taking a gradual approach, you encourage the plant to direct its energy into thickening the existing branches rather than struggling to survive a major injury. Patience is the secret to achieving a lush, uniform, and healthy hedge that provides privacy and beauty for years to come.
Follow-up Care and Troubleshooting
Pruning is only half the battle when trying to achieve a dense, full hedge. Once you have finished cutting, your plants require targeted support to recover their energy and stimulate new, healthy growth.
Immediately after pruning, apply a balanced, slow-release fertilizer around the base of the hedge. This provides the necessary nutrients to fuel the upcoming growth spurt. Follow this with a two-to-three-inch layer of organic mulch, such as wood chips or shredded bark, extending to the drip line. Mulching retains soil moisture, suppresses weeds that compete for resources, and improves soil structure as it breaks down.
If your hedge remains patchy or thin despite consistent pruning, the issue often lies beneath the surface or in the environment. Consider these common culprits:
- Poor Soil Drainage: Waterlogged soil can rot roots, preventing the plant from absorbing nutrients. Ensure the area isn’t prone to standing water.
- Insufficient Sunlight: Hedges, particularly the lower sections, need adequate light. If the bottom is shaded by taller structures or trees, it will naturally shed leaves.
- Pest Infestations: Inspect the underside of leaves for aphids, scale, or mites, which can sap the plant’s vitality and lead to thinning.
While minor thinning is common, severe dieback requires a more cautious approach. If you notice large, dead branches, discolored foliage, or suspicious spots that suggest a fungal infection, stop pruning immediately. Heavy cutting on a stressed or diseased plant can cause further decline or accelerate the spread of pathogens.
In these instances, it is best to consult with a certified arborist. A professional can accurately diagnose whether the problem is environmental, biological, or pathological. They can provide a tailored treatment plan, ensuring your hedge is healthy enough to withstand future pruning. Never attempt aggressive corrective cuts on a struggling shrub until you have ruled out underlying diseases, as this can lead to permanent damage or the loss of the entire hedge.

Dedicated team of gardening enthusiasts with years of hands-on experience testing lawn mowers, gardening tools, and outdoor equipment. We help home gardeners and professionals alike make informed buying decisions with honest, thorough reviews. From push mowers to pruning shears, we test it all so you don’t have to. Got a gardening tool you’d like us to review? Get in touch!