
Learning how to prune cedar shrubs is essential for maintaining their shape, health, and density. By following the correct techniques, you can encourage lush growth while preventing your hedges from becoming sparse or brown. Proper maintenance ensures your cedars remain a vibrant, attractive feature of your landscape for many years to come.
Pruning cedars requires patience and a clear understanding of their growth habits, as these plants do not grow back from old wood. It is important to set realistic expectations, as aggressive cutting can leave permanent gaps in your hedge. Understanding these biological limitations is the first step toward successful and sustainable plant care.
Our comprehensive guide covers the best timing, necessary tools, and safety practices to ensure your hedges thrive without suffering damage. We will walk you through the step-by-step process of shaping your shrubs effectively. With these practical tips, you will gain the confidence needed to keep your cedar hedges looking their absolute best all season.

When is the Best Time to Prune Cedar Shrubs
Timing is the most critical factor when pruning cedar shrubs. Because cedars do not regenerate growth from old, woody stems, improper timing can leave your hedge looking sparse or permanently damaged. Pruning at the wrong moment forces the plant to expend energy on recovery rather than healthy development, which can lead to unnecessary stress.
The ideal window for pruning cedars is late spring or early summer. You should wait until the plant has finished its initial flush of new, light green growth. By waiting for this stage, you ensure the shrub has enough energy to heal properly and that you are only removing the current season’s excess foliage. Trimming during this period allows the plant to recover quickly while it is in its most active growth phase.
To keep your cedars healthy and vibrant, follow these timing guidelines:
- Wait for new growth: Only prune once the new, soft needles have fully emerged and begun to harden.
- Avoid the heat: Try to prune on a cool, overcast day to prevent the freshly cut foliage from drying out in intense sunlight.
- Stop before autumn: Complete all pruning by mid-August. This allows the shrub enough time to “harden off” before the first frost arrives.
You must strictly avoid pruning in late autumn or winter. During these colder months, the cedar enters a state of dormancy. If you cut into the branches during this time, the plant lacks the metabolic capacity to seal its wounds effectively. Furthermore, exposing the inner structure of a cedar to freezing temperatures can cause significant frost damage to the exposed wood.
By adhering to this late spring to early summer schedule, you minimize the risk of disease and maintain the dense, lush appearance that makes cedars a popular choice for privacy screening. Patience is your greatest tool; waiting for the right season ensures your shrubs remain strong, resilient, and aesthetically pleasing throughout the year.
Essential Tools and Safety Equipment
Successfully pruning cedar shrubs requires the right equipment to ensure clean cuts and personal safety. Using dull or improper tools can crush plant stems, leading to ragged wounds that invite disease or slow the healing process. Before you begin, gather these essential items to ensure a professional finish:
- Bypass pruners: Use these for removing individual dead or crossing branches deep within the canopy. The scissor-like action ensures a clean cut without bruising the wood.
- Hedge shears: These are ideal for the final shaping of the outer foliage. Use them to maintain the desired silhouette of your cedar.
- Disinfectant: Always wipe your blades with rubbing alcohol between shrubs to prevent the accidental spread of fungal pathogens.
Safety is paramount when working with sharp garden tools. Cedar foliage can be abrasive and may cause skin irritation, so always wear heavy-duty, puncture-resistant gloves. Furthermore, fine debris often becomes airborne during trimming; wearing protective eyewear is non-negotiable to shield your eyes from flying needles and wood chips.
Proper footwear is equally important. Wear sturdy, closed-toe boots with good grip to prevent slips, especially if you are working on uneven terrain or damp grass. If you are using electric or gas-powered hedge trimmers, remain hyper-vigilant regarding your power cords. Always keep the cord positioned behind you and away from the cutting path to prevent accidental severing, which poses a significant electrocution hazard.
If your cedar shrubs have grown tall, you may be tempted to use a ladder to reach the top. Exercise extreme caution: ensure your ladder is placed on level, stable ground and never overreach. It is safer to have a second person stabilize the ladder while you work. If the shrub is too tall to prune safely from a stable position, consider hiring a professional arborist. Prioritizing your physical safety is just as vital as the health of your landscape.
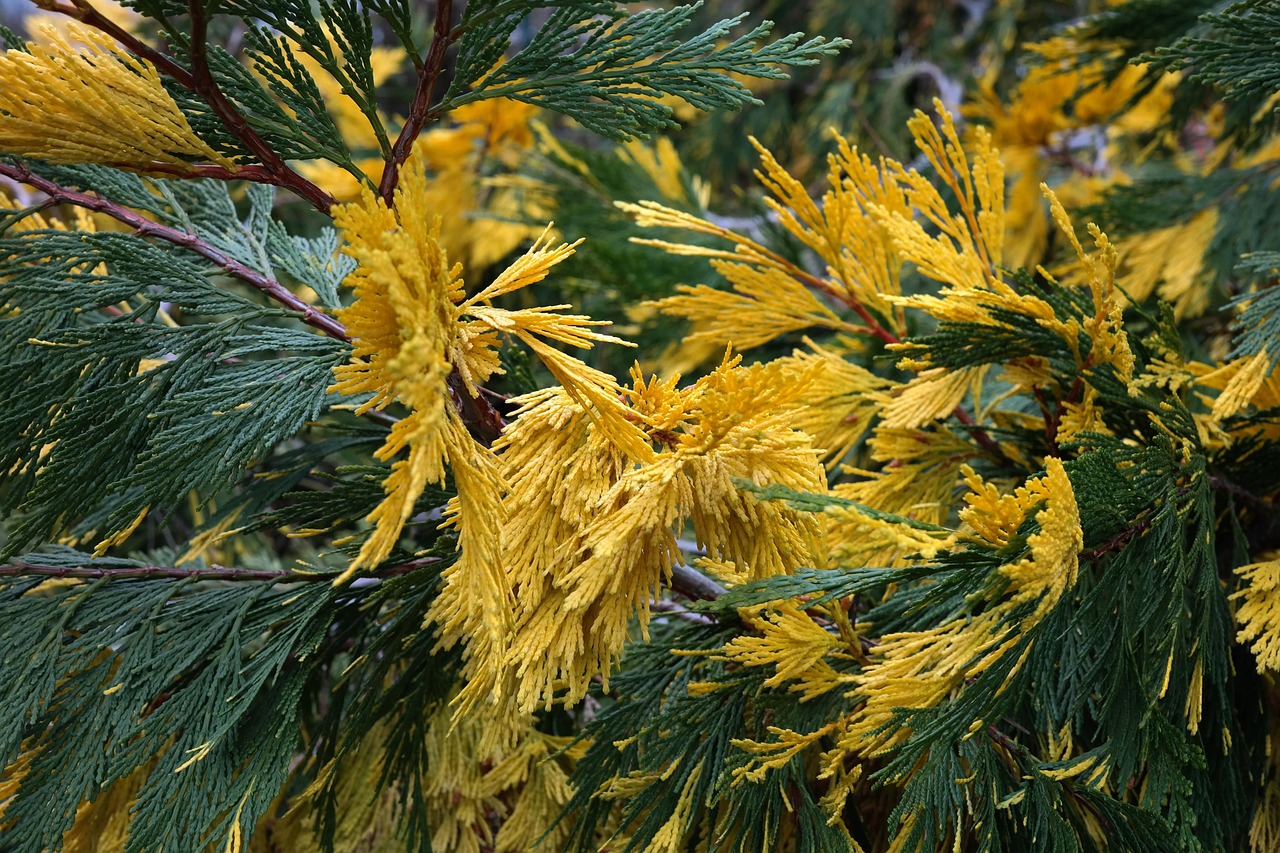
Step by Step Pruning Process
Pruning cedar shrubs requires precision and patience. Before you begin, ensure your shears are sharp and sterilized to prevent the spread of disease. Always work on a dry day to minimize the risk of fungal infections entering the fresh cuts.
Start by trimming the sides of the shrub. Use hedge shears to create a slight taper, ensuring the base of the plant is wider than the top. This shape allows sunlight to reach the lower branches, preventing them from thinning out or dying back due to shade.
Next, move to the top of the cedar. Trim only the current season’s green growth to maintain your desired height. Avoid aggressive shearing, as cedars do not have dormant buds on older wood.
The Golden Rule: Never cut into the brown, woody interior. Unlike many deciduous shrubs, cedars will not sprout new growth from bare branches. If you cut past the green foliage into the dead wood, that section will remain permanently bare, leaving an unsightly hole in your hedge.
Once the exterior is shaped, focus on the interior health of the plant:
- Gently reach inside the canopy to remove dead or diseased twigs.
- Thin out dense clusters of foliage to improve airflow and light penetration.
- Remove any branches that are crossing or rubbing against each other.
Thinning the interior is vital for long-term vitality. By allowing air to circulate through the center of the shrub, you reduce the risk of spider mites and fungal issues, which thrive in stagnant, humid environments. Only remove small amounts of internal growth at a time; you should never strip the interior bare. If you are unsure about a branch, it is safer to leave it than to risk creating a permanent gap. Regular, light pruning is far more effective for cedars than heavy, infrequent trimming. By following these steps, you will keep your shrubs dense, vibrant, and healthy for years to come.
Best Practices for Shaping and Density
To keep your cedar shrubs healthy and vibrant, the most critical rule is to maintain a tapered profile. Always ensure the base of the plant is wider than the top. This “pyramid” shape allows sunlight to reach the lower branches, preventing them from thinning out or dying back due to shade.
When pruning for shape and density, follow these guidelines:
- Work from the bottom up: Always start at the base to establish your desired width, then gradually narrow your cuts as you move toward the apex.
- Use light, frequent trims: Instead of cutting deep into the foliage, perform small, regular trims. This encourages lateral growth and increases overall density.
- Avoid the “dead zone”: Cedar foliage does not regenerate from old wood. Never prune so deeply that you expose the bare, brown interior stems, as these areas will not grow back and will leave permanent, unsightly holes.
Deciding between a natural look and a formal hedge depends on your pruning technique. For a natural, feathery appearance, use hand pruners to selectively remove individual branches back to a junction. This method maintains the plant’s organic silhouette and promotes airflow throughout the canopy.
If you prefer a formal, manicured hedge, you may use hedge shears to achieve clean, straight lines. However, be mindful that shearing creates a dense outer shell that can block light from the interior. To mitigate this, periodically reach inside with hand pruners to thin out crossing branches or dead twigs, which keeps the shrub vigorous and prevents internal rot.
Regardless of your chosen style, never remove more than one-third of the total foliage in a single season. Cedars are slow to recover from aggressive pruning, and over-trimming can induce significant stress, making the plant susceptible to pests and disease. By taking a conservative, patient approach, you can maintain a lush, full shrub that enhances your landscape for years to come.

Follow Up Care and Troubleshooting
After pruning your cedar shrubs, the plant enters a period of recovery. Proper follow-up care is essential to minimize stress and encourage healthy, dense regrowth.
Immediately after trimming, ensure your cedars receive a deep, thorough watering. Pruning can temporarily increase the plant’s moisture requirements as it works to seal cut sites. Apply water directly to the soil at the base of the shrub rather than overhead to keep the foliage dry and reduce the risk of fungal issues.
To help retain soil moisture and suppress weeds, apply a two-to-three-inch layer of organic mulch, such as wood chips or shredded bark, around the base. Keep the mulch a few inches away from the trunk to prevent rot and discourage pests.
If you notice browning needles, assess the situation carefully:
- Natural Shedding: It is normal for interior needles to turn brown and drop in late summer or autumn.
- Drought Stress: If the tips are brown and crispy, the plant likely needs more water.
- Fungal Disease: If you see distinct spots or lesions on the needles, or if browning occurs in irregular patches, you may be dealing with a blight.
While DIY maintenance is manageable for smaller hedges, some situations require professional intervention. You should contact a certified arborist if:
- The hedge is exceptionally tall, requiring the use of ladders or power equipment near electrical lines.
- You observe signs of severe pest infestation, such as webbing, sawdust-like frass, or visible insects that do not respond to basic care.
- The browning is widespread or rapidly progressing, which may indicate a systemic disease that requires professional diagnosis and specialized treatment.
Regular monitoring is your best defense. By keeping an eye on your cedars in the weeks following a prune, you can catch minor issues before they compromise the health or aesthetic value of your landscape. If in doubt, consult a local expert rather than applying heavy chemical treatments, which can often do more harm than good.

Dedicated team of gardening enthusiasts with years of hands-on experience testing lawn mowers, gardening tools, and outdoor equipment. We help home gardeners and professionals alike make informed buying decisions with honest, thorough reviews. From push mowers to pruning shears, we test it all so you don’t have to. Got a gardening tool you’d like us to review? Get in touch!