
You can easily propagate a pothos plant in soil by taking healthy stem cuttings and planting them directly into a fresh potting mix. This beginner-friendly method is perfect for turning one healthy vine into multiple lush plants with just a few simple steps and basic supplies, allowing your indoor jungle to grow rapidly.
While water propagation is popular, soil propagation allows your pothos to develop strong roots adapted to their permanent environment from the start. Success depends on maintaining consistent moisture and providing bright, indirect light, though you should expect a slightly longer establishment period compared to traditional water-based methods before seeing significant new growth.
In this guide, we will walk you through the essential tools you need and the exact technique for preparing your cuttings. We cover everything from identifying the best nodes for rooting to nurturing your new starts until they thrive. Follow these practical steps to master the art of multiplying your favorite houseplants today.
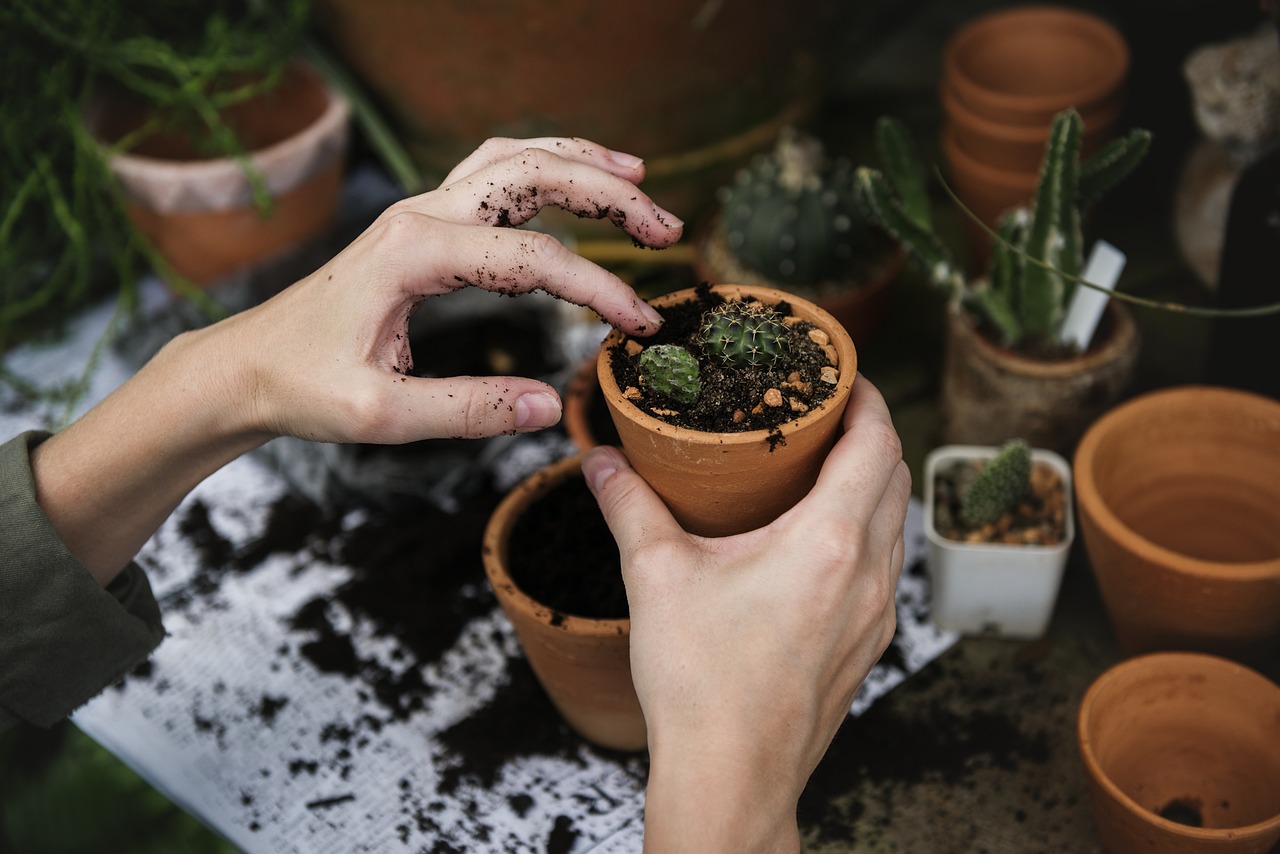
What You Need to Get Started
Before you begin propagating your pothos, gathering the right supplies ensures a smoother process and higher success rates. Having everything ready beforehand prevents you from scrambling while your cuttings are exposed to the air, which helps keep the plant tissue hydrated and healthy.
Here is what you will need to get started:
- A healthy pothos plant: Select a vine that is vibrant, free of pests, and shows no signs of yellowing or wilting.
- Sharp, sanitized pruning shears or scissors: Using a dull blade can crush the plant stem rather than cutting it. Always wipe your blades with rubbing alcohol before use to prevent the introduction of bacteria or fungi to the fresh wound.
- A small pot with drainage holes: Proper drainage is critical for pothos. Excess water must be able to escape to prevent root rot, which is the most common cause of failure in new cuttings.
- High-quality indoor potting mix: Choose a well-draining, peat-based or coco-coir-based mix. Avoid using garden soil, as it is often too dense and may harbor soil-borne pathogens.
Cleanliness is the most important factor when taking cuttings. A clean cut allows the plant to focus its energy on developing a callus and, eventually, new roots rather than fighting off an infection. If you do not have specialized pruning shears, standard household scissors work perfectly fine as long as they are sharp and thoroughly disinfected.
Finally, ensure your workspace is well-lit and prepared. While pothos are incredibly resilient, they appreciate a gentle touch. By preparing your materials in advance, you minimize the time the cutting spends outside of its growing medium. This efficient approach sets the stage for healthy root development and ensures your new plant gets the best possible start in its new home. Once your supplies are assembled, you are ready to identify the best stems for propagation.
Selecting and Cutting the Right Stem
The success of your propagation journey begins with choosing a vigorous, healthy vine. Look for a section of the pothos that is firm, vibrant in color, and free of yellowing leaves or signs of pests. A healthy mother plant provides the energy necessary for the cutting to develop a robust root system.
Once you have selected a vine, locate the nodes. These are the small, brown, nub-like bumps found along the stem where the leaves attach. The node is the biological powerhouse of the plant; it contains the meristematic cells required to sprout new roots. If you cut the stem without including a node, the cutting will likely wither rather than grow.
To prepare your cutting, follow these steps:
- Sanitize your shears or scissors with rubbing alcohol to prevent the transfer of bacteria or pathogens to the fresh wound.
- Identify a healthy node, ideally choosing a section with at least three to four leaves attached.
- Make a clean, decisive cut approximately one inch below the chosen node.
Safety is paramount when using gardening tools. Always maintain a clear view of your workspace and keep your fingers well away from the blade path. Because pothos stems can be surprisingly tough, ensure you are using sharp, clean blades to avoid crushing the stem tissue, which can hinder root development. By making a precise cut, you minimize trauma to both your cutting and the parent plant.
After making the cut, you may choose to remove the leaf closest to the bottom of the stem. This ensures that when you plant the cutting in soil, no foliage is buried underground, which helps prevent rot. Your cutting is now prepared and ready for the next stage of the propagation process. Always remember to store your cutting tools safely immediately after use to keep your gardening space secure for everyone in your home.

Preparing the Cuttings for Soil
Once you have selected a healthy vine, use clean, sharp pruning shears or scissors to make a precise cut. You want to aim for a segment that is four to six inches long. Most importantly, ensure your cut is just below a node—the small, brown bump on the stem where new leaves and aerial roots emerge. The node is the powerhouse of the plant; without it, your cutting will not be able to produce a new root system.
After taking your cutting, you must prepare it for the soil. Locate the leaves closest to the bottom of the stem and carefully snip them off. You should clear at least one inch of the stem, leaving only the top two or three leaves intact. This step is critical because any foliage buried beneath the soil line will decay, potentially introducing mold or bacteria that can kill your cutting.
While many gardeners choose to root pothos in water, you can successfully plant these prepared cuttings directly into a container with moist, well-draining potting mix. Follow these steps for the best results:
- Fill a small pot with a high-quality indoor potting soil mixed with a bit of perlite to improve aeration.
- Use a pencil or your finger to create a pilot hole in the center of the soil.
- Insert the stem into the hole, ensuring the node is fully submerged beneath the surface of the medium.
- Gently firm the soil around the base of the stem to hold the cutting upright and eliminate large air pockets.
Once planted, lightly water the soil to settle it around the node. Place the pot in a spot that receives bright, indirect light. Avoid direct sun, which can scorch the tender leaves before the roots have established. Keep the soil consistently moist but never waterlogged, as the cutting needs oxygen to trigger root growth. Within a few weeks, you should notice resistance when you gently tug on the stem, signaling that your new plant has taken hold.
Planting and Initial Setup
Once your pothos cutting has developed roots at least one to two inches long, it is time to transition it into soil. Choose a small pot—ideally four inches in diameter—that features drainage holes at the bottom. Using a container that is too large can lead to excess soil holding too much moisture, which often causes root rot in young, sensitive cuttings.
Fill your chosen pot with a high-quality, well-draining indoor potting mix. Avoid using heavy garden soil, as it compacts easily and restricts airflow to the delicate new roots. Before planting, lightly dampen the soil so it is moist but not saturated. Use a pencil or your finger to create a small hole in the center of the medium, deep enough to accommodate the root system without bending or damaging the stems.
Carefully place the cutting into the hole and gently firm the soil around the base of the stem. The goal is to provide enough support so the cutting stands upright without burying the leaves, which can lead to decay. Once positioned, follow these steps to ensure a successful transition:
- Provide Bright, Indirect Light: Place your new plant in a spot that receives plenty of natural light but is shielded from harsh, direct sunbeams, which can scorch the foliage.
- Maintain Consistent Moisture: Keep the soil lightly moist for the first two to three weeks. You can check this by pressing your finger a half-inch into the soil; if it feels dry, add a small amount of water.
- Avoid Overwatering: While the soil should be damp, it must never be waterlogged. Ensure the pot drains completely after each watering to prevent the roots from suffocating.
After about a month, you will notice the plant becoming more stable as the roots anchor themselves into the soil. At this point, you can gradually transition to a standard watering schedule, allowing the top inch of soil to dry out completely between waterings.

Follow-Up Care and Troubleshooting
Once your pothos cuttings are planted in fresh potting mix, the transition period is critical. Keep the soil consistently moist but never waterlogged. Because the cuttings lack an established root system, they cannot efficiently absorb large amounts of water, so aim for a damp, sponge-like consistency rather than mud.
Place your pots in a spot with bright, indirect sunlight. Avoid harsh, direct rays, which can scorch the delicate foliage before the plant has the strength to support new growth. You should begin to see signs of success within four to six weeks, typically marked by the emergence of new, small leaves from the nodes.
If you notice your cuttings struggling, use this troubleshooting guide to correct the environment:
- Wilting: If leaves droop, the soil might be too dry, or the roots may not have established contact with the medium. Gently firm the soil around the base of the stem to ensure stability.
- Yellowing leaves: This is often a sign of overwatering or poor drainage. Ensure your pot has drainage holes and that you are emptying any excess water from the saucer immediately.
- Stunted growth: If the cutting remains unchanged for several months, it may need more ambient light or a slightly warmer environment to trigger root development.
Maintaining a stable environment is the best way to prevent complications. Avoid moving the pots frequently, as pothos prefer to acclimate to a specific light level. If you detect a fuzzy white substance on the soil surface, this is likely mold caused by poor air circulation. Simply scrape off the top layer of soil and increase airflow around the container.
Should you encounter persistent issues, such as recurring fungus gnats or unexplained stem rot, do not hesitate to consult a local nursery professional. They can provide specific diagnostic help based on your local climate and humidity levels. With patience and consistent moisture levels, your cuttings will soon transform into thriving, vining plants.

Dedicated team of gardening enthusiasts with years of hands-on experience testing lawn mowers, gardening tools, and outdoor equipment. We help home gardeners and professionals alike make informed buying decisions with honest, thorough reviews. From push mowers to pruning shears, we test it all so you don’t have to. Got a gardening tool you’d like us to review? Get in touch!