
To plant pothos cuttings in soil, wait until the roots are at least two inches long before moving them from water to a pot. This transition allows your cuttings to establish a strong foundation in their new environment, ensuring they continue to grow into lush, trailing houseplants that thrive indoors for years.
Successfully moving water-grown cuttings to soil requires patience and the right conditions. While pothos are famously resilient, they often experience a brief period of shock during this change. Providing consistent moisture and adequate drainage is essential to help your plant adapt quickly and prevent the delicate new roots from rotting.
Learn how to successfully transition your propagated pothos cuttings from water to soil. This guide covers the essential steps for healthy root development and long-term growth for your trailing houseplant. Follow these practical tips to master the potting process, choose the best soil mix, and keep your new pothos healthy and vibrant.
Preparing Your Pothos Cuttings
Before moving your water-propagated pothos into soil, patience is your most valuable tool. While it is tempting to plant cuttings as soon as small nubs appear, waiting for the roots to reach a length of two to three inches significantly increases the plant’s chances of survival. This length ensures the root system is robust enough to handle the transition from a purely aquatic environment to the more complex structure of potting mix.
During this waiting period, inspect your cuttings closely. A healthy root system should look firm, white, or light tan. If you notice any roots that appear mushy, slimy, or discolored—common signs of root rot—you must address them before potting. Using a pair of clean, sharp pruning shears, carefully trim away any compromised sections. Sterilizing your shears with rubbing alcohol before and after this process prevents the spread of bacteria to the healthy parts of the plant.
Once your cuttings have reached the ideal root length and passed a health check, gather the necessary supplies to ensure a smooth transition:
- Potting mix: Choose a high-quality, well-draining indoor potting soil. Pothos prefer a mix that retains some moisture but does not stay waterlogged.
- Container: Select a pot with adequate drainage holes to prevent excess water from pooling at the bottom.
- Sterilized shears: Keep your pruning tool handy for any final adjustments to the root structure.
- Water: Have a source of room-temperature water ready for the initial post-planting hydration.
By taking these preparatory steps, you provide your pothos with the best possible foundation for long-term growth. Moving a cutting prematurely or failing to remove decaying tissue can lead to transplant shock or soil-borne pathogens. A little extra diligence during this phase ensures that your new pothos will thrive in its permanent home, eventually rewarding you with long, trailing vines and lush, variegated foliage. Once the cuttings are prepared, you are ready to move on to the planting stage with confidence.
Selecting the Right Pot and Soil Mix
Selecting the correct vessel and growing medium is the most critical step in ensuring your pothos cuttings transition successfully from water to soil. Because pothos are highly susceptible to root rot, your primary goal is to create an environment that holds moisture without becoming waterlogged.
Always choose a pot that features at least one drainage hole at the bottom. Without a way for excess water to escape, moisture pools at the base of the container, suffocating the delicate new roots and leading to rapid decay. If you have a decorative pot without a hole, use it as a cachepot by placing your nursery pot inside it, ensuring you empty any standing water after every irrigation.
When it comes to your growing medium, standard garden soil is too dense and will compact around the roots, preventing necessary oxygen flow. Instead, use a high-quality indoor potting mix. To further improve drainage and aeration, consider amending the soil with one of the following additions:
- Perlite: These small, white volcanic glass rocks create tiny air pockets within the soil, allowing roots to breathe and preventing compaction.
- Orchid Bark: Adding small pieces of bark mimics the pothos’ natural epiphytic environment, promoting excellent drainage and preventing the soil from staying soggy for too long.
- Coarse Sand or Pumice: If you cannot find perlite, these materials also provide the necessary grit to keep the soil structure loose.
A simple, effective ratio for a custom mix is two parts high-quality potting soil to one part perlite or orchid bark. This blend provides enough structure to support the cutting while ensuring that water drains freely. Before planting, lightly moisten the soil mix so it is damp to the touch but not dripping wet. This pre-moistening process helps the new roots settle into their environment immediately without the shock of a sudden, heavy watering, giving your pothos the best possible start in its new home.

The Planting Process
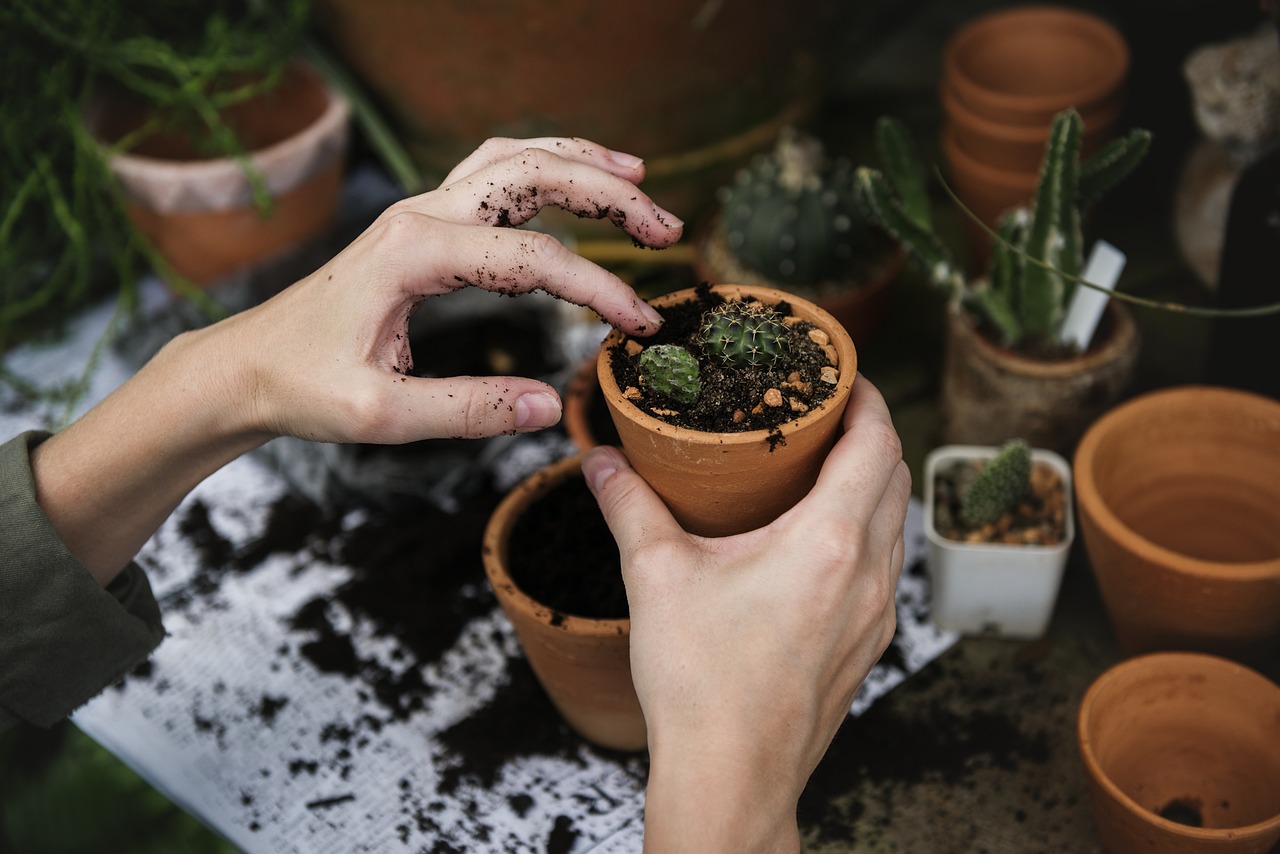
Once your pothos cuttings have developed roots at least two inches long, they are ready for their permanent home. Start by selecting a pot with adequate drainage holes to prevent root rot. Fill the container with a high-quality, well-draining indoor potting mix, leaving about an inch of space at the top to allow for easy watering.
Before introducing your cutting, use your finger or a small garden trowel to create a well in the center of the soil. This hole should be deep enough to accommodate the entire root system without forcing or bending the delicate growth. If you are using any tools to assist with this process, handle them with caution to avoid injury or accidental damage to the container.
Carefully place the cutting into the well, ensuring the roots are fully submerged in the soil. Pothos roots are notoriously brittle, so support the stem gently with one hand while you work. If you feel resistance, do not force the cutting deeper; simply widen the hole slightly to avoid snapping the roots.
Once the cutting is positioned, follow these steps to secure it:
- Gently fill in the remaining space around the roots with loose potting mix.
- Use your fingertips to lightly firm the soil around the base of the stem. Do not pack the soil too tightly, as the roots need oxygen to establish themselves.
- Ensure the stem is upright and stable. If the cutting is long or top-heavy, you may need to add a small stake for temporary support.
Immediately after planting, give the soil a thorough, gentle watering to settle the mix around the roots. Place the pot in a spot with bright, indirect sunlight and keep the soil consistently moist—but not waterlogged—for the first two weeks. This transition period is vital for the cutting to acclimate to its new environment. With patience and a delicate touch, your new pothos will soon begin to thrive and vine outward.
Initial Watering and Placement
Once your pothos cutting is nestled in its new pot, the most critical step is the initial watering. Even if your potting mix felt slightly damp straight from the bag, you must saturate the soil thoroughly immediately after planting. This process serves two essential purposes: it eliminates large air pockets around the delicate roots and ensures the stem makes firm contact with the medium, which is vital for establishing a strong root system.
Water until you see moisture escaping from the drainage holes at the bottom of the pot. If the soil settles significantly after this first drink, feel free to add a small amount of extra potting mix to the top, but avoid packing it down too tightly, as roots require oxygen to thrive.
After watering, your cutting needs a period of stabilization. During this transition phase, proper placement is key to preventing transplant shock. Follow these guidelines to ensure your pothos settles in comfortably:
- Prioritize bright, indirect light: Place your pot in a spot that receives plenty of natural light but is shielded from the sun’s rays. A location a few feet away from a sunny window or behind a sheer curtain is ideal.
- Avoid direct sun: Never place a freshly potted cutting in direct sunlight. The intense energy can cause the leaves to scorch and dehydrate the cutting before it has developed the root mass necessary to support itself.
- Maintain consistent conditions: Try to keep the plant away from drafty windows, heating vents, or air conditioning units. Sudden temperature fluctuations can stress the plant and stall its growth.
Monitor the soil moisture over the next few days. Because the cutting has not yet fully established its root system, it cannot take up water efficiently. Keep the soil lightly moist—but never waterlogged—to encourage the cutting to focus its energy on root development rather than leaf production. With consistent, gentle care, you will notice new growth within a few weeks, signaling that your pothos has successfully taken hold.

Follow-Up Care and Troubleshooting
Once your pothos cuttings are in the soil, the transition period is critical. For the first two to three weeks, keep the soil consistently moist—but not waterlogged—to help the cuttings adjust from a water-based environment to a soil medium. After this initial period, you can transition to a standard watering schedule, allowing the top inch of soil to dry out completely before watering again.
You will know your plant has successfully established itself when you notice new growth emerging from the nodes. You can also gently tug on the cutting; if you feel slight resistance, it indicates that a healthy root system has begun to anchor into the soil.
If you notice your pothos struggling, use these troubleshooting tips to diagnose the issue:
- Drooping leaves: This is usually a sign of underwatering. Check the soil moisture; if it is bone-dry, give the plant a thorough watering and it should perk up within 24 hours.
- Yellowing leaves: This often points to overwatering or poor drainage. Ensure your pot has drainage holes and that the plant is not sitting in a saucer of standing water.
- Stunted growth or leggy stems: This typically indicates insufficient light. Move your pothos to a spot with brighter, indirect sunlight.
If your plant shows signs of severe decline, such as mushy stems or a foul odor emanating from the soil, it is time to investigate the root system. Carefully remove the cutting from its pot to inspect the roots. Healthy roots should be firm and white or light tan. If you find dark, slimy, or brittle roots, you are likely dealing with root rot. Trim away the affected sections with sterilized scissors, repot the healthy remainder in fresh, well-draining potting mix, and reduce your watering frequency.
By monitoring light levels and soil moisture closely during these first few weeks, you provide your pothos with the best foundation for long-term, vigorous growth.