
Dealing with fungus gnats can be frustrating for any gardener. These small, flying insects are often caused by overwatering and can damage plant roots if left unchecked. By adjusting your watering habits and using simple traps, you can quickly stop these pests from disrupting your indoor greenery and outdoor garden beds.
While seeing tiny flies buzzing around your pots is annoying, a total infestation does not mean you have failed as a plant parent. Most gnat problems are manageable with basic garden maintenance and the right tools. Understanding their life cycle is the first step toward reclaiming your space and protecting your favorite plants.
This guide provides actionable steps to identify, eliminate, and prevent gnat infestations in your indoor and outdoor garden using simple, effective methods. We will explore how to use hand tools for soil aeration and proper outdoor power equipment to maintain a healthy environment. Follow these practical tips to keep your garden thriving and pest-free.
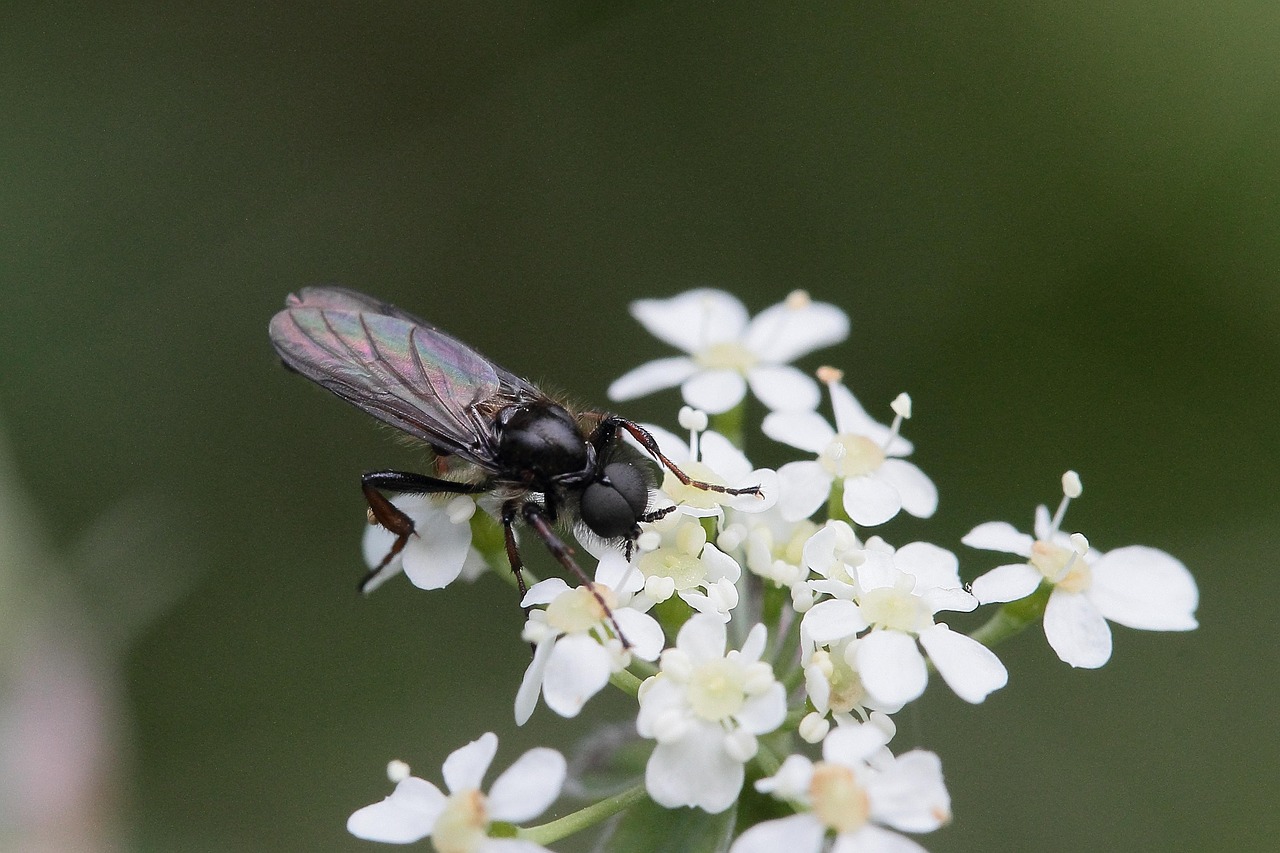
Identify the Source of the Infestation
Before you reach for heavy-duty garden maintenance tools or outdoor power equipment, you must confirm that your plants are actually suffering from a fungus gnat infestation. Misidentifying the pest can lead to unnecessary chemical treatments that may harm your soil health or damage delicate root systems.
Fungus gnats are primarily attracted to consistently moist soil and decaying organic matter. If you notice tiny black flies hovering near the surface of your potting mix or darting around the base of your pots, you are likely dealing with these common pests. They thrive in environments where the top layer of soil remains damp for extended periods, making overwatered houseplants their primary target.
To verify the infestation, perform a quick physical inspection of your plants:
- Visual Check: Gently tap the side of your pots. If small, winged insects fly up immediately, they are likely fungus gnats.
- Sticky Trap Test: Place a yellow sticky card near the soil surface. Fungus gnats are highly attracted to the color yellow and will become trapped, allowing you to confirm their presence.
- Root Health: Inspect the plant for signs of stress. If your plant appears wilted despite having moist soil, or if you notice stunted growth, the gnat larvae may be feeding on the root hairs underground.
- Soil Surface: Look for evidence of fungal growth or mold on the top layer of the potting soil, as this provides the food source for developing larvae.
Once you have identified the source, avoid using harsh outdoor power equipment or industrial-strength pesticides, which are often overkill for indoor container gardening. Instead, focus on mechanical and cultural controls. The most effective first step is to allow the top two inches of your potting soil to dry out completely between waterings. This simple adjustment disrupts the gnat life cycle by desiccating the eggs and larvae living in the upper soil profile.
If you find that your soil stays wet for too long, consider repotting into a better-draining mix or using hand tools to lightly aerate the surface. This improves airflow and helps the soil dry more evenly, making your plants far less hospitable to future infestations.
Adjust Watering Habits to Dry Out Soil
The most effective way to break the fungus gnat life cycle is to eliminate their primary breeding ground: consistently damp potting soil. Fungus gnats thrive in moisture-rich environments, where they lay eggs that hatch into larvae feeding on organic matter and delicate root hairs. By adjusting your watering habits, you can create an inhospitable environment that kills existing larvae and discourages adults from returning.
The golden rule for gnat control is to allow the top two inches of your potting mix to dry out completely between waterings. When the surface remains dry, the eggs and larvae buried in the upper layers of soil perish, effectively halting the infestation.
Follow these practical steps to manage soil moisture safely:
- The Finger Test: Before reaching for your watering can, insert your finger two inches deep into the soil. If you feel any dampness, wait a few more days before adding water.
- Check Drainage: Ensure your pots have adequate drainage holes. If water sits at the bottom of the pot, the soil will remain saturated for too long, inviting pests and root rot.
- Empty Saucers: Never leave pots sitting in standing water. Always discard excess water from saucers or decorative cachepots within 30 minutes of watering.
- Improve Aeration: Use a small hand cultivator or a simple chopstick to gently stir the top inch of soil. This increases airflow, helping the potting mix dry out more evenly and quickly.
If you struggle to judge moisture levels by touch, consider using a moisture meter. This simple garden tool provides a concrete reading of the soil’s hydration status, removing the guesswork from your maintenance routine. Additionally, if you find that your soil stays wet for more than a week, it may be time to repot your plant into a better-draining mix amended with perlite or pumice.
Consistency is key. While it may be tempting to water on a rigid schedule, your plants’ needs change based on light, humidity, and temperature. By prioritizing soil dryness, you protect your plant’s root health while simultaneously starving the gnat population. Once the top two inches are consistently dry, you will notice a significant reduction in adult gnat activity within one to two weeks.

Use Physical Barriers and Traps
Mechanical controls are often the most immediate way to break the life cycle of fungus gnats. By targeting both the flying adults and the larvae-producing soil surface, you can significantly reduce their population without relying on harsh chemical sprays.
The most effective tool for managing adult gnats is the yellow sticky trap. Fungus gnats are naturally attracted to the color yellow, which they associate with flowers and food sources. Placing these traps near the base of your plants or hanging them just above the soil line will catch adults before they have the chance to mate and lay more eggs.
To stop the cycle at the source, you must prevent the adults from accessing the moist soil where they deposit their eggs. Implementing a physical barrier is a simple, non-toxic solution:
- Apply a sand layer: Add a half-inch to one-inch layer of fine horticultural sand or decorative gravel to the top of your potting soil.
- Ensure complete coverage: Make sure the sand reaches all the way to the edge of the pot, leaving no gaps where gnats could crawl through.
- Maintain dryness: Because the sand dries out rapidly after watering, it creates a hostile, arid environment that adult gnats find unappealing.
When you water your plants, pour the water directly onto the sand layer. Because the sand does not retain moisture like organic potting mix, the surface remains dry even when the roots below are hydrated. This simple modification to your routine effectively “seals” the nursery, forcing the adults to look elsewhere for a place to reproduce.
For best results, combine these two methods. Use sticky traps to capture the existing population of flying adults while simultaneously applying the sand barrier to block future generations. This dual-action approach is far more successful than using traps alone, as it addresses the root cause of the infestation. If you notice the sand layer becoming mixed with soil over time, simply top it off to maintain the barrier’s integrity. These mechanical interventions are safe, inexpensive, and provide a reliable way to keep your indoor garden free from these persistent pests while protecting the health of your plants.
Apply Natural Treatments Safely
If your gnat infestation persists despite cultural controls like adjusting your watering schedule, you may need to introduce biological treatments. The most effective, natural solution is Bacillus thuringiensis israelensis (BTI). This naturally occurring bacterium specifically targets fungus gnat larvae in the soil without harming your plants, beneficial insects, or household pets.
BTI is typically available in liquid, granule, or “dunk” forms. To use it effectively, dissolve the product into your watering can according to the manufacturer’s concentration ratios. Apply this mixture to the soil surface during your regular watering routine. Because BTI only kills the larvae, you must repeat the application for several weeks to break the life cycle as new eggs hatch.
When working with any organic sprays, soil additives, or biological controls, prioritize safety to protect yourself and your home environment:
- Wear protective gear: Always use gardening gloves when handling soil amendments or chemical treatments to prevent skin irritation.
- Ensure proper ventilation: If you are treating indoor plants, open windows or work in a well-ventilated area to avoid inhaling any dust or aerosolized particles.
- Follow label instructions: Never guess the dosage. Using more product than recommended can stress your plants or damage delicate root systems.
- Secure storage: Keep all gardening treatments, including BTI products and concentrated sprays, in their original containers. Store them in a cool, dry place strictly out of reach of children and pets.
- Wash up: Thoroughly wash your hands and any gardening tools used during the application process immediately after you finish.
While these treatments are highly effective, they work best when combined with good maintenance habits. Regularly cleaning your garden tools and ensuring that your pots have adequate drainage will prevent the damp, stagnant conditions that gnats prefer. If you notice a persistent problem, inspect the drainage saucers beneath your pots; these often harbor excess moisture and serve as breeding grounds for larvae. By combining BTI treatments with diligent soil management, you can eliminate the current population and prevent future outbreaks. Always monitor your plants closely for a few weeks after treatment to ensure the infestation has been fully resolved.

Follow-up Care and When to Seek Help
Eliminating fungus gnats is rarely a one-time event. After your initial treatment, maintain a vigilant watch over your plants for at least three to four weeks. Gnats have a rapid life cycle, and eggs hidden deep within the substrate can hatch even after adults appear to be gone. Continue using yellow sticky traps to monitor for any new flying adults, which will help you gauge if the population is truly declining.
If you notice gnats persisting across multiple pots, the infestation likely resides in the soil itself. In these cases, the most effective solution is to repot your plants. Use fresh, high-quality, sterile potting mix to eliminate any lingering larvae or pupae. Avoid reusing the old soil, as it may harbor eggs that will restart the cycle.
When repotting, your gardening tools play a critical role in preventing the spread of pests. Follow these steps to ensure your equipment is safe to use:
- Scrub any hand trowels or cultivators with warm, soapy water to remove debris.
- Sanitize tools by wiping them down with a solution of one part bleach to nine parts water, or use 70% isopropyl alcohol.
- Allow tools to air dry completely before touching your clean soil or healthy plants.
- If you use outdoor power equipment for larger container gardens, ensure all attachments are free of organic matter that could trap moisture and pests.
Proper garden maintenance goes beyond just soil management. Ensure your pots have adequate drainage holes and avoid letting water sit in saucers, as damp conditions provide the perfect breeding ground for gnats. If you are using moisture-retaining additives or top-dressings, consider removing them until the infestation is fully controlled, as these materials often trap moisture at the surface level.
If you have exhausted these DIY methods and the gnats continue to thrive, do not hesitate to seek expert help. A widespread infestation can sometimes indicate deeper issues, such as root rot or improper watering habits that require a professional assessment. Contact your local gardening center or a university agricultural extension office. These resources can provide region-specific advice, identify if you are dealing with a different type of pest, and recommend safe, targeted treatments that protect both your plants and your home environment.

Dedicated team of gardening enthusiasts with years of hands-on experience testing lawn mowers, gardening tools, and outdoor equipment. We help home gardeners and professionals alike make informed buying decisions with honest, thorough reviews. From push mowers to pruning shears, we test it all so you don’t have to. Got a gardening tool you’d like us to review? Get in touch!