
To keep gnats off your plants, you must eliminate their breeding grounds by allowing the top inch of soil to dry out completely between waterings. Fungus gnats are a common frustration for indoor and outdoor gardeners, often appearing as tiny black flies hovering around soil, but they are easily managed with consistent moisture control.
Successfully managing these pests requires a combination of patience and the right approach to garden maintenance. While a few gnats are usually harmless, a large infestation can damage delicate roots and stunt growth. Understanding the life cycle of these insects is essential for setting realistic expectations and effectively protecting your prized greenery.
This guide explains how to identify the source of the infestation, safely eliminate existing pests, and implement long-term maintenance strategies to keep your plants healthy and gnat-free. From utilizing yellow sticky traps to choosing the right hand tools for soil aeration, we provide practical advice to help you restore your garden’s peaceful environment today.
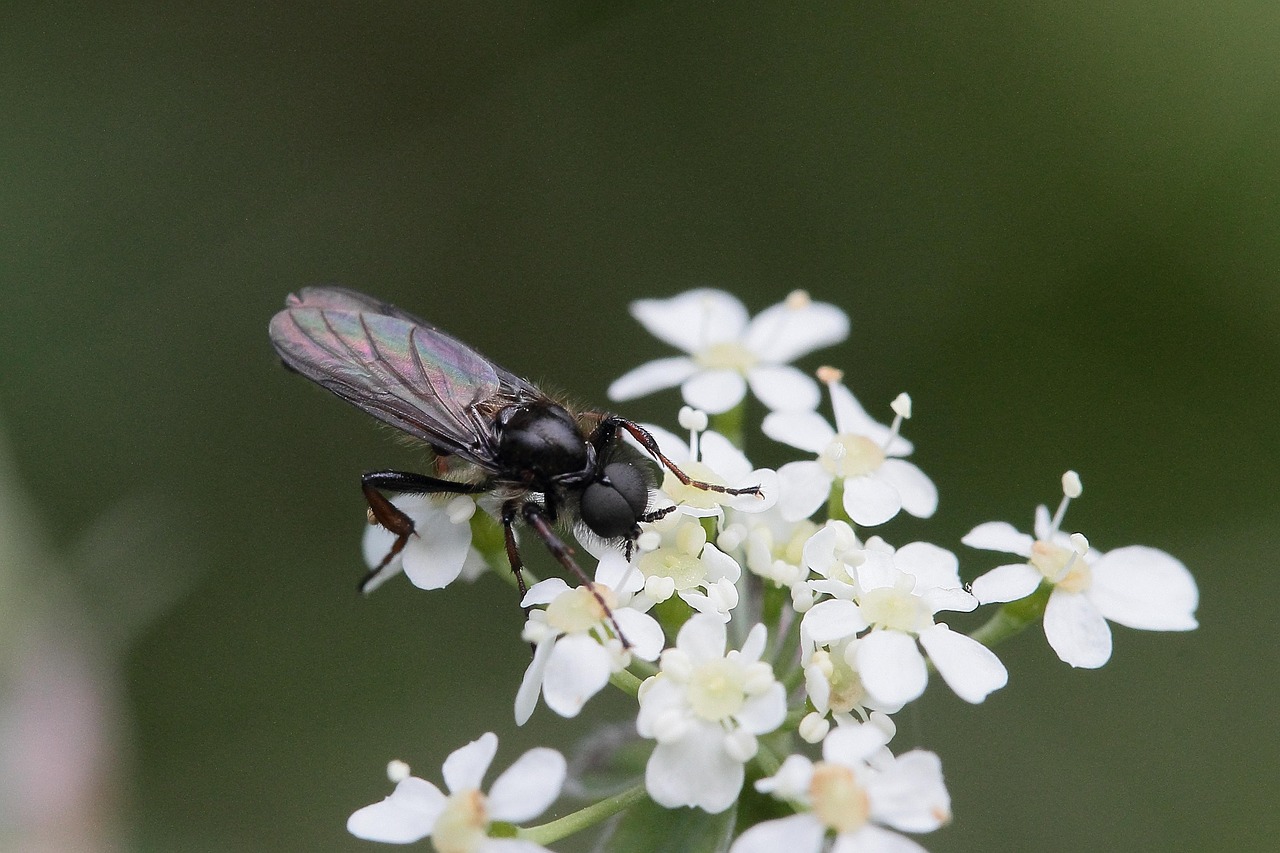
Identify and Assess the Infestation
Before you reach for pesticides or organic remedies, you must confirm that fungus gnats are the true culprit behind your plant troubles. Misidentifying pests can lead to unnecessary chemical use, which may harm your plants or disrupt the local ecosystem. Fungus gnats are primarily attracted to moist, nutrient-rich soil and decaying organic matter, making them common in households with overwatered houseplants.
To assess the infestation, start with a simple physical check of your containers:
- The Tap Test: Gently tap the side of your plant pots. Fungus gnats are not strong fliers and typically rest on the surface of the soil. If you see a small cloud of tiny, dark-colored flies take flight and quickly land again, they are likely nesting in your potting medium.
- Visual Inspection: Look closely at the soil surface. You may see the adults crawling or resting near the base of the stem.
- Check for Larvae: If you suspect a heavy infestation, carefully scrape back the top half-inch of soil. The larvae are translucent, worm-like creatures with shiny black heads, often found near the roots.
It is equally important to rule out other common houseplant pests that require different management strategies. While fungus gnats focus on the soil, other insects target the foliage directly. Inspect the undersides of leaves and the stems for the following signs:
- Spider Mites: Look for fine, silky webbing between leaf joints or tiny, stippled yellow spots on the leaves.
- Aphids: These are usually found in clusters on new, tender growth and often leave behind a sticky residue known as honeydew.
- Mealybugs: These appear as small, white, cottony masses tucked into the crevices where leaves meet the stem.
If your plants show leaf curling, discoloration, or webbing, you are likely dealing with a sap-sucking pest rather than fungus gnats. However, if your plants look relatively healthy but you are frustrated by a swarm of tiny flies every time you water, you have successfully identified a fungus gnat issue. Once confirmed, you can focus your efforts on drying out the soil and breaking the gnat’s reproductive cycle, which is far more effective than treating the air around the plant.
Adjust Watering Habits to Deter Gnats
The most effective way to eliminate a fungus gnat infestation is to disrupt their breeding cycle. These pests thrive in moist, organic-rich environments, specifically favoring the damp conditions found in the top layer of potting soil. By altering your watering routine, you can create a hostile environment that prevents larvae from surviving.
The golden rule for gnat control is to allow the top two inches of your potting soil to dry out completely between waterings. When the surface remains consistently wet, it provides the perfect nursery for gnat eggs and larvae. Allowing this dry period effectively kills the larvae and prevents adult gnats from laying new eggs.
Beyond pest control, this technique encourages healthier plant growth. When soil stays perpetually saturated, roots are deprived of necessary oxygen, which can lead to root rot. Forcing the soil to dry out encourages roots to grow deeper in search of moisture, resulting in a more robust and resilient plant.
To implement this change effectively, follow these practical steps:
- Check before you pour: Never water on a strict schedule. Instead, insert your finger two inches into the soil. If you feel moisture, wait another day or two before watering again.
- Use a moisture meter: If you are unsure about soil depth, an inexpensive moisture meter can provide an accurate reading of the root zone’s hydration levels.
- Check drainage: Ensure your pots have functional drainage holes. If water sits in the saucer at the bottom of the pot, it will keep the soil wicked and moist, negating your efforts to dry out the surface. Empty these saucers promptly after watering.
- Water from the bottom: Place your pot in a bowl of water for 15–20 minutes to allow the roots to absorb moisture from below. This keeps the top layer of soil dry, which is the primary area where gnats congregate and lay their eggs.
Consistency is key. While it may take a few weeks to break the life cycle, keeping the top layer of your soil dry is the most sustainable, chemical-free method to reclaim your garden from gnats. Monitor your plants closely; if they show signs of wilting, adjust your timing, but always prioritize the dryness of the surface layer to keep these pests at bay.

Practical Methods for Removing Existing Gnats
If you are currently battling an active gnat infestation, taking immediate action is essential to prevent them from spreading to other houseplants. The most effective strategy involves a two-pronged approach: trapping the flying adults and eliminating the larvae hiding in the soil.
Start by placing yellow sticky traps near the soil surface of your affected plants. These traps are highly effective because gnats are naturally attracted to the bright yellow color. Once they land, they become stuck, which serves two purposes: it reduces the immediate adult population and provides a clear visual monitor to help you gauge whether your infestation is growing or receding.
While traps manage the adults, they do not address the root cause: the larvae living in the damp soil. To target the next generation, use a biological control agent known as Bacillus thuringiensis israelensis (Bti). This is a naturally occurring, safe bacteria that specifically targets fungus gnat larvae. It is highly effective and poses no risk to your plants, household pets, or family members.
Follow these steps to apply Bti correctly:
- Purchase a Bti-based product specifically formulated for fungus gnats, often sold as “mosquito bits” or liquid concentrates.
- Mix the Bti into your watering can according to the manufacturer’s instructions. Do not guess the dosage; always follow the product label to ensure efficacy and safety.
- Water your plants thoroughly with the Bti solution. The bacteria will penetrate the top layer of soil where larvae feed.
- Repeat this process every time you water your plants for at least three to four weeks. This ensures you catch any larvae that hatch from eggs laid before the initial treatment.
Consistency is the key to success when using Bti. Because the life cycle of a gnat can last several weeks, stopping the treatment too early often leads to a resurgence of the population. By combining the immediate capture power of sticky traps with the long-term biological control of Bti, you can effectively clear your indoor garden of gnats without resorting to harsh chemical pesticides. Remember to allow the top inch of your soil to dry out between waterings, as this naturally discourages future egg-laying.
Protective Measures and Garden Maintenance
Maintaining a healthy garden environment requires more than just picking the right soil amendments; it demands disciplined tool hygiene and careful handling of equipment. Gnats, particularly fungus gnats, are often attracted to decaying organic matter. If your gardening tools are coated in old soil or plant debris, they can become breeding grounds for these pests or transport fungal spores that encourage the moisture gnats crave.
Always clean and disinfect your hand tools, such as trowels, pruners, and cultivators, between uses. A simple solution of one part bleach to nine parts water, or even rubbing alcohol, is effective for sanitizing metal blades. This practice prevents the spread of soil-borne pathogens that weaken your plants, as stressed plants are significantly more susceptible to pest infestations.
When you are preparing to apply treatments—whether organic neem oil, insecticidal soaps, or soil-based amendments like diatomaceous earth—prioritize your safety and the efficacy of your workspace:
- Work in well-ventilated areas: If you are applying sprays, ensure you are outdoors or in a space with ample airflow to avoid inhaling fine mists or dust.
- Wear protective gloves: Many treatments, even organic ones, can cause skin irritation or allergic reactions. Nitrile or heavy-duty rubber gloves provide a necessary barrier.
- Use dedicated equipment: Keep a specific set of tools for your indoor plants and a separate set for outdoor garden beds. This prevents the accidental introduction of outdoor pests or pathogens into your home environment.
- Inspect your power equipment: If you use leaf blowers or string trimmers near your garden beds, ensure the intake vents are clear of debris. Clogged equipment can overheat and stir up stagnant air, which may inadvertently spread gnat larvae or eggs across your garden beds.
Finally, inspect your storage area. Damp, dark sheds are ideal environments for gnats to congregate. Keep your lawn care and outdoor power equipment clean and dry. By removing the conditions that gnats find hospitable—such as standing water in potting trays or wet, dirty tool bags—you create a hostile environment for pests while promoting a thriving, healthy garden. Consistent maintenance is the most effective, non-chemical way to keep your plants protected throughout the growing season.

Follow-Up Care and When to Seek Help
Eliminating an active gnat infestation is only half the battle. To ensure these pests do not return, you must remain vigilant for at least two weeks after the last adult gnat is spotted. Fungus gnats have a rapid life cycle, and eggs hidden deep within the potting mix can hatch long after the flying adults have been eradicated. Continue using yellow sticky traps as a monitoring tool; if you see new gnats appearing on the adhesive, it is a clear sign that a new generation has emerged and you need to repeat your treatment regimen.
If you have diligently allowed the soil to dry out between waterings and applied treatments like neem oil or hydrogen peroxide but still see gnats, the infestation may be concentrated in the deeper layers of the root ball. In these persistent cases, repotting is the most effective solution. Follow these steps to refresh your plant’s environment:
- Gently remove the plant from its current pot and shake away as much of the old, infested soil as possible.
- Inspect the roots for signs of rot or damage, trimming away any mushy sections with sterilized hand pruners.
- Repot the plant using high-quality, sterile potting mix specifically formulated for your plant type.
- Discard the old soil in an outdoor bin rather than adding it to your indoor compost pile to prevent cross-contamination.
- Thoroughly wash the original pot with hot, soapy water or a mild bleach solution before reusing it.
Sometimes, despite your best efforts, an infestation can become severe enough to compromise the health of your plants. If you notice wilting, yellowing leaves, or stunted growth that does not resolve after repotting, the root system may be significantly damaged. At this stage, it is wise to consult a local nursery professional. They can provide guidance on specialized horticultural treatments or systemic insecticides that are appropriate for indoor use. Bringing a leaf or a sample of the soil to a local expert allows them to diagnose issues that may be mimicking gnat damage, such as root rot or nutrient deficiencies. Maintaining a consistent watering schedule and keeping your gardening tools clean will ultimately be your best defense against future outbreaks.

Dedicated team of gardening enthusiasts with years of hands-on experience testing lawn mowers, gardening tools, and outdoor equipment. We help home gardeners and professionals alike make informed buying decisions with honest, thorough reviews. From push mowers to pruning shears, we test it all so you don’t have to. Got a gardening tool you’d like us to review? Get in touch!