
You can easily grow pothos cuttings by placing stem segments in water or directly into moist potting soil. This simple propagation method allows you to transform a single healthy vine into multiple lush plants for your home. By following a few basic steps, anyone can successfully expand their indoor jungle with these resilient, trailing beauties.
While pothos are famously forgiving, success depends on identifying the correct node—the small brown bump where roots emerge. Not every piece of stem will sprout, so selecting vigorous, disease-free cuttings is essential for long-term growth. Understanding these botanical basics ensures you avoid common pitfalls like stem rot and helps your new plants establish strong root systems.
This guide covers everything from selecting the right stems to rooting in water or soil, ensuring your cuttings grow into healthy, trailing vines. We will also explore the essential gardening tools needed to make clean cuts and maintain your plants as they mature. Get ready to master the art of propagation and enjoy thriving greenery throughout your home.

Selecting and Preparing Healthy Pothos Cuttings
Selecting the right vine is the first step toward a successful propagation. Look for a healthy, vigorous pothos plant with firm leaves and no signs of yellowing or pests. A vibrant, green vine indicates the plant has enough stored energy to support new root growth once it is separated from the parent.
To identify the best spot for your cut, inspect the stem for nodes. These are the small, slightly raised brown bumps located where the leaf petiole meets the main vine. The node is essential because it contains the meristematic tissue necessary to produce new roots. If you cut a stem without a node, it will likely rot in water rather than propagate.
Before you begin, gather your essential gardening tools. Using the right equipment ensures a clean, stress-free process for both you and the plant:
- Pruning Shears: Use sharp, high-quality bypass pruners. Dull blades crush plant tissue, which can lead to decay.
- Sterilization Supplies: Wipe your shears with a cloth soaked in 70% isopropyl alcohol before and after every cut. This prevents the transmission of pathogens or fungi between plants.
- Safety Gear: Always wear gardening gloves. Pothos sap contains calcium oxalate crystals, which can cause skin irritation or contact dermatitis in sensitive individuals.
Once your tools are prepared, position your shears just below a node. Make a swift, clean cut at a slight angle. This angled cut maximizes the surface area for water absorption and prevents water from pooling on top of the stem, which can encourage fungal issues. Aim for a cutting that is four to six inches long, ensuring it includes at least two or three nodes.
After taking your cutting, inspect the area around the node. If there is a leaf growing directly from the node you intend to submerge, carefully snip it off. Leaving a leaf submerged in water often leads to rot, which can compromise the health of the entire cutting. By focusing on clean, precise maintenance and using reliable outdoor power or hand tools, you create the ideal environment for your pothos to thrive. Once the cutting is prepared, it is ready to be placed in a clean glass of water or a propagation station to begin its development.
Rooting Pothos Cuttings in Water
Once you have prepared your healthy pothos cuttings, the next step is to initiate root growth. This process is straightforward, but success depends on maintaining a clean environment and providing the right conditions for your new plants to thrive.
Start by selecting a clean glass jar or vase. Using clear glass is beneficial because it allows you to monitor root development easily. Fill the container with room-temperature, filtered water. Avoid using water directly from a softener, as the high salt content can inhibit growth.
Place your cuttings into the water, following these essential guidelines:
- Submerge the nodes: Ensure that at least one or two nodes—the small, brown bumps on the stem where leaves emerge—are fully underwater. Roots will sprout exclusively from these points.
- Keep leaves dry: Position the cuttings so the foliage remains above the water line. If leaves are submerged, they will likely rot, which can foul the water and damage the entire cutting.
- Provide indirect light: Place your jar in a location that receives bright, indirect sunlight. Avoid harsh, direct sun, which can overheat the water and encourage unwanted algae growth.
Consistency is key to healthy propagation. While pothos are resilient, the water quality will naturally degrade over time as oxygen levels drop and bacteria begin to multiply. To keep your cuttings healthy, commit to a simple maintenance routine:
- Change the water weekly: Empty the jar completely and refill it with fresh, room-temperature water. This replenishes the oxygen supply that the developing roots need to respire.
- Clean the container: If you notice a slimy film on the sides of the glass, gently wash the jar with mild soap and rinse it thoroughly before refilling.
- Monitor progress: You should begin to see white, hair-like roots emerging from the nodes within one to two weeks.
By keeping the nodes submerged and the water fresh, you create an ideal, low-stress environment for your pothos. Once the roots reach two to three inches in length, your cuttings will be strong enough to transition into potting soil, marking the successful completion of the propagation phase.
Propagating Pothos Directly in Soil
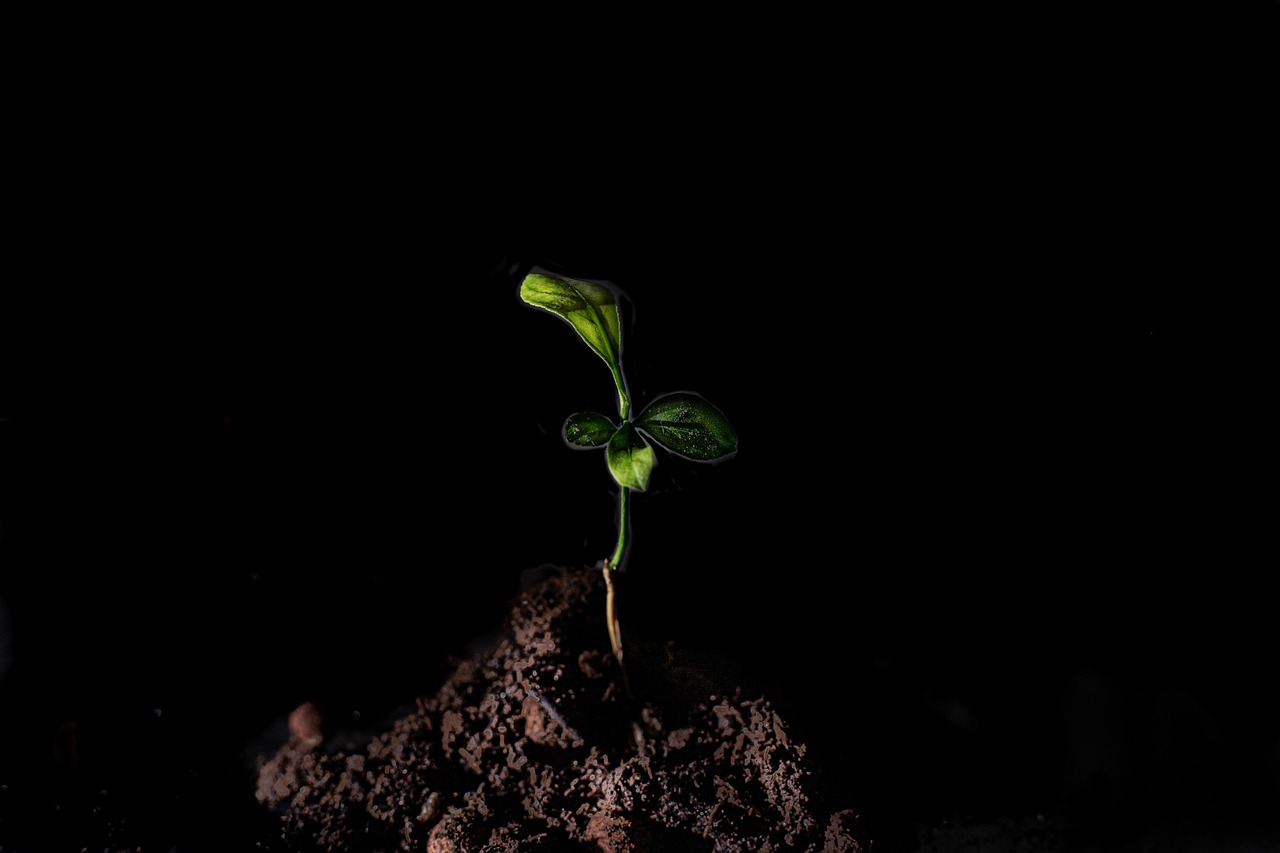
Propagating pothos directly in soil is a straightforward process that bypasses the transition phase required when starting cuttings in water. By planting directly into a growing medium, you allow the roots to adapt to their environment immediately, which often results in a more robust root system from the start.
To begin, select a small pot—ideally one with drainage holes—and fill it with a high-quality, well-draining potting mix. A standard indoor houseplant mix amended with a little extra perlite works best to ensure proper aeration. Moisten the soil slightly before planting so it is damp to the touch but not muddy.
Follow these steps for successful soil propagation:
- Prepare the cutting: Ensure your pothos cutting has at least one healthy leaf and one exposed node (the small bump on the stem where roots emerge).
- Planting: Use a pencil or a small garden trowel to create a hole in the soil, then gently insert the node. Firm the soil lightly around the stem to hold the cutting upright.
- Moisture management: Keep the soil consistently damp. Check the surface daily; if it feels dry to the touch, add a small amount of water. Avoid waterlogging, as excessive moisture can cause the stem to rot before roots develop.
- Create humidity: Since cuttings lack an established root system to pull moisture from the soil, they can struggle with transpiration. Placing a clear plastic bag loosely over the pot creates a mini-greenhouse effect. This traps humidity and prevents the leaves from wilting.
Place your pot in a location that receives bright, indirect light. Avoid direct sunlight, which can scorch the leaves and cause the plastic covering to overheat. After about three to four weeks, you can gently tug on the cutting; if you feel resistance, it means the roots have successfully anchored into the soil.
Once you notice new growth emerging from the top of the stem, you can gradually remove the plastic bag to acclimate the plant to your home’s ambient humidity. At this stage, you may transition to a standard watering schedule, allowing the top inch of soil to dry out between waterings. With patience and consistent moisture, your cutting will soon become a thriving, independent houseplant.
Essential Tools for Successful Propagation
Successful pothos propagation relies on precision. Because you are working with delicate plant tissues, the quality of your equipment directly impacts the health of your new cuttings. Using the right tools prevents unnecessary damage and sets the stage for robust root development.
The most critical tool in your kit is a pair of high-quality bypass pruners. Unlike anvil pruners, which can crush stems, bypass pruners operate like scissors to create a clean, sharp cut. A clean incision minimizes the surface area of the wound and prevents the stem tissue from bruising, which is a common entry point for rot and fungal pathogens.
Before you begin, ensure your workspace is prepared for the task. Whether you are working in a potting shed, a garage, or at a kitchen counter, prioritize these essentials:
- Sanitation supplies: Keep a small bottle of rubbing alcohol or a disinfectant wipe nearby to sterilize your blades between cuts. This prevents the transfer of bacteria or diseases to your healthy parent plant.
- Proper lighting: Use a bright, focused light source to clearly identify the nodes on your pothos vines. Accurate cutting just below the node is vital for successful rooting.
- Hand protection: While pothos stems are soft, garden maintenance often involves handling rough pots, coarse potting media, or debris. Wearing lightweight, breathable garden gloves protects your hands from splinters, minor abrasions, and potential skin irritation.
- Propagation containers: Have clean glass jars or specialized propagation stations ready. Clear containers allow you to monitor root growth progress without disturbing the cutting.
Beyond these basics, consider keeping a small trowel or a soil scoop nearby if you plan to move your rooted cuttings directly into potting mix. Using a dedicated scoop helps you manage soil levels accurately without compacting the medium around the fragile new roots.
Always inspect your tools for rust or dull blades before starting. A dull blade is a dangerous tool that requires more force, increasing the likelihood of a slip. By maintaining sharp, clean equipment, you ensure that your pothos cuttings remain healthy from the moment they are severed from the parent plant until they are ready for their permanent home. Taking these small, practical steps at the beginning of the process significantly increases your overall success rate.

Follow-Up Care and Troubleshooting
Once the roots on your pothos cuttings reach approximately two inches in length, they are ready to transition from water to soil. This milestone indicates that the plant has developed a sufficient root system to support itself in a potting medium. Use a high-quality, well-draining indoor potting mix and a container with drainage holes to prevent water from pooling at the base, which can lead to root rot.
After transplanting, your cutting may experience a brief period of adjustment. During this time, keep the soil consistently moist but not waterlogged. If you notice yellowing leaves, it is often a signal that your plant is struggling. To troubleshoot this, assess the following factors:
- Overwatering: Ensure the top inch of soil feels dry before watering again. Pothos prefer to dry out slightly between sessions.
- Light levels: If the leaves turn yellow or lose their variegation, the plant may need more indirect, bright light.
- Drainage: Confirm that excess water is escaping the pot freely.
In cases where cuttings fail to develop roots after several weeks, remove them from the water and inspect the submerged node. A healthy node should be firm and pale. If the node feels mushy or appears dark and slimy, it is likely decaying. Trim away the rotted section with sterilized hand pruners, rinse the remaining stem, and place it in fresh, clean water to try again.
Consistent garden maintenance is the best defense against long-term issues. While pothos are generally hardy, keep a close eye on the mother plant from which you took your cuttings. If you notice sticky residue, webbing, or unusual spots on the foliage, these may be signs of common houseplant pests like spider mites or fungal infections. In these instances, isolate the plant immediately to protect your other greenery. If the infestation is severe, consult a local nursery professional for safe, effective treatment options, such as insecticidal soaps or specialized fungicides.
By monitoring your cuttings closely during this transition phase and maintaining a clean environment, you set the foundation for a thriving, long-lived pothos plant. Patience is key; once the roots establish themselves in the soil, you will see steady, rewarding growth.

Dedicated team of gardening enthusiasts with years of hands-on experience testing lawn mowers, gardening tools, and outdoor equipment. We help home gardeners and professionals alike make informed buying decisions with honest, thorough reviews. From push mowers to pruning shears, we test it all so you don’t have to. Got a gardening tool you’d like us to review? Get in touch!