
Growing lavender from seed outdoors is a rewarding way to fill your garden with fragrance and color. You can successfully establish these aromatic perennials by sowing them directly into well-draining soil once the threat of frost has passed. This simple method allows you to cultivate beautiful, hardy plants that thrive in sunny garden environments.
While lavender can be slow to germinate, following the right timing and soil preparation will help you achieve success. It is important to remember that these Mediterranean plants require patience and specific conditions, such as excellent drainage and full sun exposure, to truly flourish. Managing your expectations during the initial growth phase is key.
This guide covers everything you need to know to establish healthy lavender plants directly in your garden beds. We will explore essential gardening tools, proper soil amendments, and the maintenance techniques required for long-term growth. Follow these practical steps to transform your outdoor space into a fragrant, thriving lavender sanctuary throughout the entire season.
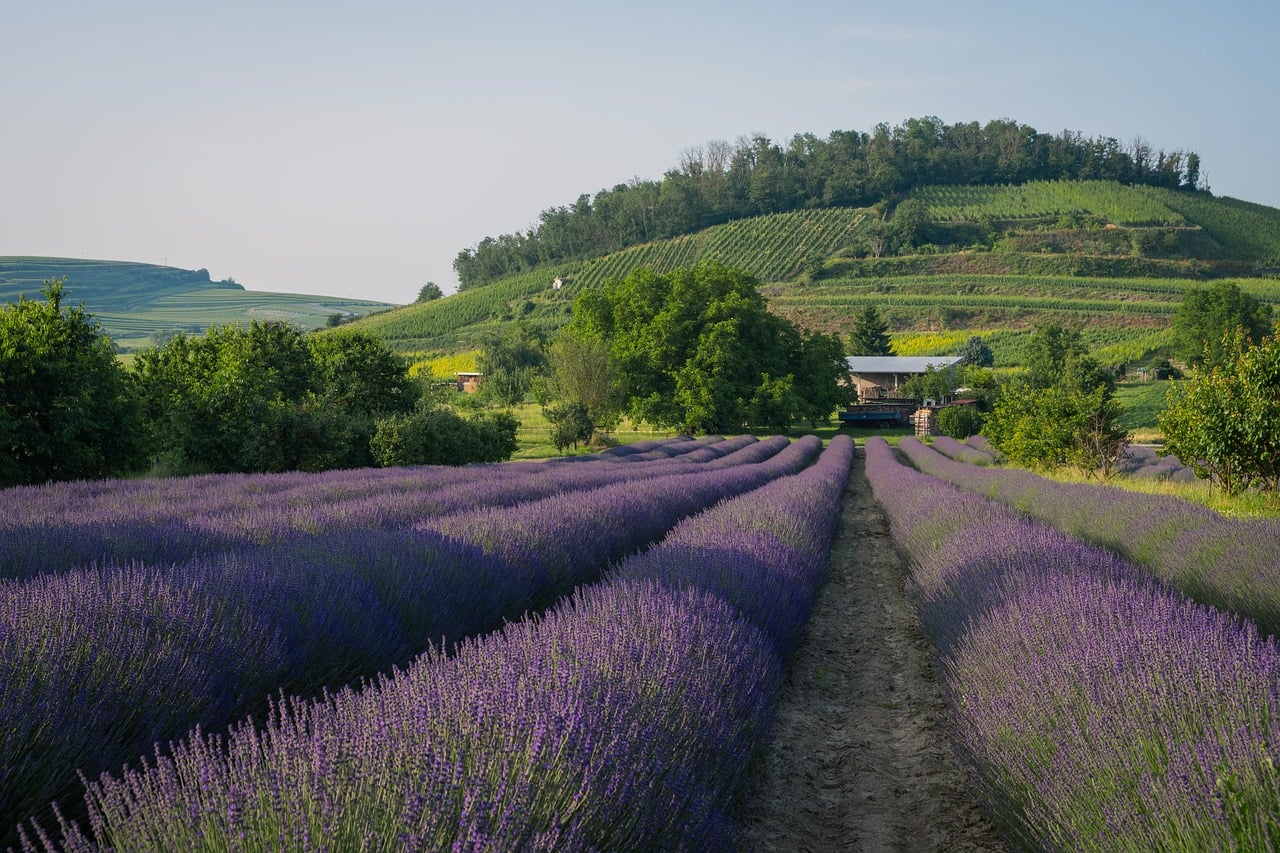
Choosing the Right Lavender Variety and Timing
Selecting the right lavender variety is the most critical step for success when sowing seeds outdoors. Lavender is not a one-size-fits-all plant; its survival depends heavily on your local climate. Before you purchase seeds, identify your USDA hardiness zone to ensure the variety you choose can thrive in your specific environment.
For gardeners in cooler regions with harsh winters, Lavandula angustifolia, commonly known as English lavender, is the best choice. It is remarkably hardy and resilient, capable of withstanding colder temperatures while maintaining its signature fragrance. If you live in a warmer, more humid climate, look toward French (Lavandula dentata) or Spanish (Lavandula stoechas) varieties. These types are better adapted to heat and tolerate milder winters, though they may require more protection from excessive moisture.
Timing your planting is equally vital. Lavender seeds are sensitive to cold, damp conditions, which can cause them to rot before they have a chance to germinate. To ensure the best results, follow these guidelines:
- Wait for warmth: Do not sow seeds until the danger of frost has completely passed in your area.
- Check soil temperature: Ensure the soil has warmed to at least 60°F (15°C). You can use a simple soil thermometer to verify this before planting.
- Monitor weather patterns: If an unseasonable cold snap is forecasted, delay your planting by a week or two. Lavender prefers a steady climb in temperature rather than fluctuating extremes.
When you are ready to begin, prepare your garden bed by ensuring the soil is well-draining. Lavender hates “wet feet,” so if your soil is heavy clay, consider amending it with grit or sand to improve drainage. Using a high-quality hand trowel, clear away any weeds or debris that might compete with your delicate seedlings. Providing a clean, warm, and well-draining environment at the right time of year sets the foundation for a long-lasting, fragrant lavender patch.
By aligning your variety selection with your local climate and waiting for the soil to reach the optimal temperature, you significantly increase the germination rate and long-term health of your lavender. Patience during the early spring months is the hallmark of a successful gardener.
Preparing the Garden Bed for Success
Lavender is a Mediterranean native that thrives in harsh, lean conditions. To successfully grow it from seed outdoors, you must prioritize soil structure. Lavender demands exceptional drainage; if roots sit in damp, heavy soil, the plant will likely succumb to rot before it ever establishes.
Begin by clearing your chosen site of all weeds, rocks, and organic debris. Using a garden fork or a mechanical tiller, loosen the soil to a depth of 8 to 10 inches. This aeration encourages deep root penetration, which is essential for the plant’s long-term health and drought tolerance.
If your garden soil is heavy clay, you must amend it to prevent moisture retention. Incorporate coarse grit, horticultural sand, or well-rotted organic compost into the top layer of the soil. This creates the porous environment that lavender requires to flourish.
When preparing your site, prioritize safety, especially when using outdoor power equipment:
- Wear protective gear: Always use sturdy, closed-toe boots, impact-resistant safety glasses, and hearing protection when operating a tiller.
- Clear the area: Remove large stones or hidden debris before tilling to prevent them from becoming dangerous projectiles.
- Maintain control: Keep a firm grip on the tiller handles and ensure your footing is stable on uneven ground.
- Check equipment: Inspect your tools before starting to ensure guards are in place and the engine is functioning correctly.
Once the soil is loosened and amended, rake the surface until it is fine and level. Because lavender seeds are small and require light to germinate, you want a smooth, crumbly texture rather than large, hard clods. This fine tilth ensures good seed-to-soil contact, which significantly increases your germination rate.
Finally, confirm that your site receives at least six to eight hours of direct, full sun daily. Lavender is a sun-worshipper; even with perfect soil drainage, the plant will struggle to grow from seed in shaded or damp corners of the garden. By taking the time to properly prepare the physical environment, you set the foundation for a fragrant, long-lasting lavender display.

Sowing Your Lavender Seeds
Lavender seeds have a specific requirement for germination: they need light. Unlike many other garden seeds, they should not be buried deep within the soil. If you cover them too thickly, they may fail to sprout entirely.
To begin, ensure your garden bed is well-drained and clear of weeds. Scatter your lavender seeds thinly across the prepared soil surface. Once distributed, use your palm or a flat board to gently press the seeds into the soil. This ensures good seed-to-soil contact without burying them.
Proper spacing is essential for long-term plant health. Lavender requires excellent air circulation to prevent fungal issues and root rot as the plants mature. Follow these spacing guidelines:
- Space your rows 12 to 18 inches apart.
- If planting in a cluster, maintain a similar distance between individual plants to allow for outward growth.
After sowing, moisture management is critical. Use a spray bottle or a garden hose set to a very fine mist to dampen the area. Avoid using a heavy stream of water, which can easily displace the seeds or wash them into piles. The goal is to keep the soil surface consistently moist but not waterlogged while the seeds are establishing.
If you are working in a windy location, consider placing a light layer of horticultural fleece or a fine mesh cover over the area. This protects the seeds from being blown away or disturbed by heavy rain before they take root. Check the moisture levels daily, especially during warm, dry spells, as the surface layer can dry out quickly.
As you manage your garden maintenance, keep a small trowel or a hand rake nearby to gently manage the soil around your rows. Avoid using heavy power equipment near your seedbeds, as the vibrations and soil disturbance can be too aggressive for delicate, newly sown seeds. By providing a stable, light-exposed environment, you create the ideal conditions for your lavender to transition from seed to a hardy, fragrant perennial. Patience is key, as lavender can sometimes take several weeks to germinate depending on the soil temperature and variety.
Managing Germination and Early Growth
Successfully germinating lavender from seed requires patience and precise moisture management. Lavender seeds are notoriously slow to sprout, often taking anywhere from two weeks to a full month to emerge. During this period, your primary goal is to keep the soil consistently moist without allowing it to become waterlogged, which can lead to rot or fungal issues.
To maintain the ideal environment, use a fine-mist spray bottle to hydrate the soil surface gently. Avoid heavy watering, which can displace tiny seeds or create compacted soil crusts that prevent delicate shoots from breaking through. If you are starting seeds in a garden bed, consider using a light layer of horticultural fleece or a cloche to retain humidity and protect the area from drying winds.
Once your seedlings emerge and develop their first set of true leaves—the second pair of leaves that appear after the initial seed leaves—it is time to thin them. Thinning is essential for airflow and root development, as crowded seedlings will compete for nutrients and become leggy or susceptible to disease.
Follow these steps to thin your lavender seedlings safely:
- Assess Spacing: Consult your specific lavender variety’s requirements. Most English lavenders need at least 12 to 18 inches of space, while larger varieties may require more.
- Use Precision Tools: Never pull excess seedlings by hand, as this can disturb the root systems of the plants you intend to keep. Instead, use sharp, sanitized hand pruners or small garden snips to carefully cut the unwanted seedlings at the soil line.
- Prioritize Safety: Always wear gardening gloves during this process. Gloves protect your skin from potential irritation caused by the volatile oils in lavender foliage and shield your fingers from the sharp edges of your cutting tools.
After thinning, continue to monitor the moisture levels closely. As the seedlings transition from the germination phase to active growth, you can gradually reduce the frequency of watering. Allow the top inch of soil to dry out slightly between waterings to encourage the young plants to develop strong, deep root systems. This gradual hardening-off process prepares your lavender for the transition to a more independent, drought-tolerant life in your outdoor garden.

Follow-up Care and Troubleshooting
Once your lavender seedlings are established and have developed their first set of true leaves, your maintenance strategy must shift. Lavender is a Mediterranean plant that prefers “neglect” over constant attention. Overwatering is the most common mistake made by new gardeners; it can quickly lead to root rot and plant failure.
Allow the soil to dry out completely between watering sessions. If you are unsure whether your plant needs water, insert a finger an inch into the soil. If it feels damp, wait another day or two. Proper drainage is the most critical factor for long-term survival, especially if you are gardening in heavy clay soils.
Monitor your plants closely for signs of stress. If you notice yellowing leaves or stunted growth, evaluate your care routine immediately:
- Check Drainage: Ensure your garden bed or container allows water to flow away freely. If the soil remains soggy, you may need to amend it with coarse sand or horticultural grit.
- Assess Sunlight: Lavender requires full sun, typically six to eight hours of direct light daily. If your plants are shaded by taller shrubs or structures, they will struggle to thrive.
- Review Watering: If you have been watering on a fixed schedule, stop. Switch to an “as-needed” basis, letting the plant tell you when it is thirsty.
If you notice fuzzy gray patches on the foliage or stems, this may indicate a fungal issue like powdery mildew or botrytis, often caused by poor air circulation or high humidity. Ensure your plants are spaced far enough apart to allow breezes to pass through, which helps keep the foliage dry.
Should your lavender fail to thrive despite providing optimal sunlight and well-draining soil, do not hesitate to reach out for expert help. Your local university extension office is an invaluable resource. They can provide specific advice tailored to your regional climate, soil chemistry, and common local pests. Bringing a sample of the affected plant to them can help identify specific pathogens, ensuring you apply the correct treatment rather than guessing. By observing your plants daily and intervening only when necessary, you will help your lavender establish a deep, healthy root system that will last for years.

Dedicated team of gardening enthusiasts with years of hands-on experience testing lawn mowers, gardening tools, and outdoor equipment. We help home gardeners and professionals alike make informed buying decisions with honest, thorough reviews. From push mowers to pruning shears, we test it all so you don’t have to. Got a gardening tool you’d like us to review? Get in touch!