
Learning how to grow hydrangeas is surprisingly simple once you understand their basic needs for moisture and filtered sunlight. These beloved shrubs are famous for their stunning, voluminous blooms and have a unique ability to instantly transform any garden landscape into a vibrant, lush sanctuary throughout the warmer growing months.
While these plants are relatively low-maintenance, they do require specific conditions to truly thrive. Success depends largely on your local climate, soil pH levels, and consistent watering habits. By setting realistic expectations and choosing the right variety for your specific hardiness zone, you can enjoy healthy, long-lasting flowers every single year.
This comprehensive guide provides actionable steps to ensure your success, covering essential topics like ideal planting techniques and specific soil requirements. We will also explore crucial seasonal care tips, such as proper pruning and fertilization schedules, to help you cultivate healthy, vibrant hydrangeas that become the centerpiece of your home garden.
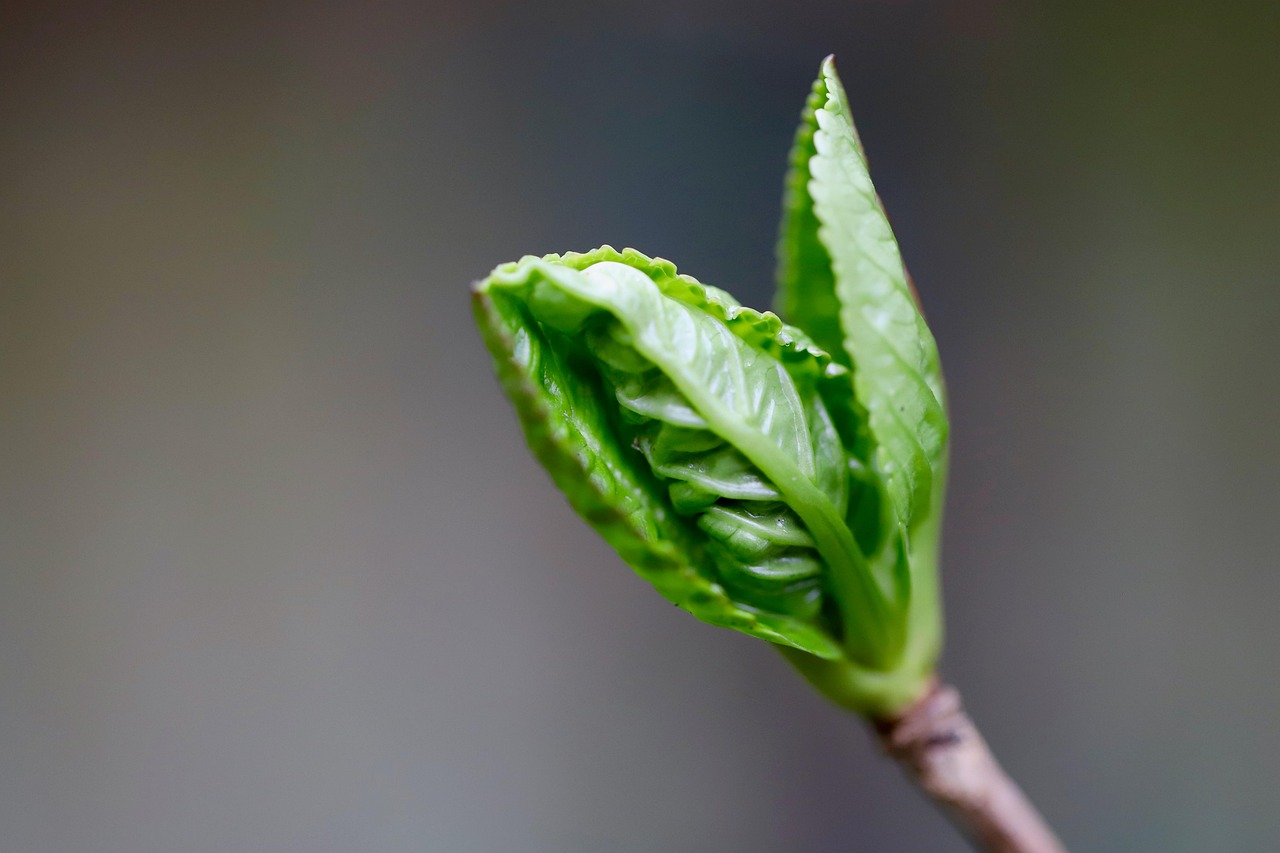
Choosing the Right Spot for Your Hydrangeas
Success with hydrangeas begins with selecting the perfect location. These plants are sensitive to extreme heat and moisture, so understanding your garden’s microclimate is essential for healthy, long-lasting blooms.
The ideal spot for most hydrangea varieties provides morning sun and afternoon shade. Morning light is gentle and helps stimulate flower production, while the afternoon shade protects the foliage from scorching during the hottest part of the day. If you live in a region with particularly intense summers, prioritize a location that offers dappled shade throughout the afternoon.
Beyond light requirements, soil quality is a critical factor. Hydrangeas thrive in soil that is rich in organic matter and drains well. Before planting, assess your chosen site by following these steps:
- Check drainage: Dig a hole about 12 inches deep and fill it with water. If it takes more than a few hours to drain completely, the soil is likely too heavy or clay-like.
- Test for moisture: Avoid low-lying areas of your yard where rainwater naturally collects. Hydrangeas are highly susceptible to root rot, and standing water will quickly weaken or kill the plant.
- Enrich the earth: If your soil is sandy or lacks nutrients, mix in several inches of high-quality compost or aged manure. This improves both moisture retention and aeration.
If your garden lacks naturally well-draining soil, consider planting in raised beds. This allows you to control the soil composition entirely, ensuring your hydrangeas have the loose, nutrient-dense environment they need to establish a strong root system.
Finally, consider wind exposure. Hydrangeas have large, thin leaves that can shred in high winds and dry out rapidly. Choose a spot that offers some protection from strong, consistent drafts, such as near a fence, a wall, or a cluster of sturdier shrubs. By placing your hydrangeas in a sheltered, well-draining location with balanced light, you set the foundation for vigorous growth and vibrant seasonal color.
Step-by-Step Planting Instructions
Proper planting is the foundation for healthy, long-lasting hydrangeas. Before you begin, ensure you have a pair of durable gardening gloves to protect your skin from soil irritants and a sharp, clean hand trowel to make precise cuts in the earth without damaging delicate root structures.
Follow these steps to ensure your hydrangea establishes itself successfully in its new location:
- Prepare the hole: Dig a hole that is exactly twice as wide as the current root ball and no deeper than the container it arrived in. The width encourages lateral root growth, while the depth prevents the crown from being buried too deeply, which can lead to rot.
- Position the plant: Gently remove the hydrangea from its nursery pot. Place it in the center of the hole, checking that the top of the root ball sits perfectly level with the surrounding soil surface. If it sits too low, add a small amount of soil to the base of the hole.
- Backfill with nutrients: Create a mixture using 50% native soil and 50% high-quality organic compost. Fill the space around the root ball with this blend, firming it gently with your hands as you go to eliminate large air pockets.
- Water immediately: Once planted, provide a deep, thorough watering. This settles the soil around the roots and eliminates any remaining air gaps, ensuring the plant has immediate access to moisture.
After planting, monitor the soil moisture closely over the first few weeks. Hydrangeas are thirsty plants and require consistent hydration while their root systems expand into the surrounding earth. Avoid mounding mulch directly against the main stem, as this can trap excess moisture and invite fungal issues. Instead, keep your mulch layer about two inches away from the base of the plant to promote healthy airflow. By taking these careful steps, you provide your hydrangea with the stable environment it needs to thrive and produce vibrant blooms for seasons to come.
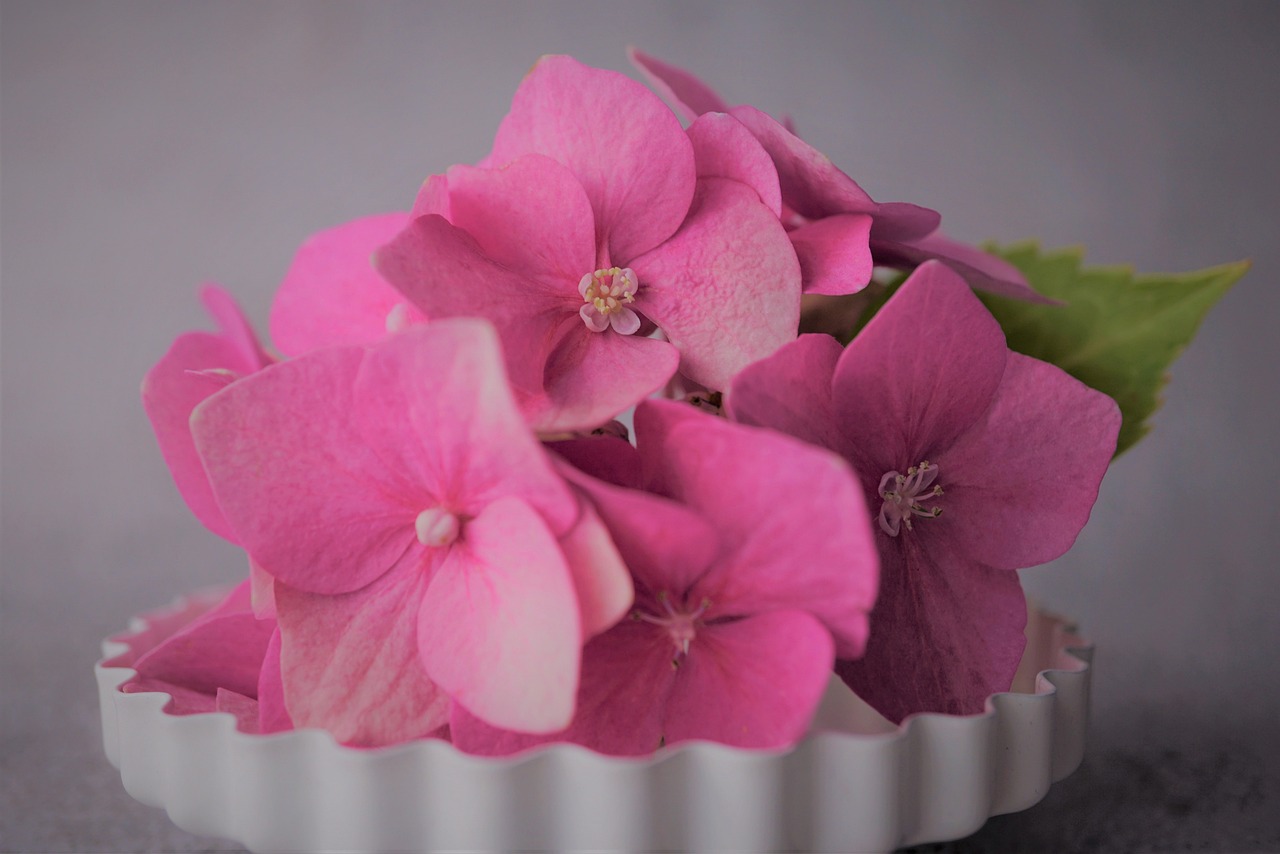
Watering and Fertilization Basics
Hydrangeas are thirsty plants that rely on consistent soil moisture to thrive, particularly during the intense heat of summer. If the soil dries out completely, your plants will quickly show signs of stress, such as drooping leaves and scorched edges. To maintain optimal health, aim to keep the soil consistently damp but never waterlogged.
When watering, always direct your hose or watering can at the base of the plant. Avoid overhead watering, which wets the foliage and flowers. Keeping the leaves dry is a critical step in preventing common fungal issues like powdery mildew and leaf spot.
To ensure your hydrangeas receive the hydration they need, follow these practical tips:
- Water deeply: A thorough soaking once or twice a week is far more effective than frequent, light sprinkles. Deep watering encourages roots to grow further down into the soil, making the plant more resilient during dry spells.
- Check the soil: Before watering, stick your finger about two inches into the soil. If it feels dry, it is time to hydrate. If it still feels moist, wait another day.
- Mulch for retention: Apply a two-to-three-inch layer of organic mulch, such as shredded bark, around the base of the plant. This helps regulate soil temperature and locks in moisture.
Proper fertilization is equally important for a vibrant display. Apply a balanced, slow-release fertilizer (such as a 10-10-10 formula) in early spring, just as the buds begin to swell but before new growth fully emerges. This provides a steady supply of nutrients throughout the growing season.
Exercise restraint when feeding your plants. Over-fertilizing, especially with products high in nitrogen, encourages lush, leafy growth at the expense of flower production. If you notice your hydrangea is producing plenty of green foliage but very few blooms, you may be overdoing the fertilizer. A single, well-timed application in the spring is usually sufficient for most garden varieties to remain healthy and productive year after year.
Pruning and Maintenance Safety
Pruning is essential for hydrangea health, but timing is critical. Because hydrangeas bloom on either “old wood” (last year’s growth) or “new wood” (current season’s growth), pruning at the wrong time can accidentally remove next year’s flower buds. Always identify your specific variety before reaching for your tools to ensure you do not sacrifice your seasonal display.
When you are ready to prune, prioritize tool hygiene and precision. Use sharp, high-quality bypass pruners rather than anvil-style cutters, which can crush stems and invite disease. Sanitize your blades with rubbing alcohol between plants to prevent the spread of pathogens.
Follow these safety guidelines to protect yourself and your plants:
- Wear protective gear: Always wear heavy-duty gardening gloves and long sleeves. This protects your skin from potential irritants in the sap and shields your arms from any hidden thorns or abrasive stems.
- Maintain stable footing: Gardening often involves reaching into dense shrubbery. Ensure your feet are firmly planted on level ground before making cuts, especially when working on slopes.
- Keep fingers clear: Always keep your non-cutting hand well away from the blades. If a stem is difficult to reach, use long-handled loppers rather than overextending your body.
- Make clean cuts: Always cut at a 45-degree angle just above a healthy leaf node. This prevents water from pooling on the cut surface, which reduces the risk of rot and fungal infections.
Proper maintenance is about more than just aesthetics; it is about longevity. If you are unsure about the age of the wood, wait until the plant begins to leaf out in the spring. At that point, you can clearly see which branches are dead or damaged and remove them safely without risking the healthy, bud-bearing stems. By staying mindful of your physical safety and the specific needs of your hydrangea variety, you ensure a productive growing season and a beautiful, thriving garden.
Troubleshooting and Ongoing Care
Even the most seasoned gardeners encounter challenges with hydrangeas. If your plants are failing to bloom, the culprit is often improper pruning. Many popular varieties, such as Bigleaf hydrangeas, set their flower buds on “old wood” from the previous year. If you prune these in late winter or early spring, you inadvertently remove the buds before they have a chance to open. Always research your specific variety to determine the correct time to trim.
In colder climates, winter protection is essential for bud survival. If your region experiences harsh frosts, wrap your shrubs in burlap or add a thick layer of mulch around the base to insulate the root system and protect delicate stems from freezing temperatures.
Monitoring your plant’s physical appearance provides clues about its health:
- Wilting: Hydrangeas have high water requirements, especially during hot, dry spells. If your plant wilts by midday, check the soil moisture immediately. A deep, slow watering at the base is usually more effective than frequent light sprinkling.
- Yellowing Leaves: This often indicates chlorosis, which is frequently caused by a nutrient deficiency—most commonly iron or magnesium—or a soil pH that is too high. A simple soil test can confirm if you need to amend your garden bed to better suit the plant’s needs.
While most issues can be managed with consistent watering and proper soil maintenance, some problems require expert intervention. If you notice persistent fungal spots, unusual leaf distortion, or an infestation that does not respond to basic care, do not hesitate to seek help. Your local cooperative extension office is an excellent, science-based resource for identifying specific regional pests and diseases. Alternatively, consulting a certified arborist can provide you with a tailored treatment plan to ensure your hydrangeas remain a vibrant, healthy centerpiece in your landscape for years to come.

Dedicated team of gardening enthusiasts with years of hands-on experience testing lawn mowers, gardening tools, and outdoor equipment. We help home gardeners and professionals alike make informed buying decisions with honest, thorough reviews. From push mowers to pruning shears, we test it all so you don’t have to. Got a gardening tool you’d like us to review? Get in touch!