
Discovering tiny red bugs on your houseplants or garden foliage can be alarming, but most are manageable with the right identification and treatment. You can effectively eliminate these pests by using targeted, plant-safe solutions that restore your greenery to health. Understanding exactly what you are dealing with is the first step toward reclaiming your garden.
It is important to set realistic expectations, as not all red insects pose a serious threat to your plants. While some are destructive sap-suckers, others may be harmless visitors just passing through your yard. By learning to distinguish between common pests like spider mites and beneficial insects, you can avoid unnecessary chemical treatments.
This guide helps you identify common pests like spider mites or clover mites and provides practical, plant-safe methods to eliminate them and protect your garden. We will walk you through simple inspection techniques, effective natural remedies, and preventative care tips to ensure your plants thrive. Follow these steps to stop the infestation and keep your foliage pest-free.
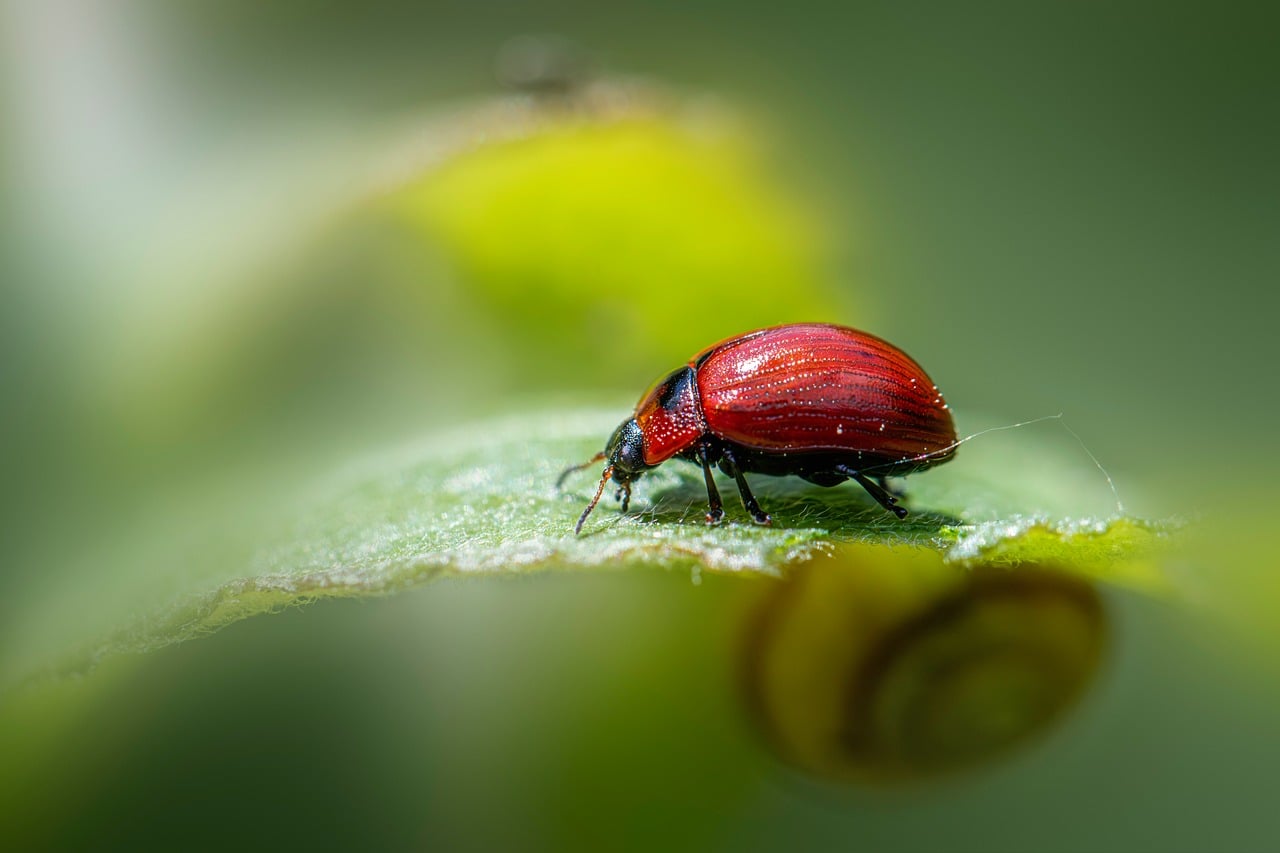
Identify the Pests Before Treating
Before reaching for pesticides, you must determine exactly what is crawling on your plants. Not every tiny red bug is a threat to your garden; misidentifying a harmless visitor can lead to unnecessary chemical use that may harm beneficial insects or your household environment.
Start your inspection by looking closely at the underside of leaves and the stems. Use a magnifying glass if possible, as many of these pests are smaller than a grain of salt.
Consider these common culprits to help narrow down your identification:
- Spider Mites: These are the most common damaging pests. They thrive in hot, dry conditions and pierce plant cells to feed. Look for fine, silky webbing between stems or leaves. Signs of damage include “stippling,” which appears as tiny yellow or white dots on the foliage, eventually leading to leaf drop.
- Clover Mites: These are harmless nuisances that feed on grasses and weeds. They often congregate on sunny windowsills or exterior walls during the spring and fall. If you crush them, they leave a bright red stain, but they do not cause structural damage to your houseplants or garden vegetables.
- Predatory Mites: Some tiny red bugs are actually beneficial. Species like Phytoseiulus persimilis are natural hunters that feed on spider mites. If you see these moving quickly across your leaves, they are working to protect your garden, not destroy it.
If you observe webbing or widespread discoloration, your plant is likely under attack by spider mites and requires immediate intervention. However, if the bugs are primarily confined to window frames or hard surfaces and the foliage remains healthy, they are likely clover mites. In that case, simply wiping them away or using a vacuum is often enough to manage the population without resorting to treatments.
Always isolate any plant you suspect is infested to prevent the spread of pests to your healthy collection. Proper identification is the most effective first step in sustainable, long-term plant care.
Immediate Physical Removal Methods
When you first notice tiny red bugs—often spider mites—on your plants, immediate physical removal is the safest and most effective starting point. Because these pests thrive in dry, dusty conditions, physical intervention disrupts their environment and significantly reduces their population without the need for harsh chemicals.
For minor infestations, the most straightforward approach is to use a gentle stream of water. This mechanical action physically knocks the mites off the foliage and stems. Follow these steps to ensure you are treating your plants safely:
- Use a steady stream: Utilize a garden hose with a spray nozzle or a handheld spray bottle. Aim the water at the undersides of leaves, which is where these pests most commonly congregate and lay their eggs.
- Protect yourself: Always wear durable gardening gloves. This protects your hands from potential skin irritants found in plant sap, as well as accidental scratches from thorns or sharp leaf edges.
- Ensure stability: If you are treating hanging baskets or tall potted plants, work on a stable, flat surface. Never stand on wobbly chairs or ladders to reach high foliage, as this increases your risk of falls.
- Clear the debris: After spraying, wipe down the leaves with a clean, damp cloth to remove any remaining webbing or dislodged insects.
Consistency is key when relying on physical removal. Since mites reproduce rapidly, you should repeat this process every two to three days for at least two weeks. This schedule helps ensure that you catch any newly hatched nymphs before they reach maturity and begin the reproductive cycle again.
If you are treating indoor houseplants, consider moving them to a shower or bathtub first. This contains the mess and prevents the mites from spreading to nearby surfaces. Once the plant is dry, return it to its original location, but keep a close eye on it for the next few days to confirm that the population has been successfully suppressed.

Applying Natural and Chemical Treatments
If physical removal methods like pruning or water spraying fail to control a red mite infestation, you may need to introduce targeted treatments. Before applying any product, ensure you have correctly identified the pest, as most treatments are specific to soft-bodied mites.
Horticultural soaps and neem oil are the gold standard for home gardeners. These substances work by suffocating the mites on contact or disrupting their life cycle. Because these treatments only affect the insects they touch, thorough coverage of both the tops and undersides of leaves is essential for success.
Follow these safety and application guidelines to protect your health and your plants:
- Read the Label: Always follow the manufacturer’s instructions regarding dilution ratios. Using a mixture that is too strong can cause chemical burn on sensitive foliage.
- Test First: Apply the solution to a small, inconspicuous area of the plant and wait 24 hours to check for signs of wilting or discoloration before treating the entire specimen.
- Time Your Spray: Avoid applying treatments during the heat of the day. Spraying in the early morning or late evening prevents the leaves from scorching under direct sunlight.
- Prioritize Safety: Wear a mask when spraying in confined spaces, such as a greenhouse or a sunroom, to avoid inhaling fine mists.
- Clear the Area: Keep pets and children away from the treated plants until the solution has completely dried. This usually takes a few hours, depending on humidity and airflow.
Consistency is key when using natural treatments. Because these products often do not kill mite eggs, you will likely need to reapply the treatment every five to seven days. This schedule ensures that you catch the newly hatched mites before they reach maturity and begin reproducing. If you do not see a reduction in the pest population after three applications, consider rotating to a different active ingredient to prevent the mites from developing resistance.
Preventing Future Infestations
The best defense against tiny red bugs, such as spider mites, is a proactive approach to plant health. Pests often target plants that are already struggling, so maintaining a consistent care routine is your most effective tool for prevention.
Spider mites thrive in hot, dry conditions. When a plant is stressed by underwatering or poor air circulation, it becomes a prime target. To keep your indoor garden resilient, focus on these three pillars of care:
- Consistent Hydration: Check your soil moisture regularly. Use your finger to test the top inch of soil; if it is dry, water thoroughly. Avoid letting plants sit in parched, dusty soil for extended periods.
- Boost Humidity: Mites dislike moisture. You can increase ambient humidity by grouping plants together, using a pebble tray filled with water, or running a humidifier nearby. Misting leaves occasionally also helps disrupt the dry environment these pests prefer.
- Proper Light: Ensure your plants receive the correct light levels for their species. A plant in the wrong lighting is a stressed plant, and stressed plants lack the natural defenses needed to fend off infestations.
Beyond daily care, you must act as a gatekeeper for your home. New plants are the most common entry point for pests. Before placing a new acquisition near your existing collection, follow these quarantine steps:
- Inspect Thoroughly: Check the undersides of leaves, the stems, and where the leaf meets the main stalk. Look for fine webbing or tiny, moving red dots.
- Isolate: Keep new plants in a separate room for at least two weeks. This observation period allows any hidden eggs to hatch or dormant pests to reveal themselves.
- Cleanse: Gently wipe down the foliage of new plants with a damp cloth or a mild soapy water solution. This removes dust and potential hitchhiking insects before they have a chance to settle in.
By keeping your plants hydrated, humid, and isolated upon arrival, you create a hostile environment for pests while fostering a thriving home garden.

Common Questions and When to Seek Help
Not all tiny red bugs are enemies of your garden. Before reaching for treatments, it is vital to distinguish between harmful pests, like spider mites, and beneficial predatory mites. Predatory mites are often faster-moving and hunt the pests that damage your plants. If you see bugs scurrying quickly across leaves rather than congregating in stationary groups, they may be beneficial insects helping to keep your garden ecosystem in balance.
However, if you identify a harmful infestation, monitor your plants closely for signs of distress. You should consider removing and discarding heavily infected plants if you notice the following:
- Severe, rapid wilting that does not recover with watering.
- Extensive webbing covering the undersides of leaves or stems.
- Yellowing, stippling, or leaf drop that affects more than half of the plant.
Removing these plants is a proactive step to prevent the pests from migrating to healthy vegetation nearby. Always place infested material directly into a sealed bag before disposal to avoid spreading the insects during transport.
If an infestation persists despite your best efforts at manual cleaning or organic treatment, do not hesitate to seek expert advice. A local nursery professional can provide guidance on safer, targeted pesticide options that won’t harm your soil or beneficial pollinators. They can also help you determine if your plant stress is caused by environmental factors, such as improper light, poor drainage, or nutrient deficiencies, which can make plants more susceptible to pest attacks in the first place.
When in doubt, prioritize the health of your overall garden over a single struggling plant. Early intervention is the most effective way to manage these tiny invaders while keeping your green space thriving. If the problem continues to spread despite consistent care, it is often more practical to start fresh with healthy, pest-free stock rather than risking your entire collection.

Dedicated team of gardening enthusiasts with years of hands-on experience testing lawn mowers, gardening tools, and outdoor equipment. We help home gardeners and professionals alike make informed buying decisions with honest, thorough reviews. From push mowers to pruning shears, we test it all so you don’t have to. Got a gardening tool you’d like us to review? Get in touch!