
You can get rid of spiders on plants by using gentle, eco-friendly methods like neem oil sprays or simple water rinses. These techniques effectively manage spider populations without damaging your delicate foliage or disrupting the local ecosystem. Discover practical, plant-safe methods to manage spider populations on your indoor and outdoor plants today.
It is important to remember that not all spiders are harmful to your garden. Many species act as natural pest control, eating smaller insects that actually damage leaves. This guide helps you identify if you have a beneficial spider resident or a destructive pest infestation, allowing you to make informed care decisions.
We will walk you through the essential steps to protect your greenery while maintaining a healthy environment. From identifying common webbing patterns to applying safe, natural deterrents, you will learn how to remove unwanted visitors effectively. Follow our practical strategies to ensure your plants remain vibrant, healthy, and free from overwhelming pest issues.
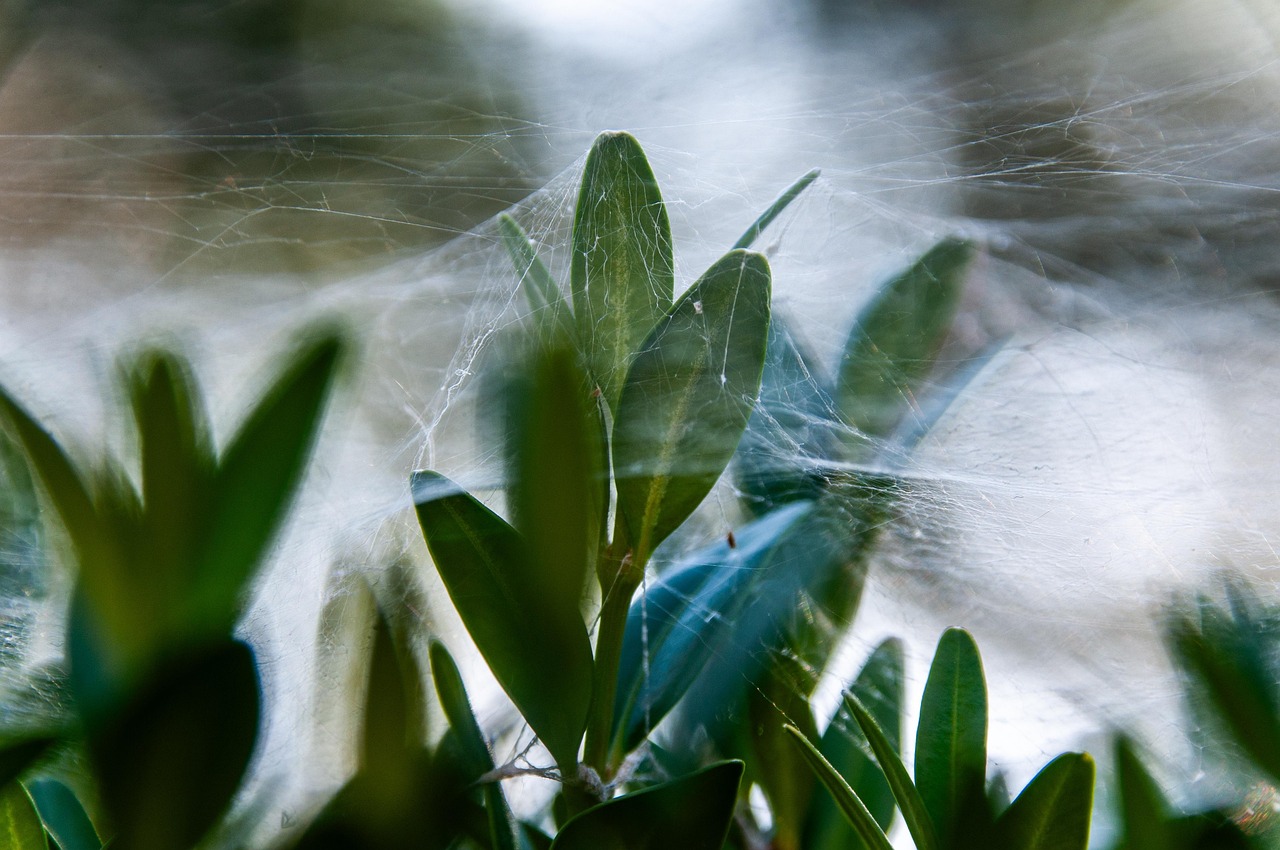
Identify the Difference Between Spiders and Spider Mites
Before you reach for a treatment, it is vital to distinguish between garden spiders and spider mites. Misidentifying these creatures can lead to unnecessary chemical use, which may harm the beneficial insects keeping your garden ecosystem in balance.
Garden Spiders are your allies. They are predators that hunt aphids, gnats, and other destructive pests. You will typically see them sitting in distinct, organized webs or patrolling the foliage. They do not feed on plant tissue, so they will never cause your leaves to wither or discolor. If you see a spider, it is best to leave it alone; it is providing free, natural pest control.
Spider Mites, however, are a serious threat. These are not true spiders, but tiny arachnids that suck the sap from your plants. Because they are microscopic, you may not see the individual pests at first. Instead, look for these telltale signs of an infestation:
- Fine, messy webbing: Unlike the neat webs of a garden spider, mite webbing is often dense, dusty, and appears between leaf stems or on the undersides of leaves.
- Stippling: Leaves may develop tiny yellow or white dots, eventually turning the entire leaf yellow or bronze.
- Leaf drop: Heavily infested plants will show signs of premature wilting or falling leaves.
To confirm a mite infestation, perform the “white paper test.” Hold a piece of plain white paper underneath a suspicious leaf and gently tap the foliage. If tiny, dust-like specks fall onto the paper and begin to crawl around, you have spider mites. If the specks remain stationary or are clearly larger, multi-legged spiders, you are likely looking at a beneficial predator.
By taking a moment to observe the behavior and physical evidence left behind, you ensure that you are targeting the right problem. Protecting the good spiders while managing the mite population is the most effective way to keep your indoor and outdoor plants thriving.
Manual Removal and Physical Cleaning
When you first notice spiders or light pest infestations on your plants, a physical approach is often the safest and most effective starting point. Before turning to chemical treatments, which can harm beneficial insects or sensitive foliage, try manual removal to clear away webs and pests.
For indoor houseplants or small potted specimens, a gentle stream of water is highly effective. You can use a spray bottle set to a steady stream or take the plant to a sink or shower. Focus the water on the undersides of leaves and along the stems, as these are the most common areas for spiders to hide and build their webs.
Follow these steps to ensure you clean your plants safely:
- Support the foliage: Always place one hand behind the leaf while spraying. This prevents delicate stems from snapping under the pressure of the water.
- Check the crevices: Pay close attention to the junctions where leaves meet the main stem, as spiders often tuck themselves into these tight spaces.
- Wipe away residue: If webs remain after spraying, use a soft, damp cloth or a cotton swab dipped in mild soapy water to gently wipe them off.
If you are managing large outdoor shrubs, the process requires a bit more caution. Use a garden hose with a gentle spray nozzle attachment. Because outdoor plants can harbor hidden hazards, always wear sturdy gardening gloves. This protects your hands from unexpected thorns, sharp branches, or debris that might be obscured by the foliage.
After washing, allow the plant to air dry in a well-ventilated area. Avoid leaving the plant in direct, scorching sunlight immediately after a water treatment, as the remaining droplets can act like magnifying glasses and cause leaf burn. Regularly inspecting your plants and performing this physical cleaning once a week can stop a minor spider presence from escalating into a full-blown infestation, keeping your garden healthy without the need for harsh interventions.

Using Natural Deterrents and Plant-Safe Sprays
When manual removal techniques—like wiping leaves or using a gentle stream of water—fail to curb a spider infestation, you may need to introduce mild, plant-safe deterrents. These solutions disrupt the pests’ ability to thrive without compromising the health of your greenery.
A simple, effective homemade remedy involves a basic soap-and-water mixture. This solution works by coating the spiders and their eggs, effectively suffocating them without the use of harsh synthetic chemicals.
To create your own mild spray:
- Mix one quart of lukewarm water with one teaspoon of mild, fragrance-free liquid dish soap.
- Avoid using heavy-duty detergents or soaps with degreasers, as these can strip the plant’s natural protective wax.
- Pour the mixture into a clean spray bottle and shake gently to combine.
If you prefer a more robust organic option, neem oil is highly recommended. Derived from the seeds of the neem tree, this oil acts as both a repellent and a growth regulator, preventing spiders from feeding and reproducing. Follow the manufacturer’s instructions carefully, as neem oil is potent and should always be diluted to the correct concentration before application.
Regardless of the method you choose, safety is paramount. Plants can be sensitive to topical applications, and improper use may lead to leaf burn or dehydration. Before treating the entire plant, perform a patch test:
- Apply a small amount of your chosen solution to a single, inconspicuous leaf.
- Wait 24 hours to monitor the area for signs of discoloration, wilting, or spotting.
- If the leaf remains healthy, you can safely proceed with treating the rest of the plant.
Always apply these sprays during the cooler parts of the day, such as early morning or late evening. Applying treatments under the direct, harsh afternoon sun increases the risk of leaf scorch. By taking these measured, cautious steps, you can eliminate unwanted spiders while ensuring your plants remain vibrant and stress-free.
Improving Plant Environment to Prevent Recurrence
Preventing a spider mite infestation requires more than just removing existing pests; you must transform your plant’s environment into a fortress that discourages their return. These pests thrive in hot, arid, and stagnant conditions, making your home’s climate a critical factor in long-term control.
The most effective strategy is to increase ambient humidity. Spider mites struggle to reproduce in moist air. You can achieve this by:
- Grouping plants together: Clustering your plants creates a microclimate where moisture released through transpiration stays trapped, naturally raising the local humidity.
- Using a pebble tray: Place a shallow tray filled with pebbles and water beneath your pots. Ensure the water level stays below the base of the pots to prevent root rot; as the water evaporates, it keeps the foliage hydrated.
- Regular misting: While not a permanent solution, light misting can deter mites, provided you ensure the leaves dry out sufficiently to prevent fungal issues.
Air circulation is equally vital. Stagnant air allows pests to settle and multiply undisturbed. Ensure your plants are spaced properly, allowing fresh air to move freely between leaves and stems. If your plants are crowded, they become a breeding ground for webbing; pruning away dead or decaying foliage removes potential hiding spots and improves overall airflow.
Finally, prioritize plant hygiene. Dust acts as a protective layer for mites and weakens the plant’s ability to photosynthesize. Wipe both the tops and undersides of leaves weekly with a damp, soft cloth. This simple act physically removes any stray mites or eggs before they can establish a colony.
Consistent hydration is the final piece of the puzzle. A plant that is properly watered is more resilient and better equipped to defend itself against stressors. Monitor your soil moisture regularly, as dehydrated plants produce chemical signals that can actually attract mites. By maintaining a clean, humid, and well-ventilated space, you create an environment where your plants thrive and pests simply cannot survive.

When to Seek Professional Help or Use Stronger Controls
If you notice that your plant is heavily infested and showing signs of severe decline—such as extensive browning, webbing covering the entire structure, or rapid leaf drop—immediate action is required. First, isolate the affected plant from your other houseplants to prevent the spider mites from spreading. Place it in a separate room or a quarantined area until the infestation is fully resolved.
When natural remedies like neem oil or insecticidal soaps fail to curb the population, it is time to consult a professional. Visit your local nursery or a garden center and bring photos of the damage; experts can identify the specific pest and recommend plant-specific insecticides that are effective yet safe for your particular species.
If you decide to use stronger chemical controls, safety must be your priority. Always adhere to these guidelines to protect yourself and your home environment:
- Read the Label: Follow the manufacturer’s instructions regarding dosage and application frequency exactly. Over-applying chemicals can damage the plant further.
- Wear Protective Gear: Always use chemical-resistant gloves and eye protection when handling or spraying insecticides.
- Ventilation: Apply treatments in a well-ventilated area, preferably outdoors or in a garage, to avoid inhaling fumes.
- Test First: Apply the product to a single leaf before treating the entire plant to ensure it does not cause chemical burn.
In some cases, the damage may be too advanced to reverse. If the plant has lost the majority of its foliage or the stems have become brittle and woody, it may be beyond recovery. In these instances, safely discarding the plant—and the soil—is the most responsible choice to protect your healthy collection. Dispose of the plant in a sealed bag to ensure no pests escape during the process. Cleaning the area where the plant was kept with a mild bleach solution can also help eliminate any lingering eggs or dormant mites.

Dedicated team of gardening enthusiasts with years of hands-on experience testing lawn mowers, gardening tools, and outdoor equipment. We help home gardeners and professionals alike make informed buying decisions with honest, thorough reviews. From push mowers to pruning shears, we test it all so you don’t have to. Got a gardening tool you’d like us to review? Get in touch!