
Fungus gnats are a common frustration for indoor gardeners, but you do not need harsh chemicals to eliminate them. This guide explains how to identify these pests and use safe, natural methods to restore the health of your houseplants. By targeting their life cycle, you can effectively clear your home of these annoying insects.
While these tiny flies are mostly a nuisance, their larvae can damage delicate root systems if left unchecked. It is important to understand that complete eradication often requires consistency over several weeks rather than a single quick fix. With the right approach, you can protect your greenery without relying on toxic synthetic pesticides.
In the following sections, we will explore practical strategies ranging from simple soil adjustments to effective household traps. You will learn how to manage moisture levels, utilize beneficial biological controls, and implement preventative measures to keep your garden thriving. Follow these steps to reclaim your indoor sanctuary and ensure your plants remain vibrant and pest-free.

Identifying the Problem
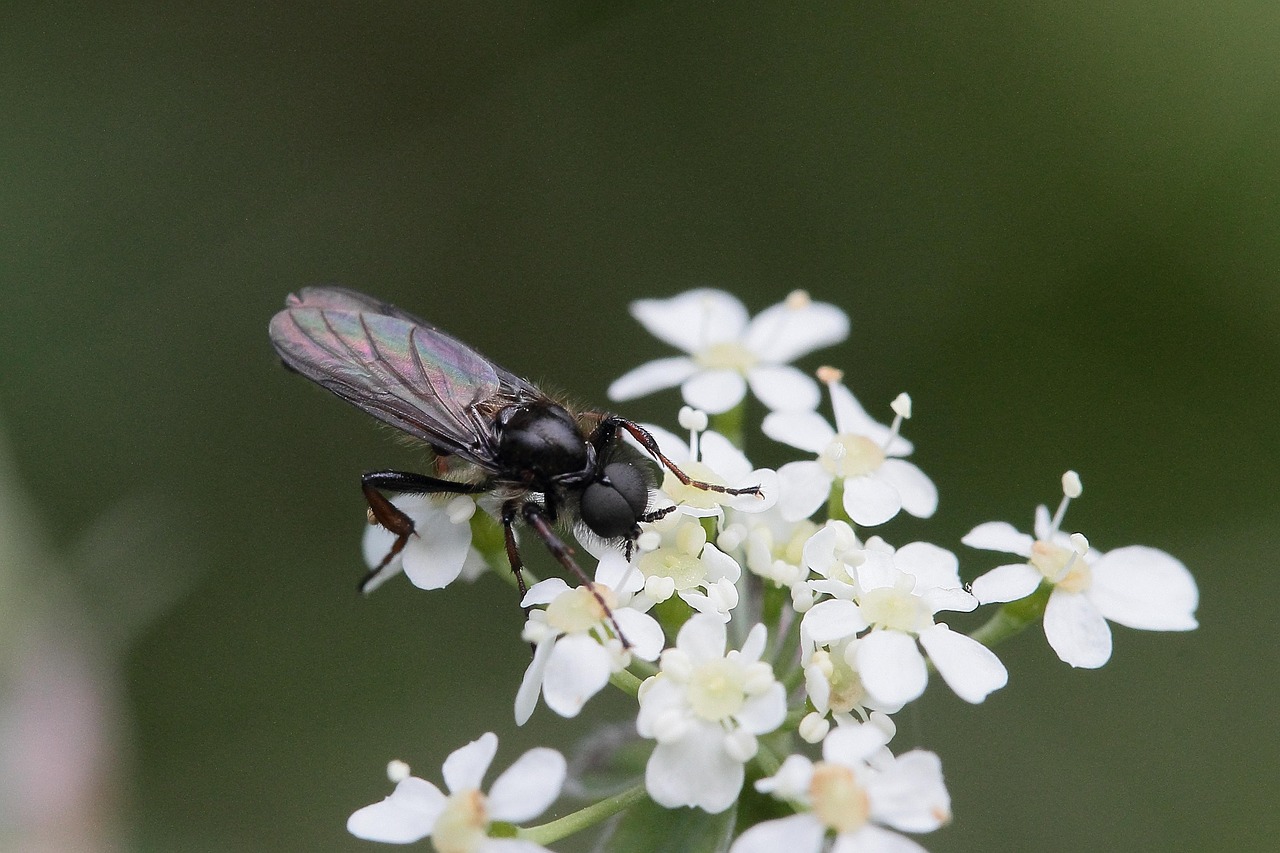
Before you reach for heavy-duty outdoor power equipment or chemical sprays, you must confirm that your plant issues are caused by fungus gnats. Misidentifying the pest can lead to wasted effort and unnecessary stress on your indoor garden. Fungus gnats are tiny, dark-bodied flies that often appear suddenly, hovering near the soil surface or resting on the leaves of your houseplants.
These pests thrive in damp, stagnant conditions. If you have been overwatering your plants or using potting soil that remains wet for extended periods, you have created the perfect breeding ground. The adult gnats are primarily a nuisance, but their larvae—which live within the top inch of the soil—can damage delicate root systems, especially in seedlings.
To accurately identify an infestation, perform a quick inspection of your garden maintenance area:
- The Hover Test: Gently tap the sides of your plant pots. If tiny, dark flies immediately take flight and hover around the soil, you are likely dealing with fungus gnats.
- Visual Soil Check: Use a magnifying glass to examine the surface of the potting mix. Look for larvae, which appear as tiny, translucent, worm-like creatures with distinct black heads.
- The Yellow Sticky Trap Method: Place small yellow sticky cards near the base of your plants. Fungus gnats are naturally attracted to the color yellow; if the cards collect a significant number of these flyers, your diagnosis is confirmed.
- Check for Root Health: If a plant looks wilted despite having moist soil, carefully inspect the root ball. Larvae feeding on fungi and organic matter in the soil may have compromised the roots, leading to stunted growth.
It is important to distinguish fungus gnats from other common houseplant pests. Unlike spider mites, which leave fine webbing, or aphids, which congregate on the undersides of leaves, fungus gnats are almost exclusively associated with the soil environment. If you do not see larvae in the soil or notice the adults congregating around the pot, your plant may be suffering from a different issue entirely.
Once you have confirmed the presence of fungus gnats, you can transition to natural management techniques. Addressing the moisture levels in your soil is the most effective first step in breaking their life cycle, ensuring your home garden remains healthy and pest-free.
The Importance of Drying Out Soil
The most effective natural strategy for eliminating fungus gnats is to disrupt their life cycle by limiting moisture. Fungus gnat larvae thrive in consistently damp, organic-rich soil, where they feed on decaying matter and tender roots. By altering the moisture levels in your pots, you create an environment that is hostile to their survival, effectively stopping an infestation in its tracks.
The primary goal is to allow the top two inches of your potting soil to dry out completely between waterings. When the surface layer remains dry, the larvae—which inhabit the upper portion of the soil—are unable to survive. This cultural change is often enough to break the reproductive cycle without the need for harsh chemical treatments.
To implement this practice effectively, follow these practical steps:
- Check the soil: Before watering, insert your finger two inches deep into the soil. If you feel any moisture, wait a few more days before adding water.
- Use proper containers: Always ensure your pots have functional drainage holes. If your decorative cachepot lacks drainage, remove the nursery pot to water it, allowing all excess liquid to drain away entirely before returning it to the decorative container.
- Avoid standing water: Never leave your plants sitting in a saucer filled with water. Empty any drainage saucers 15 minutes after watering to prevent the soil from wicking moisture back up into the root zone.
- Improve aeration: If your soil stays wet for too long, it may be too compacted or lack proper aeration. Consider amending your potting mix with perlite or pumice in the future to improve drainage and airflow.
Patience is essential during this process. Because fungus gnats have a rapid life cycle, you may still see adult gnats flying around for a week or two after you start drying out the soil. These are simply the adults that were already present. By keeping the top layer of soil dry, you prevent the next generation from maturing, which quickly collapses the population.
While it is tempting to water on a strict schedule, successful home gardening requires observing the needs of the individual plant. Adjusting your watering habits based on soil moisture rather than a calendar is the most reliable tool in your garden maintenance kit for long-term pest prevention.

Using Physical Traps and Barriers
When dealing with a fungus gnat infestation, physical intervention is one of the most effective non-toxic strategies available. By targeting both the flying adults and the larvae residing in the soil, you can disrupt the gnat life cycle without relying on harsh chemical pesticides.
Yellow sticky traps are a staple in garden maintenance for monitoring and controlling adult populations. Fungus gnats are naturally attracted to the color yellow, making these traps an ideal tool for your indoor garden. To maximize their effectiveness:
- Place traps horizontally near the soil surface or vertically just above the foliage.
- Check traps every few days; once they are covered in gnats, replace them to maintain a clean surface.
- Use these in conjunction with other methods to catch the adults before they have the chance to mate and lay new eggs.
While sticky traps handle the adults, you must also address the breeding ground. Fungus gnats require moist, organic-rich soil to lay their eggs. You can create a physical barrier to stop this process entirely by top-dressing your pots.
Apply a one-half to one-inch layer of horticultural sand, fine gravel, or specialized decorative grit over the exposed soil surface. This layer serves two primary purposes:
- Prevents Egg-Laying: Adult gnats can no longer reach the moist soil to deposit their eggs, effectively cutting off the next generation.
- Traps Emerging Larvae: Any larvae that have already hatched will struggle to navigate through the abrasive, dry surface material, preventing them from maturing into flying adults.
For this method to work, ensure the barrier remains dry. Avoid using decorative moss or organic mulch, as these materials retain moisture and can actually encourage gnat activity. By combining these physical barriers with sticky traps, you create a hostile environment for the pests while keeping your plants healthy and your home environment safe. This dual-action approach is a practical, low-maintenance solution that yields consistent results for home gardeners.
Natural Biological and Botanical Treatments
When physical barriers and traps fail to curb a persistent fungus gnat infestation, you may need to introduce biological or botanical treatments to break the insect’s life cycle. These methods target the larvae living in the top layer of your potting soil, preventing them from maturing into flying adults.
One highly effective, low-cost solution involves a diluted hydrogen peroxide mixture. By mixing one part 3% hydrogen peroxide with four parts water, you create a solution that kills gnat larvae upon contact. Use this mixture to replace your regular watering schedule for a few cycles. The peroxide oxidizes on contact with organic matter, effectively sanitizing the soil surface while remaining safe for most established houseplants.
For those who prefer a set-it-and-forget-it approach, biological controls are often more convenient. The most reliable option is the use of products containing Bacillus thuringiensis israelensis (BTI), commonly sold as Mosquito Bits or Mosquito Dunks. This naturally occurring bacterium is highly specific; it targets the digestive systems of gnat and mosquito larvae without posing any risk to your plants, household pets, or humans.
To use BTI effectively, follow these steps:
- Soak the BTI granules in your watering can for at least 30 minutes to release the active bacteria into the water.
- Strain the granules out if desired, or apply the water directly to the soil to ensure the bacteria reaches the larvae.
- Repeat this treatment every time you water for at least three weeks to catch successive generations of hatching eggs.
Regardless of the method you choose, proper safety protocols are essential during garden maintenance. Always wear nitrile or garden gloves when handling soil amendments, potting mixes, or biological treatments to prevent skin irritation. Additionally, ensure you wash your hands thoroughly with soap and warm water immediately after tending to your plants. Keeping your gardening tools clean and storing your soil in sealed containers will further assist in preventing re-infestation. By combining these targeted treatments with consistent monitoring, you can restore the health of your indoor garden without relying on harsh synthetic chemicals. Always test a small area of the soil first if you are treating sensitive or rare botanical specimens.
Follow-up Care and Prevention
Once you have successfully eliminated fungus gnats, maintaining a clean environment is the most effective way to prevent their return. Gnats thrive in moist, decaying organic matter, so start by clearing away fallen leaves, spent blooms, and surface debris from your pots. Keeping the soil surface tidy removes the breeding grounds these pests rely on to lay their eggs.
Proper maintenance also involves using the right tools to keep your plants healthy and resilient. If you are pruning away dead foliage or damaged stems, always use sharp, clean hand tools. Dull blades can crush plant tissue, creating open wounds that attract pests or invite disease. After each use, wipe your shears or pruners with rubbing alcohol to prevent the spread of pathogens between plants.
When performing routine garden maintenance, follow these best practices to keep your indoor and outdoor spaces inhospitable to gnats:
- Allow soil to dry: Let the top two inches of potting mix dry out completely between waterings to disrupt the gnat life cycle.
- Store tools properly: Keep your hand tools in a dry, organized shed or toolbox to prevent rust and ensure they are ready for the next pruning session.
- Check drainage: Ensure all pots have functional drainage holes. If water pools in decorative saucers, empty them immediately to avoid creating a swampy environment.
- Sterilize equipment: If you use outdoor power equipment like tillers or edgers near your garden beds, ensure the blades are clean to avoid introducing contaminated soil or debris into your planting areas.
If an infestation persists despite your best efforts, the issue may lie deeper within the root zone. In these cases, repotting your plant into fresh, sterile potting soil is often necessary. Gently remove the plant, wash the roots, and discard the old, infested medium entirely.
For those managing larger outdoor garden beds, keep a close watch on your irrigation systems. Poor drainage or over-saturated mulch can lead to recurring issues. If you notice persistent dampness or widespread pest activity despite correcting your watering habits, consult a local master gardener. They can provide site-specific advice regarding soil amendments or drainage solutions tailored to your local climate and plant varieties. By staying proactive with your equipment and soil management, you can keep your garden thriving and pest-free.

Dedicated team of gardening enthusiasts with years of hands-on experience testing lawn mowers, gardening tools, and outdoor equipment. We help home gardeners and professionals alike make informed buying decisions with honest, thorough reviews. From push mowers to pruning shears, we test it all so you don’t have to. Got a gardening tool you’d like us to review? Get in touch!