
Fungus gnats are a common nuisance for houseplant owners, but they are easily manageable with simple household items. You can effectively eliminate these pests by using basic DIY remedies like sticky traps or hydrogen peroxide solutions to protect your indoor greenery. These quick fixes target larvae in the soil while ensuring your plants remain healthy and vibrant.
While these annoying insects often appear due to overwatering, eradicating them requires consistency and patience. It is important to understand that a complete removal may take several treatments, as you must break the life cycle of the gnats. By adjusting your watering habits and using natural deterrents, you can successfully reclaim your indoor garden space.
This guide provides practical, step-by-step instructions on how to identify an active infestation and apply effective DIY remedies safely. We will explore how to protect your plants without relying on harsh chemicals or expensive professional equipment. Follow these proven maintenance tips to keep your home garden thriving, pest-free, and looking its absolute best all year round.

Identifying and Understanding Fungus Gnats
Before you reach for your gardening tools or invest in expensive outdoor power equipment to combat a pest issue, you must confirm that your problem is indeed fungus gnats. Misidentifying these pests can lead to ineffective treatments that waste time and potentially harm your houseplants.
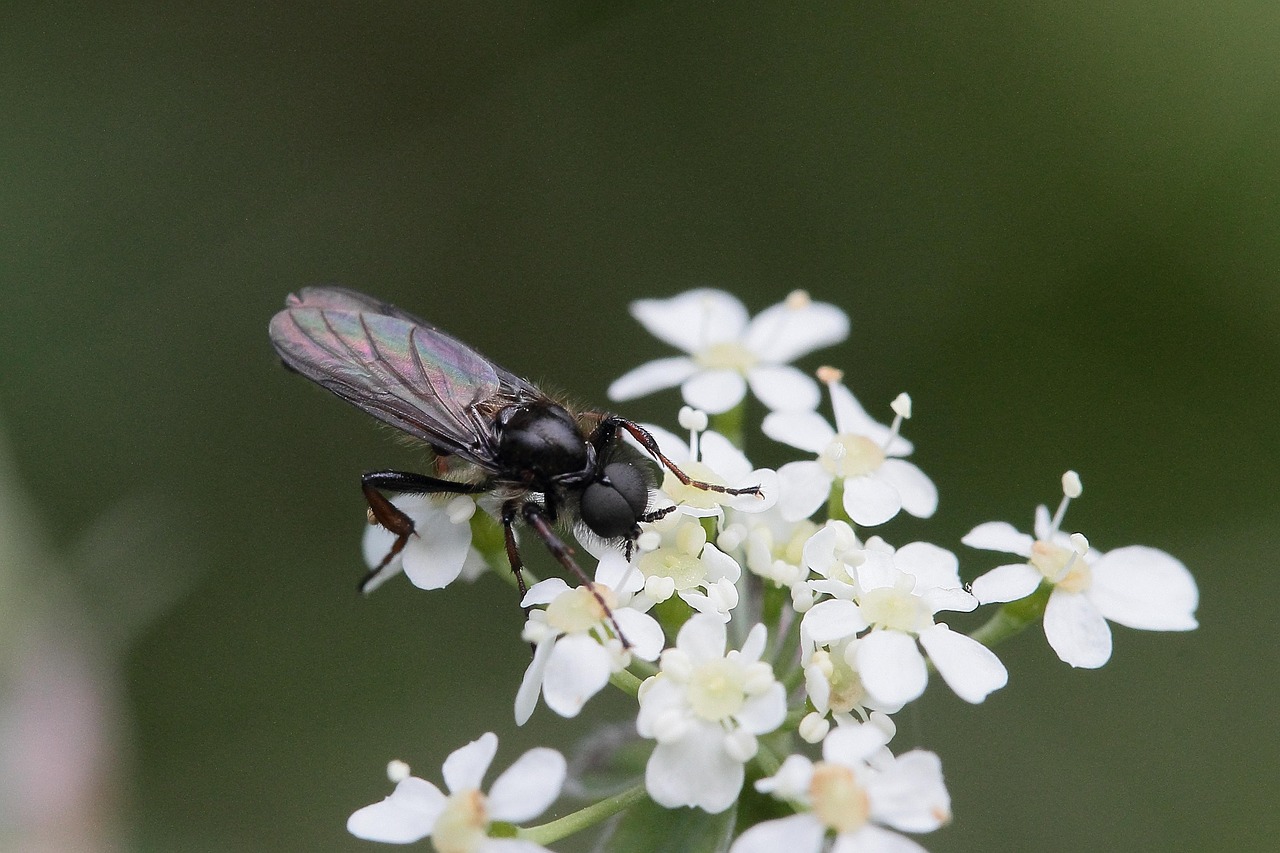
Fungus gnats are small, dark-bodied flies that typically measure about 1/8 of an inch long. They are most easily identified by their behavior: you will often see them hovering erratically near the soil surface of your potted plants or scurrying across the top of the potting mix when disturbed. Unlike other common houseplant pests that cling tightly to leaves, these gnats prefer the damp environment of the growing medium.
To confirm an infestation, look for these specific indicators:
- Small, mosquito-like flies congregating around moist potting soil.
- Sudden wilting or yellowing of leaves, which can indicate root damage caused by larvae.
- Poor growth in seedlings or young plants.
Understanding the fungus gnat life cycle is essential for successful DIY control. These pests thrive in consistently damp conditions, where they lay their eggs in the top layers of organic-rich soil. Within a few days, these eggs hatch into translucent larvae with black heads. These larvae feed on decaying organic matter, fungi, and—when populations are high—the delicate root hairs of your plants. After about two weeks, they pupate and emerge as the flying adults you see hovering near your pots.
Because the larvae live beneath the soil surface, surface-level treatments often fail if you do not address the entire life cycle. The adults are merely the visible symptom of a larger population developing in the damp soil below. Effective management requires breaking this cycle by disrupting the larval stage and preventing the adults from laying new eggs.
If you find that your soil remains wet for extended periods, you may need to adjust your watering habits or improve pot drainage as part of your maintenance routine. By keeping the top inch of soil dry, you create an inhospitable environment for egg-laying, which is often the most practical and sustainable way to manage these pests without relying on harsh chemicals or heavy-duty power equipment.
The Most Effective DIY Soil Treatments
Fungus gnats thrive in consistently moist environments, specifically within the top two inches of your potting soil. Because this is where the larvae feed on organic matter and fungal spores, disrupting their habitat is the most effective way to break their reproductive cycle. Before reaching for harsh chemicals, try these practical, DIY soil treatments to regain control of your indoor garden.
The simplest and most effective method is to adjust your watering routine. Fungus gnat larvae require moisture to survive; by allowing the top two inches of soil to dry out completely between waterings, you effectively starve them. Before adding more water, check the soil depth with your finger or a moisture meter. If the soil still feels damp, hold off. This practice not only discourages pests but also promotes healthier root systems by preventing root rot.
If your infestation is persistent, a hydrogen peroxide drench is a safe, reliable solution. Hydrogen peroxide (H2O2) is an oxidizer that kills larvae on contact by releasing oxygen, which destroys their cell walls while remaining harmless to your plant’s roots. To prepare this treatment, follow these steps:
- Mix one part 3% hydrogen peroxide with four parts room-temperature water.
- Stir the mixture gently to ensure it is well-combined.
- Water your plants thoroughly with the solution, ensuring the soil is saturated enough to reach the larvae in the top layers.
- Expect a slight fizzing sound; this is a normal chemical reaction and indicates the solution is working.
After applying the hydrogen peroxide, you may notice the soil surface looks cleaner. Repeat this process only when the soil has dried out again, as over-saturating the pot can lead to other plant health issues. If you have a large collection of plants, it is wise to treat them all simultaneously to prevent the gnats from migrating to untreated containers.
For long-term prevention, consider adding a thin layer of decorative sand or fine gravel to the top of your pots. This physical barrier prevents adult gnats from reaching the soil to lay new eggs. Combined with proper drainage and careful watering, these simple maintenance habits will keep your home garden free of pests without the need for expensive or toxic pesticides.
Trapping Adult Gnats to Stop the Cycle
While treating the soil is essential for eliminating larvae, you must simultaneously target the flying adults to break the reproductive cycle. If you leave the adults alive, they will continue to lay eggs in your potting mix, ensuring the infestation persists. Trapping is the most effective way to reduce the active population quickly.
Yellow sticky traps are a gardener’s best friend for this task. Fungus gnats are naturally drawn to the color yellow, which they mistake for a food source or a place to lay eggs. By placing these traps near the base of your plants or hanging them just above the soil line, you can capture dozens of adults in a single day. Ensure the traps are positioned so they do not touch the foliage, as the adhesive can damage delicate leaves.
If you prefer a DIY approach using household items, you can create a highly effective trap using common kitchen staples. This method works by attracting the gnats to a scent they find irresistible and then breaking the surface tension of the liquid so they cannot escape.
Follow these steps to build your own gnat trap:
- Fill a small, shallow bowl or jar with about an inch of apple cider vinegar.
- Add a single drop of liquid dish soap to the vinegar. Do not mix it vigorously; you want to avoid creating excessive bubbles.
- Place the container directly on the soil surface or immediately next to the infested plant.
The apple cider vinegar acts as the attractant, drawing the gnats toward the bowl. The dish soap is the critical component; it reduces the surface tension of the liquid, causing the gnats to sink and drown immediately upon landing rather than simply walking on the surface.
For the best results, monitor your traps daily. If you are using sticky traps, replace them once they become covered in debris or gnats, as their effectiveness decreases when the surface is full. If using the vinegar method, refresh the liquid every two to three days to maintain the scent’s potency. By combining these trapping methods with soil-focused treatments, you will disrupt the life cycle and see a significant reduction in the gnat population within a week or two.
Safety and Maintenance Precautions
Successfully managing a fungus gnat infestation requires a combination of botanical care and diligent maintenance. Before applying any DIY treatments, prioritize your safety and the longevity of your gardening tools.
When mixing homemade pest control solutions, such as diluted hydrogen peroxide or soap-based sprays, always work in a well-ventilated area. Inhaling aerosolized particles or concentrated vapors can cause irritation, so choose a space with good airflow, such as a porch or an open garage.
If your infestation has reached a point where you must prune away heavily damaged or decaying foliage, use sharp, clean garden shears. Proper sanitation is critical to prevent the spread of pathogens from infected plants to healthy ones. Follow these steps after every pruning session:
- Wipe the blades of your shears thoroughly with a cloth soaked in 70% rubbing alcohol.
- Allow the tools to air dry completely before returning them to your storage shed or toolbox.
- Inspect the pivot point of the shears for debris and clear it to ensure smooth operation.
Hand hygiene and protective gear are equally important during the removal process. Always wear durable gardening gloves when handling potting soil. This practice not only protects your skin from potential irritants found in fertilizers or damp media but also maintains general hygiene, as fungus gnats and their larvae thrive in moist, organic environments.
Finally, treat your DIY pest control mixtures with the same caution you would apply to professional lawn care or outdoor power equipment. Even natural ingredients can be harmful if ingested by curious toddlers or household pets. Always store your cleaning solutions in clearly labeled, airtight containers.
Keep these mixtures on a high shelf or inside a locked cabinet, well out of reach of children and animals. If you have leftover solution, dispose of it according to local environmental guidelines rather than pouring it directly into storm drains. By maintaining your tools properly and handling your DIY supplies with care, you create a safer environment for both your houseplants and your household.

Follow-up Care and When to Seek Professional Help
Consistency is the most critical factor in eliminating fungus gnats. Because these pests have a multi-stage life cycle, a single treatment is rarely enough to break the infestation. You must continue your chosen DIY method—whether using yellow sticky traps, neem oil, or hydrogen peroxide soil drenches—for at least two full weeks. This duration ensures you target the larvae currently in the soil as well as any new eggs that hatch during the cycle.
If your plants continue to decline after two weeks of consistent treatment, the issue may extend beyond simple gnats. Inspect your plants closely for the following indicators:
- Root Rot: Overwatering is the primary cause of gnat infestations. If the soil smells sour or the stems feel mushy, your plant may be suffering from root rot, which requires repotting and trimming damaged roots rather than just pest control.
- Secondary Pests: Check the undersides of leaves and along the stems for fine webbing, which suggests a spider mite infestation. Gnats and mites often thrive in the same stressed environments.
- Soil Compaction: If the potting mix has become too dense, it retains moisture for too long. Consider amending your soil with perlite or pumice to improve aeration and drainage.
While DIY methods are highly effective for minor outbreaks, persistent infestations require a different strategy. If you have a large collection of valuable or rare indoor plants, do not wait until the root systems are severely compromised. Contact a local nursery professional or a certified arborist.
Professionals can provide access to specialized soil drench treatments and biological controls, such as beneficial nematodes or Bacillus thuringiensis israelensis (BTI) in professional-grade concentrations, which are often more potent than standard retail options. A nursery expert can also help you identify if the gnats originated from a specific batch of contaminated potting soil, preventing future outbreaks across your home garden.
Remember that garden maintenance is a proactive process. Even after the gnats are gone, keep your watering cans and hand tools clean, and always allow the top inch of soil to dry out completely between waterings. Maintaining this dry surface layer is the most practical way to prevent adult gnats from laying new eggs in your pots, ensuring your indoor garden remains healthy and pest-free in the long term.

Dedicated team of gardening enthusiasts with years of hands-on experience testing lawn mowers, gardening tools, and outdoor equipment. We help home gardeners and professionals alike make informed buying decisions with honest, thorough reviews. From push mowers to pruning shears, we test it all so you don’t have to. Got a gardening tool you’d like us to review? Get in touch!