
Fungus gnats are a common nuisance for indoor and outdoor gardeners. This guide explains how to identify the source of the infestation and provides effective, non-toxic methods to eliminate them and protect your plant health. By addressing moisture levels and using simple household traps, you can quickly clear these pesky insects from your favorite greenery.
While these tiny flies are annoying, they rarely kill healthy plants immediately, but their larvae can damage delicate root systems over time. Achieving a pest-free environment requires patience and consistent maintenance. Understanding their life cycle is the most important step in preventing future outbreaks and ensuring your garden remains a thriving, vibrant space year-round.
In the following sections, we will explore practical strategies ranging from soil management to specialized tool usage for long-term control. You will learn how to monitor your garden effectively and apply safe, proven solutions that keep your plants safe. Get ready to reclaim your home garden and enjoy a peaceful, gnat-free environment starting today.

Identifying the Problem: Are They Fungus Gnats?
Before you reach for heavy-duty outdoor power equipment or chemical sprays, you must confirm you are actually dealing with fungus gnats. Many gardeners confuse these pests with fruit flies, but their habits and preferred habitats are quite different.
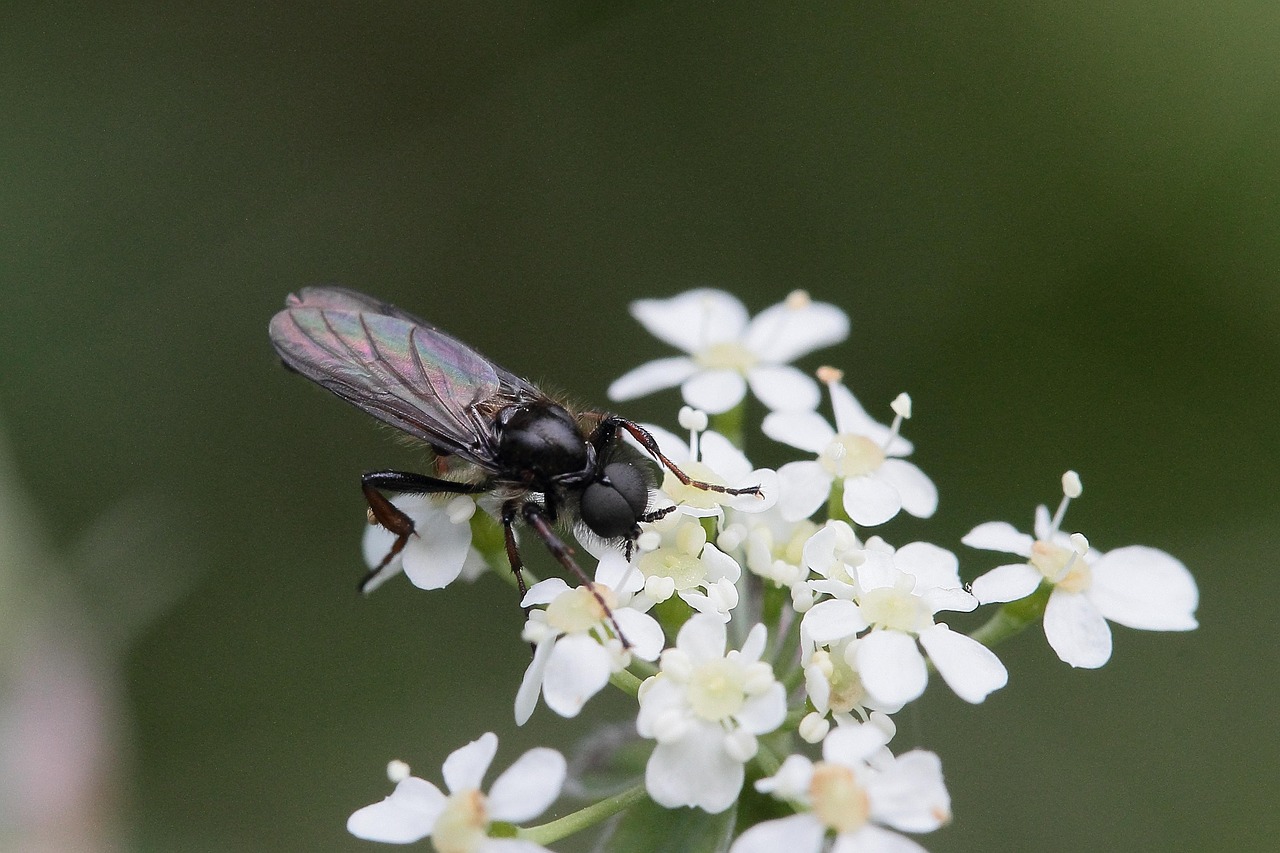
Fungus gnats are small, delicate flies, typically measuring about 1/8 of an inch long. They are dark gray or black in color with long legs and clear wings. Unlike fruit flies, which are attracted to ripening produce in your kitchen, fungus gnats are almost exclusively interested in your houseplants and the soil they inhabit.
To identify them, observe their behavior around your pots:
- Hovering near the surface: Fungus gnats frequently flutter low over the soil or rest directly on the growing medium.
- Disturbance response: If you gently tap the side of a pot or water the plant, adults will often take flight in short, jerky bursts before quickly landing back on the soil surface.
- Slow flight: They are generally weak fliers and do not travel far from the infested plant.
The primary reason these pests take up residence in your home is moisture. Fungus gnats thrive in damp, organic-rich environments. They feed on decaying plant matter, fungi, and algae that develop in consistently wet soil. If you find yourself frequently overwatering or if your pots lack proper drainage, you are inadvertently creating the perfect breeding ground for them.
While fruit flies are attracted to sugar and fermentation, fungus gnats are attracted to the humidity of the soil. If you notice tiny, dark flies congregating around the base of your plants or crawling on the surface of the potting mix, you are likely dealing with a fungus gnat infestation. Addressing this usually requires a shift in your maintenance routine—specifically, allowing the top inch or two of soil to dry out completely between waterings. This simple change disrupts their life cycle by killing the larvae that live in the moist topsoil. By correctly identifying the pest, you can focus on targeted, low-impact solutions rather than unnecessary treatments that could harm your plant’s health or disrupt your indoor environment.
Immediate Steps to Stop the Breeding Cycle
Fungus gnats rely on moisture to survive and reproduce. Adult gnats lay their eggs in the top one to two inches of potting soil, where the larvae feed on organic matter and fungi. To break this cycle, your primary goal is to make the environment inhospitable for these pests by drying out the surface.
The most effective immediate step is to withhold water until the top layer of soil is completely dry to the touch. While it is tempting to keep watering on a schedule, most houseplants can tolerate a period of drought better than they can survive a gnat infestation. Checking the soil moisture with your finger before each watering ensures you are not creating a breeding ground.
In addition to drying out the soil, you must remove the food sources that larvae depend on. Debris sitting on the surface of your pot provides a perfect buffet for developing larvae. Follow these steps to sanitize your plant’s environment:
- Clear surface debris: Remove any fallen leaves, dead petals, or twigs from the top of the soil. These decaying organic materials are primary breeding sites.
- Trim dead growth: Use clean, sharp hand pruners to remove any yellowing or dying leaves from the plant itself, as these can attract gnats when they drop.
- Scrape the top layer: If the infestation is concentrated, carefully scoop out the top half-inch of soil and discard it in a sealed bag. Replace it with a thin layer of horticultural sand or decorative gravel to prevent adults from accessing the soil to lay new eggs.
Improving airflow around your plants also discourages gnats. If you have multiple plants clustered together, space them out to allow the soil surface to evaporate moisture more efficiently. If you are using a decorative pot cover or a saucer that holds standing water, empty it immediately. Any pooled water near the base of the pot keeps the soil saturated from the bottom up, effectively undoing your efforts to dry out the top layer.
By consistently maintaining a dry soil surface and keeping the area free of organic decay, you disrupt the life cycle of the gnats. Most infestations will significantly decline within one to two weeks of implementing these maintenance practices.
Effective Natural Treatments for Gnat Removal
Once you identify a fungus gnat infestation, acting quickly is essential to prevent them from damaging your plants. A multi-pronged approach targeting both the flying adults and the larvae in the soil is the most effective way to break their reproductive cycle.
Targeting Adult Gnats
Yellow sticky traps are your first line of defense. Fungus gnats are naturally attracted to the color yellow, which mimics the appearance of fresh foliage or flowers. By placing these traps near the base of your plants or hanging them slightly above the soil line, you can capture significant numbers of adults before they lay more eggs. This reduces the population immediately and helps you monitor the severity of the infestation.
Treating the Soil
While traps handle the adults, you must address the larvae living in the potting mix to stop the cycle. These two methods are highly effective and safe when used correctly:
- Mosquito Dunks: These contain Bacillus thuringiensis israelensis (Bti), a natural bacterium that specifically targets gnat larvae without harming your plants, pets, or beneficial insects. Simply crumble a small piece of a dunk into your watering can, let it soak for a few hours, and use this water for your regular routine.
- Hydrogen Peroxide Solution: A mixture of one part 3% hydrogen peroxide to four parts water can kill larvae on contact. Apply this solution to the soil until it runs out of the drainage holes. The fizzing action is normal and harmless to established roots.
Safety and Best Practices
When applying these treatments, prioritize the health of your plants. Always ensure your pots have proper drainage to avoid waterlogged soil, as overly damp conditions are the primary reason fungus gnats thrive. If you choose to use the hydrogen peroxide method, do not over-apply it; once every two weeks is sufficient until the infestation clears. If you notice any signs of root stress, such as yellowing leaves or wilting, pause your treatment and allow the top inch of soil to dry out completely between waterings. Combining consistent soil drying with these natural treatments typically eliminates the problem within two to three weeks.
Tools and Maintenance for Long-Term Prevention
Preventing fungus gnat infestations requires more than just reactive treatments; it demands proactive soil management. Gnats thrive in consistently damp, compacted soil, which is why your maintenance routine must focus on promoting rapid drainage and proper aeration. If your soil stays waterlogged for too long, it becomes an ideal nursery for larvae.
To improve soil health, invest in a few essential hand tools designed for gentle cultivation. A small hand cultivator or a long-handled soil aerator is indispensable for breaking up the surface crust of your potting mix. By carefully loosening the top inch of soil, you allow oxygen to reach the roots and help the substrate dry out more evenly between waterings. Always work slowly to avoid damaging the plant’s root system.
Beyond aeration, you can physically block adult gnats from laying eggs by using top-dressing materials. Adult gnats look for moist, organic-rich soil to deposit their eggs. By covering the exposed soil surface, you create a dry, inhospitable barrier that prevents them from accessing their preferred breeding ground.
Effective top-dressing materials include:
- Coarse Sand: A layer of horticultural sand dries out very quickly, making it difficult for gnats to navigate or survive.
- Decorative Gravel or Pebbles: These provide a rigid, inorganic barrier that is difficult for adults to penetrate.
- Expanded Clay Pebbles: Lightweight and porous, these are excellent for larger pots and provide good airflow while blocking access to the soil.
When applying these materials, ensure you leave a small gap around the main stem of the plant to prevent rot. Additionally, ensure your pots have adequate drainage holes. If you are using decorative cachepots without drainage, use a drill or a specialized masonry bit to add holes, or repot the plant into a nursery pot that fits inside the decorative container. Keeping your tools clean is also vital; always wipe down your trowels and cultivators with a mild disinfectant after working with infested plants to avoid spreading larvae or eggs to healthy pots. By combining regular aeration with a solid physical barrier, you create an environment where gnats simply cannot establish a foothold, ensuring your indoor garden remains healthy and pest-free throughout the year.

Frequently Asked Questions and When to Seek Help
Many gardeners worry that fungus gnats will destroy their plants overnight. While adult gnats are primarily a nuisance, their larvae feed on organic matter and tender root hairs in the soil. In most cases, a healthy, mature plant can withstand a minor infestation. However, if you notice sudden yellowing leaves, stunted growth, or wilting despite proper watering, the larvae may be damaging the root system, requiring immediate intervention.
Deciding when to repot a heavily infested specimen is a common dilemma. If you have already tried yellow sticky traps and soil drying techniques without success, repotting is often the most effective solution. You should repot if:
- The soil remains consistently soggy and has developed a musty or moldy odor.
- You can see larvae crawling near the surface or drainage holes.
- The plant is small enough to handle without causing excessive root shock.
When repotting, always discard the old, infested soil entirely rather than trying to reuse it. Gently wash the roots under lukewarm water to remove lingering larvae or eggs before placing the plant into fresh, high-quality potting mix.
Safety is paramount when working with soil and garden maintenance equipment. Potting mixes can harbor bacteria or fungi that may cause skin irritation or respiratory issues. To protect yourself, follow these practical tips:
- Wear gloves: Always use gardening gloves to prevent direct contact with pathogens, sharp debris, or potential allergens found in commercial soil blends.
- Avoid inhalation: Open bags of soil in a well-ventilated area to avoid breathing in dust or spores. If you are sensitive to dust, consider wearing a basic face mask.
- Wash up: Thoroughly wash your hands and forearms with soap and water immediately after finishing your gardening tasks, even if you wore gloves.
If you have attempted these measures and the infestation persists, or if your plant is showing signs of severe decline, do not hesitate to seek help. Local nurseries or professional arborists can often provide diagnostic services. In extreme cases, a professional might recommend specific systemic treatments that are safer and more effective than DIY methods for high-value or deeply infested plants. Remember, consistent monitoring is your best defense against future outbreaks.

Dedicated team of gardening enthusiasts with years of hands-on experience testing lawn mowers, gardening tools, and outdoor equipment. We help home gardeners and professionals alike make informed buying decisions with honest, thorough reviews. From push mowers to pruning shears, we test it all so you don’t have to. Got a gardening tool you’d like us to review? Get in touch!