
Fungus gnats are a common nuisance for indoor gardeners, often appearing when soil stays too damp. This guide explains how to identify, eliminate, and prevent these pests using simple, effective methods to protect your houseplants. By addressing the moisture levels in your pots, you can quickly stop these annoying insects from thriving in your home.
While these tiny flies are generally harmless to humans, they can damage delicate root systems if left unchecked. Eradicating them requires a combination of patience and consistent care rather than harsh chemicals. Understanding their life cycle is essential, as it helps you target both the flying adults and the larvae living within your potting soil.
In the following sections, we will explore practical strategies for managing your indoor environment and maintaining healthy greenery. From using yellow sticky traps to adjusting your watering schedule, you will learn how to restore balance to your garden. Follow these professional tips to ensure your home remains a pest-free sanctuary for all your favorite plants.

Identify and Confirm the Problem
Before you reach for heavy-duty gardening tools or chemical treatments, you must confirm that your plants are actually suffering from a fungus gnat infestation. Misidentifying pests can lead to unnecessary stress on your plants and ineffective soil management.
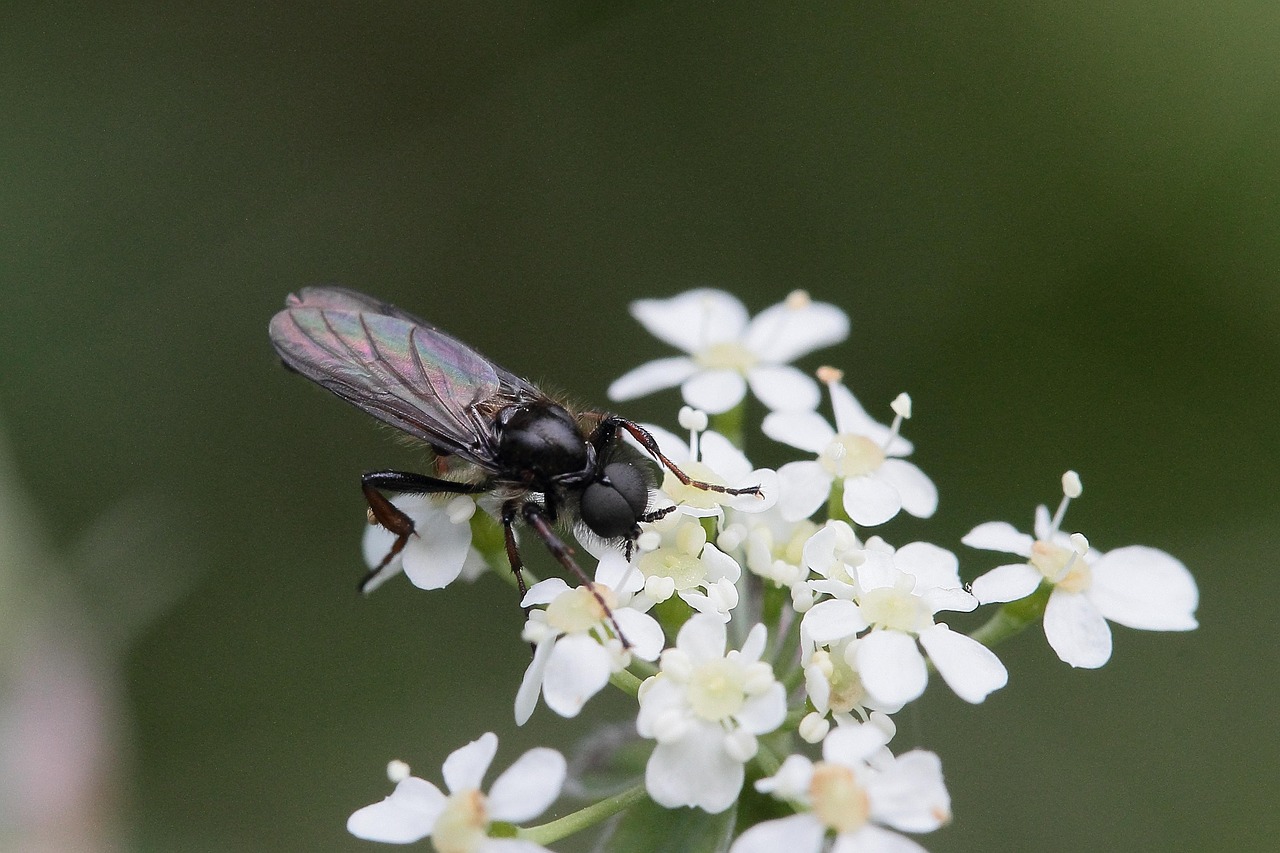
Fungus gnats are tiny, dark-colored flies that primarily hover around the soil surface or the base of your indoor plants. Unlike other common houseplant pests, they are relatively weak fliers and are most often spotted darting erratically just above the potting mix after you have watered or disturbed the pot.
To confirm their presence, perform a quick inspection of your plant’s environment:
- Visual Check: Look for small, mosquito-like flies congregating near the soil or resting on the undersides of leaves.
- Yellow Sticky Traps: Place a small yellow sticky card near the soil line. If these gnats are present, they will be drawn to the bright color and become trapped, providing clear evidence of an active population.
- Soil Inspection: Gently scrape away the top inch of potting soil. You are looking for tiny, translucent larvae with visible black heads. These larvae feed on organic matter, fungi, and decaying roots in the moist upper layer of the soil.
- The Potato Test: Place a slice of raw potato on the surface of the soil and leave it overnight. The next day, lift the slice; if larvae are present, they will often migrate to the underside of the potato to feed.
It is important to distinguish these from other pests like whiteflies or spider mites. Whiteflies are typically found on the undersides of leaves and fly upward when disturbed, while spider mites leave behind fine, silky webbing. Fungus gnats are almost exclusively tied to damp, organic-rich soil environments.
If you confirm the presence of larvae, your primary focus for garden maintenance should be breaking their life cycle. Because these pests thrive in moisture, the most practical home gardening strategy involves allowing the top two inches of your potting soil to dry out completely between waterings. This simple change in your care routine often disrupts the breeding cycle, making it difficult for larvae to survive without the constant moisture they require to thrive.
Immediate Steps to Reduce Gnat Populations
The most effective way to eliminate a gnat infestation is to disrupt the life cycle of the fungus gnat. These pests thrive in moist, organic-rich environments, making the top layer of your potting soil their primary nursery. By altering the soil moisture, you create an inhospitable environment that prevents larvae from surviving.
Start by allowing the top two inches of soil to dry out completely between waterings. You can test the depth by inserting your finger into the soil; if it feels damp, wait a few more days before adding water. Because larvae require consistent moisture to thrive, this drying process effectively dehydrates them and halts their development.
While managing the soil moisture, you must also address the adult gnats flying around your home. Adult gnats are the ones responsible for laying new eggs, so capturing them is essential to breaking the reproductive cycle. The most practical solution is to use yellow sticky traps placed near the base of your plants.
To maximize the success of your intervention, follow these steps:
- Monitor soil moisture: Check the soil regularly and avoid overwatering, which is the leading cause of indoor gnat issues.
- Deploy sticky traps: Position yellow sticky traps horizontally on the soil surface or vertically on small stakes near the stems. The bright yellow color attracts the gnats, while the adhesive surface traps them on contact.
- Remove debris: Clear away any fallen leaves or decaying organic matter from the soil surface, as these provide additional food sources for larvae.
- Bottom water: If your plant requires moisture, consider bottom watering by placing the pot in a tray of water for 15 minutes. This keeps the surface soil dry while ensuring the roots receive the hydration they need.
Consistency is key when dealing with indoor pests. It may take two to three weeks to fully break the cycle, as you need to catch the adults before they can lay another generation of eggs. Avoid the temptation to use harsh chemical sprays, which are rarely necessary for indoor houseplants and can damage delicate foliage. By combining dry soil techniques with targeted trapping, you can regain control of your indoor garden without relying on toxic substances or complex equipment. If the infestation persists despite these measures, consider repotting the plant into fresh, sterile potting mix to remove any remaining larvae.
Effective Natural Treatments
If you are struggling with a fungus gnat infestation, the most effective approach is to target the larvae residing in the soil. While adult gnats are a nuisance, the larvae are the ones damaging your plant roots. By focusing your garden maintenance efforts on the soil environment, you can disrupt their life cycle quickly and safely.
One of the most accessible treatments involves a diluted hydrogen peroxide solution. This method is highly effective because the peroxide releases oxygen upon contact with organic matter, which kills gnat larvae instantly without harming the plant’s root system.
To prepare and apply this treatment, follow these steps:
- Mix one part 3% hydrogen peroxide with four parts water.
- Stir the solution thoroughly to ensure proper dilution.
- Water your indoor plants with this mixture instead of plain water.
- You may notice a slight fizzing sound as the solution contacts the soil; this is a normal chemical reaction and is perfectly safe.
If you prefer a hands-off approach, biological controls are an excellent alternative. Mosquito dunks or granules containing Bacillus thuringiensis israelensis (BTI) are specifically designed to target the larvae of fungus gnats and mosquitoes. Because BTI is a biological agent, it is highly selective and will not harm your houseplants, household pets, or family members.
To use BTI effectively:
- Crush a small piece of a mosquito dunk or sprinkle the recommended amount of granules into your watering can.
- Allow the BTI to steep in the water for several hours or overnight to release the active bacteria.
- Use this treated water for your regular plant maintenance schedule.
Consistency is key when using these natural treatments. Fungus gnats often have overlapping life cycles, meaning new eggs may hatch shortly after your first treatment. To ensure total eradication, continue using your chosen method for at least two to three weeks. Combining these soil treatments with yellow sticky traps to catch the remaining adults will provide the most comprehensive results. By keeping your soil surface slightly drier between waterings, you can also make the environment less hospitable for future infestations, ensuring your indoor garden remains healthy and vibrant throughout the year.
Safe Handling and Tool Precautions
Managing indoor gnat infestations often requires mixing treatments like neem oil, hydrogen peroxide, or insecticidal soaps. Always wear nitrile or latex gloves during these processes. Concentrated solutions can cause skin irritation or allergic reactions, and wearing protective gear ensures that you do not accidentally transfer residues to your eyes or mouth.
If you choose to aerate your soil to help it dry out—a key step in breaking the gnat life cycle—the tools you use matter. Whether you are using a small hand trowel, a soil cultivator, or a simple chopstick, follow these precautions:
- Cleanliness: Sterilize your tools with a 10% bleach solution or rubbing alcohol before use. Dirty tools can harbor fungal spores or bacteria that exacerbate root rot, which attracts more gnats.
- Sharpness: Ensure hand tools are sharp and free of burrs. Dull, jagged edges can tear delicate root systems rather than slicing through soil, leading to plant stress.
- Precision: Work slowly near the base of the plant. If you encounter significant resistance, do not force the tool, as you may accidentally sever primary roots.
After you have treated the soil or performed maintenance, hygiene is critical. Potting soil often contains organic matter and microbes that are harmless to plants but can cause irritation or illness in humans. Wash your hands thoroughly with warm, soapy water for at least 20 seconds immediately after touching soil or chemical treatments. Scrub under your fingernails to remove any trapped debris or residue.
Storage safety is equally important for your household. Many gnat-control agents, including concentrated essential oils or chemical pesticides, are highly toxic if ingested. Follow these rules to keep your home safe:
- Designated Storage: Keep all treatment bottles and garden supplies in a locked cabinet or a high shelf, well away from the reach of children and pets.
- Original Containers: Never transfer pesticides or treatments into unlabeled food or beverage containers, which can lead to accidental ingestion.
- Proper Disposal: If a treatment solution is expired or no longer needed, dispose of it according to your local municipal guidelines rather than pouring it down the drain or into the trash.
By prioritizing cleanliness and safety, you effectively manage indoor pests while protecting the long-term health of your plants and your household.

Prevention and Long Term Plant Care
The most effective way to eliminate fungus gnats is to stop them before they start. These pests thrive in moist, decaying organic matter, so your primary defense is managing soil moisture and hygiene. By adjusting your routine and using the right equipment, you can create an environment where gnats cannot survive.
Start by evaluating your containers. Proper drainage is non-negotiable for healthy indoor plants. Always use pots equipped with drainage holes to ensure excess water can escape. If your favorite decorative pot lacks a hole, use a plastic nursery liner inside it so you can remove the plant for watering and prevent standing water from pooling at the base.
Your choice of growing medium also plays a critical role in pest prevention. Avoid standard garden soil, which is often too dense and holds moisture for too long. Instead, invest in high-quality, well-draining potting mixes formulated for indoor use. These often contain perlite or pumice, which improve aeration and help the soil dry out faster between waterings.
To keep your plants healthy and gnat-free, follow these practical maintenance steps:
- Let the soil dry: Allow the top two inches of soil to dry out completely before watering again. Fungus gnat larvae live in the damp top layer; if it stays dry, they cannot thrive.
- Clear the surface: Regularly remove fallen leaves, dead plant material, and debris from the soil surface. This organic matter is a prime food source and breeding ground for gnats.
- Bottom water: If possible, place your pot in a tray of water for 15 minutes to let the roots absorb moisture from below, keeping the top layer of soil dry.
If you have consistently followed these practices but still notice a persistent infestation, the larvae may be deeply embedded in the root zone. In this case, repotting is your best option. Carefully remove the plant, gently wash away the old, infested soil, and transplant it into fresh, sterile potting mix. If the problem continues even after repotting, consult a local nursery professional. They can provide specialized advice or recommend targeted, plant-safe treatments tailored to your specific environment, ensuring your home garden remains a thriving, pest-free sanctuary.

Dedicated team of gardening enthusiasts with years of hands-on experience testing lawn mowers, gardening tools, and outdoor equipment. We help home gardeners and professionals alike make informed buying decisions with honest, thorough reviews. From push mowers to pruning shears, we test it all so you don’t have to. Got a gardening tool you’d like us to review? Get in touch!