
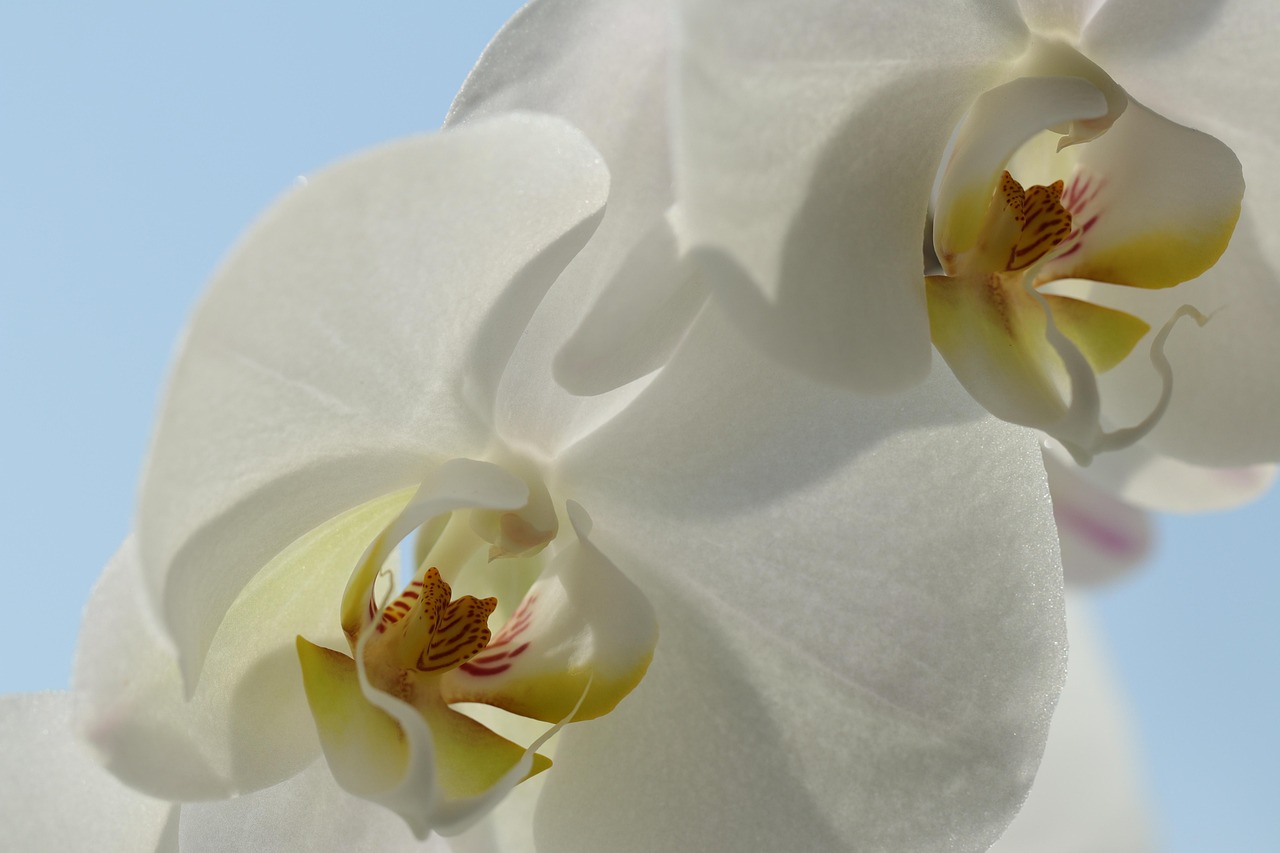
Phalaenopsis orchids are popular indoor plants known for their elegant, long-lasting blooms. Learning how to care for a Phalaenopsis orchid plant indoors is straightforward once you understand their specific needs. By mastering a few simple techniques regarding light, water, and humidity, you can easily maintain these stunning flowers in your home environment.
While these plants have a reputation for being difficult, they actually thrive indoors when you replicate their natural tropical habitat. They are epiphytes, meaning they grow on trees rather than in soil, so they require specialized potting media. Understanding their unique biology is the key to keeping your moth orchid healthy and vibrant.
This guide covers the essential steps to keep your moth orchid healthy and blooming for years to come. We will walk you through proper watering schedules, ideal lighting conditions, and the best fertilizers for success. Follow these practical tips to ensure your orchid remains a beautiful, long-lasting centerpiece in your indoor garden.
Ideal Light and Temperature Conditions
Phalaenopsis orchids, often called moth orchids, are native to tropical environments where they thrive under the filtered canopy of trees. To replicate this success indoors, light management is your most critical task. These plants require bright, indirect light to produce healthy foliage and vibrant blooms.
The best location for your orchid is near an east-facing window, which provides gentle morning sun. If you must use a south- or west-facing window, you must filter the light with a sheer curtain. Direct, harsh sunlight will quickly scorch the leaves, causing unsightly yellow or brown patches that weaken the plant.
To determine if your orchid is receiving the correct amount of light, observe the leaf color:
- Bright, olive green leaves: This indicates the plant is receiving optimal light levels.
- Dark, forest green leaves: The plant is not getting enough light and may fail to bloom.
- Yellow or bleached leaves: The plant is receiving too much direct sun and should be moved further from the window.
Temperature consistency is equally important for long-term health. Phalaenopsis orchids flourish in standard indoor temperatures ranging between 65 and 80 degrees Fahrenheit. They are quite comfortable in the same environment as humans, but they are sensitive to sudden fluctuations.
Avoid placing your orchid in areas prone to temperature extremes. Keep the pot away from the direct path of air conditioning vents, heating ducts, or drafty doorways. A cold draft can cause premature bud drop, while excessive heat from a radiator can dehydrate the plant rapidly and cause the roots to shrivel. If you are comfortable in a room, your orchid likely is as well, provided it is shielded from direct airflow.
By mimicking their natural, stable environment, you provide the foundation necessary for your moth orchid to thrive and bloom repeatedly throughout the year. Consistent placement is the secret to a happy, long-lived indoor plant.
Watering and Humidity Requirements
Mastering the balance of moisture is the most critical factor in keeping your Phalaenopsis orchid healthy. Overwatering is the leading cause of plant decline, often leading to irreversible root rot. To avoid this, never water on a strict schedule. Instead, test the potting medium by inserting your finger about an inch deep; if it feels damp, wait a few more days.
When the medium feels dry to the touch, it is time to water. Always use a pot with functional drainage holes to allow excess liquid to escape. If your orchid is sitting in a decorative cachepot, remove the inner plastic liner before watering, let it drain completely in the sink, and then return it to the decorative container.
Beyond soil moisture, Phalaenopsis orchids thrive in environments with higher humidity than the average home provides. Low indoor humidity can cause buds to drop or leaves to shrivel. You can easily boost ambient moisture levels by using a humidity tray.
Follow these steps to create a safe humidity environment:
- Fill a shallow tray with a layer of decorative pebbles or gravel.
- Add enough water to reach just below the top of the pebbles.
- Place your orchid pot on top of the pebbles.
- Ensure the base of the pot never sits directly in the water, as this will lead to root saturation and decay.
As the water in the tray evaporates, it creates a localized microclimate of moisture around the foliage. This simple method mimics the orchid’s natural tropical habitat without the risk of waterlogged roots. During winter months, when indoor heating systems dry out the air, monitor your plant closely and consider grouping it with other houseplants to naturally increase the humidity in that specific area. Consistent, moderate care will ensure your orchid remains vibrant and continues to produce beautiful blooms year after year.

Potting Medium and Fertilizer Needs
One of the most common mistakes new orchid owners make is using standard potting soil. Phalaenopsis orchids are epiphytes, meaning they grow on trees in nature rather than in the ground. Their roots require constant airflow to remain healthy; dense, moisture-retentive potting soil will quickly suffocate these roots, leading to rot and plant decline.
Instead, you must use a specialized orchid potting medium. These mixes are typically composed of chunky fir bark, perlite, charcoal, or sphagnum moss. This combination ensures that water drains away quickly while allowing oxygen to reach the root system. When repotting, choose a container with ample drainage holes to prevent water from pooling at the bottom.
Proper fertilization is equally important for encouraging regular blooms. Because orchid bark lacks the nutrients found in traditional soil, you must supplement your plant’s diet during the active growing season. Follow these guidelines for safe and effective feeding:
- Use the right formula: Select a balanced, water-soluble orchid fertilizer (often labeled as 20-20-20).
- Dilute for safety: Always dilute the fertilizer to half-strength. Orchids are sensitive to salt buildup, and full-strength applications can burn delicate roots.
- Follow a schedule: Apply the diluted fertilizer every other time you water. If you water weekly, fertilize every two weeks.
- Flush the pot: Once a month, “flush” the pot by running plain, tepid water through the medium for a minute. This removes accumulated mineral salts that can damage the plant over time.
During the winter months, when the plant enters a period of slower growth, you can reduce or pause fertilization entirely. Always ensure the orchid is well-hydrated before applying fertilizer; never apply liquid feed to a completely dry root system, as this can cause stress. By mimicking their natural, airy environment and providing consistent, mild nutrition, you will create the ideal conditions for your Phalaenopsis to thrive and produce vibrant, long-lasting flowers year after year.
Safe Pruning and Maintenance
Proper maintenance is essential for keeping your Phalaenopsis orchid healthy and encouraging future blooms. When your orchid finishes flowering, the spike may eventually turn yellow or brown. You can safely prune these spent spikes to direct the plant’s energy back into root and leaf development.
Always use clean, sharp gardening shears or scissors for pruning. Dull blades can crush delicate plant tissue, creating entry points for bacteria and rot. To prevent the spread of pathogens between plants, sterilize your tools by wiping the blades thoroughly with isopropyl alcohol before and after every cut.
Follow these steps for safe pruning and maintenance:
- Trim spent spikes: Cut the flower spike back to about an inch above the base of the plant if it has completely dried out. If the spike is still green, you can trim it just above the second or third node from the bottom, which may encourage a secondary bloom.
- Remove dead roots: Inspect the root system during repotting. Healthy roots are firm and green or silvery-grey. Carefully trim away any roots that are papery, hollow, or mushy using your sterilized shears.
- Handle with care: Always keep your fingers well away from the cutting path. If you have sensitive skin or are concerned about sap irritation, wear a pair of lightweight gardening gloves while working.
After pruning, avoid misting the plant for a few days. Allowing the cut sites to callous over naturally helps prevent infection. If you notice any unusual spotting or rapid decay near a cut, monitor the plant closely and ensure it has adequate airflow to keep the area dry. Consistent, careful maintenance ensures your orchid remains a vibrant centerpiece in your home for years to come.

Troubleshooting and Long-Term Care
Even with perfect light and water, your Phalaenopsis may occasionally refuse to bloom. If your plant looks healthy but remains dormant, it likely needs a seasonal signal. Try placing your orchid in a cooler spot where nighttime temperatures drop by about 10 to 15 degrees Fahrenheit for three to four weeks. This slight chill mimics the natural shifts in their native environment and often triggers the development of a new flower spike.
Regular inspection is the best defense against common household pests. If you notice small, cottony white clusters or hard, brown bumps on the leaves or stems, your orchid may have mealybugs or scale. To treat these pests safely:
- Dampen a cotton swab with standard 70% isopropyl (rubbing) alcohol.
- Gently wipe the affected areas to remove the pests.
- Check the plant weekly for a month to ensure the infestation has not returned.
Root health is the most critical indicator of your orchid’s long-term success. Healthy roots should be firm and silvery-green or bright green when hydrated. If you notice mushy, black roots or leaves that are turning yellow and limp, you are likely dealing with root rot caused by stagnant water.
If you suspect rot, remove the plant from its pot to inspect the medium. If the potting mix is soggy or broken down, repot the orchid immediately into fresh, well-draining bark or sphagnum moss, trimming away any dead, hollow roots with sterilized shears. Ensure your pot has adequate drainage holes to prevent future water accumulation.
If your plant continues to decline despite these adjustments, do not hesitate to bring photos of the root system and leaves to a local nursery. Professional growers can often identify subtle issues, such as fungal infections or improper pH levels, that are difficult to diagnose at home. With consistent care and a quick response to these warning signs, your Phalaenopsis can thrive and bloom for many years.

Dedicated team of gardening enthusiasts with years of hands-on experience testing lawn mowers, gardening tools, and outdoor equipment. We help home gardeners and professionals alike make informed buying decisions with honest, thorough reviews. From push mowers to pruning shears, we test it all so you don’t have to. Got a gardening tool you’d like us to review? Get in touch!