
Learning how to care for a Norfolk Island Pine tree requires balancing bright, indirect light with consistent moisture. These popular indoor houseplants bring a touch of the tropics to your home during the holidays and beyond, but they are not actually pines. To keep them thriving, you must mimic their native, humid island environment indoors.
While they look like miniature Christmas trees, these plants have specific environmental needs that differ from typical conifers. They are sensitive to dry air and fluctuations in temperature, so placing them away from drafts and heaters is vital. Setting realistic expectations for their growth habits ensures you provide the best possible care throughout the year.
This guide covers the essential light, water, and humidity requirements to keep your tree healthy and vibrant year-round. We will explore practical tips for soil maintenance, fertilization schedules, and troubleshooting common foliage issues. Follow these expert recommendations to enjoy your lush, evergreen companion for many seasons without the stress of common indoor gardening mistakes.

Optimal Light and Temperature Requirements
Norfolk Island Pines are tropical plants that require specific light conditions to maintain their lush, symmetrical appearance. To help your tree thrive, place it in a location that receives bright, indirect light. A south or west-facing window is ideal, as it provides the consistent illumination the plant craves. However, be careful to avoid direct, harsh sunlight, which can quickly scorch the delicate needles and leave them looking brown and brittle.
If you notice your tree beginning to lean, it is likely reaching toward the light source. Rotate the pot a quarter-turn every week to ensure even growth on all sides and maintain its signature conical shape.
Temperature stability is equally important for the health of your Norfolk Island Pine. These trees prefer moderate indoor temperatures, ideally between 65°F and 75°F (18°C–24°C). Because they are sensitive to environmental shifts, you must be strategic about where you place them within your home.
To prevent foliage drop and stress, keep your tree away from the following locations:
- Heating and cooling vents: Direct airflow will rapidly dehydrate the needles.
- Radiators and fireplaces: Extreme heat sources mimic a desert environment, which these trees cannot tolerate.
- Drafty entryways: Cold winter drafts can shock the plant and cause significant needle loss.
While Norfolk Island Pines enjoy a bit of warmth, they do not like stagnant, dry air. If your home is particularly dry during the winter months, consider placing the tree on a pebble tray filled with water or using a humidifier nearby. This helps replicate the humid, coastal environment the species naturally prefers. By balancing bright, filtered light with a stable, draft-free temperature, you create the perfect foundation for a healthy, long-lived indoor tree.
Watering and Humidity Best Practices
Norfolk Island pines thrive on consistency. Unlike many houseplants that prefer to dry out completely between waterings, these trees perform best when their soil remains slightly moist. To maintain the ideal balance, check the soil moisture weekly by inserting your finger about one inch deep into the pot. If the soil feels dry at that depth, it is time to water.
When you water, ensure you provide enough to moisten the entire root ball. However, never allow the tree to sit in standing water. Proper drainage is the most critical factor in preventing root rot, which is a common cause of needle drop and tree decline. Always use a pot with drainage holes, and empty the saucer promptly after watering to keep the roots healthy and aerated.
Because Norfolk Island pines are native to tropical climates, they struggle in the dry air common in most homes, especially during winter months when indoor heating is active. Low humidity often leads to browning tips and brittle needles. To keep your tree lush and vibrant, you must artificially increase the ambient moisture levels around the foliage.
Consider these practical methods to maintain high humidity:
- Use a humidifier: Placing a small humidifier in the same room is the most effective way to mimic the tree’s natural environment.
- Create a pebble tray: Fill a shallow tray with decorative pebbles and add water until it reaches just below the top of the stones. Place your pot on top of the pebbles, ensuring the bottom of the pot does not touch the water directly. As the water evaporates, it creates a localized humid microclimate.
- Group plants together: Placing your Norfolk Island pine near other houseplants can help create a small, shared humid zone, as plants naturally release moisture through transpiration.
Avoid placing your tree directly in front of heating vents, radiators, or drafty windows, as these locations will rapidly dehydrate the needles regardless of your watering schedule.
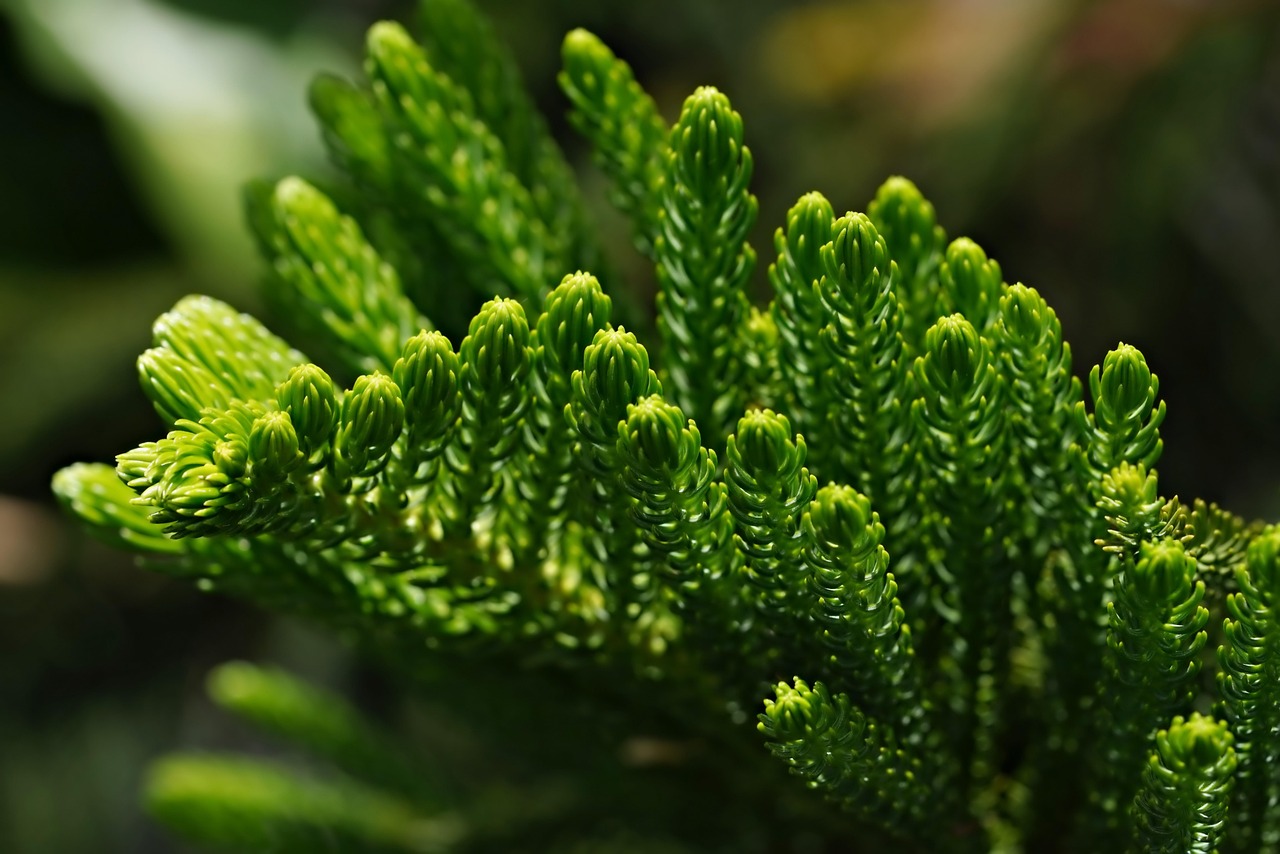
Soil and Fertilization Needs
Norfolk Island Pines are not true pines, but they do share a preference for specific soil conditions that mimic their native tropical environment. Because these trees are susceptible to root rot, drainage is the single most important factor when selecting a potting medium. You should always use a pot with drainage holes to ensure excess water can escape freely.
For the best results, use a high-quality, well-draining potting mix. A blend specifically formulated for conifers or indoor houseplants works well, but you can improve any standard mix by adding extra perlite or coarse sand. This creates a porous structure that allows oxygen to reach the roots while preventing the soil from becoming waterlogged.
A slightly acidic soil pH is ideal for these trees. If you notice the needles turning yellow or the plant struggling despite proper light, the soil pH may be too alkaline. Using a potting mix containing peat moss or coco coir will naturally help maintain this slightly acidic balance.
When it comes to fertilization, consistency is key during the warmer months. Follow these guidelines to keep your tree healthy:
- Active Growth: Feed your tree every four to six weeks during the spring and summer.
- Dilution: Use a balanced, water-soluble liquid fertilizer, but dilute it to half the strength recommended on the product label. Over-fertilizing can cause salt buildup, which leads to burnt needle tips.
- Dormancy: Stop all fertilization during the fall and winter months. The tree naturally slows its metabolic rate during this time, and adding nutrients can force weak, leggy growth that the plant cannot support.
Always water your tree thoroughly before applying fertilizer. Applying liquid nutrients to bone-dry soil can shock the root system and cause unnecessary stress. By keeping the soil light, acidic, and moderately fed, you provide the foundational support your Norfolk Island Pine needs to maintain its signature symmetrical shape and vibrant green needles throughout the year.
Pruning and Maintenance Safety
Norfolk Island Pines are naturally symmetrical, slow-growing trees that rarely require heavy pruning. In fact, cutting back the main growing tip or removing healthy branches can permanently alter the tree’s iconic, tiered shape. You should focus your maintenance efforts exclusively on removing dead, damaged, or unsightly brown lower branches.
When you need to trim the tree, follow these safety and care practices to protect both yourself and the plant:
- Use the right tools: Always use clean, sharp pruning shears. Dull blades can crush the stems, leading to ragged wounds that invite pests or disease.
- Wear protective gear: While the needles may look soft from a distance, they can be surprisingly stiff and irritating to the skin. Wear thick gardening gloves to protect your hands while you work.
- Make clean cuts: Snip the branch as close to the main trunk as possible without damaging the trunk itself. This allows the tree to heal the site effectively.
If your Norfolk Island Pine has reached a significant height, you may need to use a ladder to reach the upper sections. Safety is paramount during this process:
Always inspect your ladder before use, ensuring it is in good condition and placed on a completely level, stable surface. Never lean the ladder against the tree itself, as the branches are not strong enough to support your weight and may snap under pressure. To prevent dangerous falls, always have a second person present to spot you and stabilize the base of the ladder while you are elevated.
Remember that the tree’s health depends on its foliage. Because Norfolk Island Pines do not produce new growth from old wood, any branch you remove is gone for good. Only prune when it is strictly necessary for the tree’s appearance or to remove dead growth, and never remove more than a few branches at a time to avoid stressing the plant.

Troubleshooting Common Norfolk Island Pine Issues
Even with the best intentions, Norfolk Island pines can sometimes struggle in an indoor environment. Identifying the early warning signs of stress is the key to bringing your tree back to health.
If you notice your tree’s needles turning yellow or dropping prematurely, it is likely reacting to its environment. These symptoms usually point to one of two common culprits: overwatering or insufficient light. Ensure your pot has adequate drainage holes and allow the top inch of soil to dry out completely before watering again. If the tree is tucked into a dark corner, move it to a spot that receives bright, indirect sunlight.
Brown, crispy tips are another frequent issue. This is almost always a sign that the air in your home is too dry, which is common during winter months when heating systems are running. You can improve conditions by:
- Misting the foliage regularly with a spray bottle.
- Placing the pot on a tray filled with pebbles and water to increase local humidity.
- Grouping the tree with other houseplants to create a more humid microclimate.
- Avoiding placement directly next to heat vents or drafty windows.
Sometimes, a tree may outgrow its allotted space, or you might encounter persistent issues that do not resolve with basic adjustments. If the tree becomes too large for your room or shows signs of severe disease—such as unusual spots, pests, or rapid decline—it is wise to consult a local nursery professional. They can offer specific advice based on your local climate and the tree’s current condition.
Finally, always prioritize safety. While Norfolk Island pines make beautiful, festive additions to a home, they are mildly toxic if ingested. To keep your household safe, place the tree in an area that is strictly out of reach of curious cats and dogs. If you suspect a pet has nibbled on the needles, contact your veterinarian immediately for guidance.

Dedicated team of gardening enthusiasts with years of hands-on experience testing lawn mowers, gardening tools, and outdoor equipment. We help home gardeners and professionals alike make informed buying decisions with honest, thorough reviews. From push mowers to pruning shears, we test it all so you don’t have to. Got a gardening tool you’d like us to review? Get in touch!