
Growing hyacinths indoors brings vibrant color and sweet fragrance into your home during the winter months. This guide explains the step-by-step process of forcing bulbs to bloom, ensuring your indoor garden thrives with minimal effort. By following a few simple horticultural techniques, you can successfully enjoy these stunning spring flowers even when it is freezing outside.
Forcing bulbs requires mimicking the natural cold period they experience underground before they sprout. While these plants are relatively hardy, they do need a specific cooling phase to develop strong roots and healthy stems. Understanding this biological cycle is the secret to achieving consistent, high-quality blooms rather than ending up with stunted or weak foliage.
In the following sections, we will walk you through selecting the right pre-chilled bulbs and choosing the best containers for indoor growth. You will learn how to manage moisture levels, provide adequate light, and support your hyacinths as they transition from dormancy to full bloom. Let’s get started on creating your own indoor floral display.
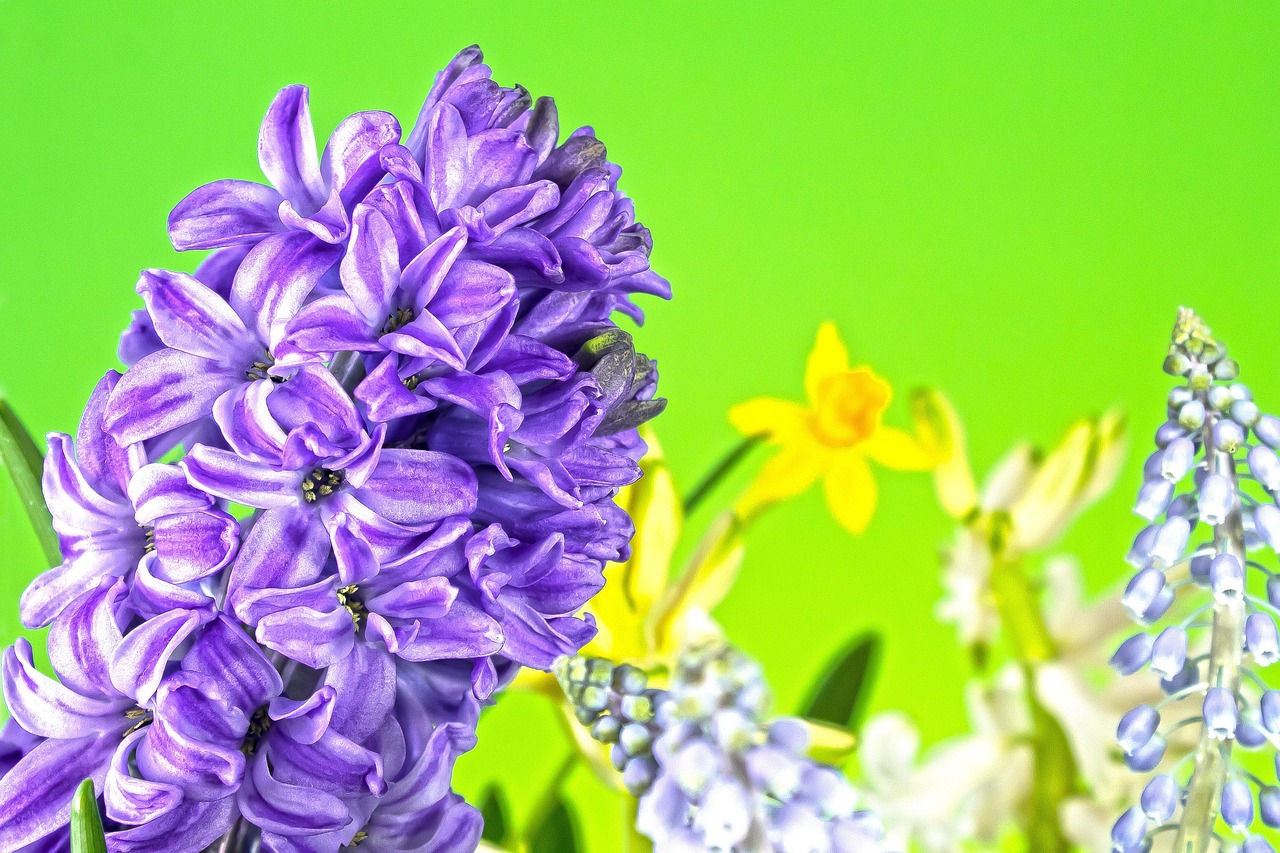
Selecting and Preparing Your Hyacinth Bulbs
Success with indoor hyacinths begins with selecting the right bulbs. When shopping, look for firm, heavy bulbs that feel solid to the touch. Avoid any that show signs of soft spots, mold, or mechanical damage, as these are prone to rotting once planted. Most importantly, ensure the packaging specifically states the bulbs are “prepared” or suitable for “forcing.” This means they have undergone the necessary cold-treatment period required to bloom indoors.
Safety is a critical first step in the preparation process. Hyacinth bulbs contain calcium oxalate crystals, which can cause significant skin irritation, redness, or itching upon contact. Always wear gardening gloves when handling the bulbs to protect your hands from these microscopic irritants.
Before planting, take a moment to inspect your bulbs and perform minor grooming:
- Gently brush away any loose, papery outer skins or debris.
- Use sharp, sanitized pruners to trim away long, dried, or brittle roots from the base of the bulb.
- Always cut away from your body to prevent accidental injury.
- Wipe your pruners with rubbing alcohol after use to keep them clean for future gardening tasks.
If you notice any small patches of surface mold on the bulb, you can often wipe them off with a dry paper towel. However, if a bulb feels mushy or emits a foul odor, discard it immediately, as it will not produce a healthy flower and could contaminate the soil or water in your container. By starting with healthy, clean material, you set the stage for a vibrant, fragrant display that will brighten your home throughout the winter months.
Planting Hyacinths in Soil or Water
You have two primary methods for growing hyacinths indoors: planting them in potting soil or using a forcing vase. Both techniques successfully trigger the blooming process, but they require slightly different approaches to keep the bulb healthy.
Planting in Soil
If you prefer using soil, select a container with drainage holes to prevent moisture buildup. Use a high-quality, well-draining potting mix. When planting, follow these steps:
- Fill the pot until the soil is about two inches from the rim.
- Place the bulb on the soil, pointed end facing up.
- Add more soil around the bulb, leaving the top third exposed above the surface.
- Water lightly, ensuring the soil is moist but never soggy.
Planting in Water
Forcing hyacinths in water requires a specialized bulb vase, which features a narrow neck to hold the bulb above the water level. This method is visually striking and allows you to watch the root system develop.
To set this up correctly, fill the base of the vase with water until it reaches just below the neck. Place the bulb in the top section so that the bottom of the bulb sits just above the water surface. It is critical that the bulb itself does not sit submerged in the water, as direct, constant contact will cause the base to rot quickly.
Maintenance Tips
Regardless of the method chosen, consistency is vital. For water-grown bulbs, check the vase regularly to ensure the water level remains just below the base. If the water becomes cloudy or murky, replace it entirely to keep the environment clean. For soil-grown bulbs, touch the surface of the dirt before watering; if it feels dry to the touch, add a small amount of water. Always avoid overwatering, as excess moisture is the most common cause of failure for indoor hyacinth bulbs.

The Crucial Chilling Period for Root Development
To successfully force hyacinth bulbs indoors, you must replicate the natural winter dormancy they experience in the wild. This chilling period is not optional; it is the biological trigger that tells the bulb it is time to develop a robust root system before sending up foliage and flowers.
Once you have planted your bulbs in well-draining potting mix, place the containers in a dark, consistently cool environment. Ideal temperatures for this stage range between 35 and 45 degrees Fahrenheit. Suitable locations include:
- An unheated garage or shed that remains above freezing.
- A cold basement or cellar.
- The vegetable crisper drawer of your refrigerator (keep them away from ripening fruit, as the ethylene gas can damage the bulbs).
You must keep the bulbs in this environment for 10 to 12 weeks. During this time, the plant is hard at work establishing roots. If you rush this process and move the bulbs into warmth too early, you will likely end up with stunted flower stalks or “short-stem syndrome,” where the blooms emerge trapped deep within the leaves.
While the bulbs are chilling, check them every few weeks to ensure the potting soil remains slightly moist. Do not let the soil become bone-dry, but avoid overwatering, as soggy conditions can cause the bulbs to rot before they ever have a chance to bloom.
You will know the chilling period is complete when you see sturdy, white roots growing out of the drainage holes at the bottom of the pot and a firm green shoot—about two inches long—emerging from the bulb. Once you observe these signs, you can confidently move your hyacinths into a warmer, brighter area of your home to begin the flowering process. Patience during these three months is the most important factor in achieving tall, fragrant, and healthy blooms.
Transitioning to Light and Blooming
Once your hyacinth shoots reach approximately 2 to 3 inches in height, they are ready to transition from their dark, cool dormancy period into an active growing phase. Move the containers to a location that offers bright, indirect sunlight. A cool room, ideally around 60°F to 65°F (15°C to 18°C), is perfect during this stage. Avoid placing them directly next to heaters or drafty windows, as sudden temperature fluctuations can cause the buds to wither or the stems to become weak.
As the flower buds begin to emerge and develop, you can gradually increase the amount of light the plants receive. While they crave brightness, harsh, direct afternoon sun can scorch the foliage and shorten the lifespan of the blooms. If you notice the plants leaning heavily toward the light source, rotate the pot a quarter turn every few days. This simple practice ensures the stems grow straight and sturdy rather than stretching unevenly.
Consistency is essential for a healthy display. Follow these maintenance tips as your hyacinths prepare to flower:
- Monitor Moisture: Keep the soil consistently moist but never waterlogged. If you are forcing bulbs in water, ensure the base of the bulb remains just above the water line to prevent rot.
- Support Tall Stems: Hyacinth blooms can become heavy. If the stems appear to be drooping, you may need to insert a small bamboo stake to provide extra support.
- Maintain Cool Temperatures: Keeping the room temperature on the cooler side will help the flowers last significantly longer.
Once the florets begin to open, you can move the pots to a warmer, more prominent spot in your home to enjoy their fragrance and color. Be mindful that as the blooms fully expand, the plant will require slightly more water to support the rapid development of the flowers. Check your containers daily to ensure the growing medium remains stable and the bulbs have the hydration they need to complete their blooming cycle.

Post-Bloom Care and Common Questions
Once your hyacinth blooms begin to fade, the plant’s energy shifts from the flower to the bulb. To keep the plant tidy, use clean, sharp shears to cut the spent flower stalk back to the base, taking care not to damage the strap-like leaves.
Continue to provide bright, indirect light and water the soil lightly whenever the top inch feels dry. Allow the foliage to remain until it turns yellow and begins to wither naturally. This process allows the bulb to store the nutrients required for future growth.
While forced hyacinths often lose their vigor and may not bloom as impressively the following year, they are not necessarily destined for the compost bin. You can transition them into your landscape by following these steps:
- Wait until the danger of hard frost has passed and the ground is workable.
- Select a sunny spot in your garden with well-draining soil.
- Plant the bulbs at a depth of about four to six inches.
- Apply a light layer of mulch to protect the bulbs as they acclimate to outdoor conditions.
It is important to handle hyacinth bulbs with care. The bulbs contain calcium oxalate crystals, which can cause skin irritation, redness, or itching upon contact. If you notice any discomfort after handling your plants, take the following precautions:
1. Wash the affected area immediately and thoroughly with warm water and mild soap to remove any lingering plant sap or microscopic crystals.
2. Avoid touching your eyes or mouth until you have cleaned your hands.
3. If you develop a persistent rash, swelling, or signs of an allergic reaction, consult a healthcare professional promptly.
For most gardeners, wearing thin gardening gloves is the simplest way to prevent irritation while working with bulbs. By following these maintenance steps, you can enjoy your indoor display and give your bulbs the best chance at a second life in your outdoor garden beds.

Dedicated team of gardening enthusiasts with years of hands-on experience testing lawn mowers, gardening tools, and outdoor equipment. We help home gardeners and professionals alike make informed buying decisions with honest, thorough reviews. From push mowers to pruning shears, we test it all so you don’t have to. Got a gardening tool you’d like us to review? Get in touch!