
Learning how to care for an aloe vera plant indoors is straightforward because this popular succulent is naturally resilient and low-maintenance. These plants thrive beautifully in home environments when provided with the right balance of bright light and infrequent watering. With just a few simple adjustments, you can keep your aloe healthy, vibrant, and growing strong all year round.
While aloe vera is famous for its ability to withstand neglect, it still requires specific conditions to truly flourish inside your house. Understanding that these plants are desert natives is key to avoiding common mistakes like overwatering. By setting realistic expectations for their growth cycle, you will be much better prepared to provide the optimal indoor habitat.
This comprehensive guide covers the essential steps for successful indoor cultivation, from choosing the perfect pot to mastering your watering schedule. We will explore how to identify signs of stress, manage sunlight exposure, and ensure your succulent stays happy in any room. Follow these practical tips to cultivate a thriving, lush aloe plant with total confidence.

Ideal Light and Temperature Requirements
Achieving the perfect balance of light and temperature is the most critical factor in keeping your indoor aloe vera plant healthy. Because these succulents are native to arid, sunny climates, they thrive when provided with conditions that mimic their natural habitat while being protected from harsh environmental extremes.
For optimal growth, place your aloe vera near a south or west-facing window. These locations provide the best intensity of natural light. Your plant requires a minimum of six hours of bright, indirect sunlight every day to maintain its structural integrity and vibrant green color.
While aloe vera loves light, be mindful of direct, scorching sun. If the leaves begin to turn brown or develop dry, crispy patches, the sunlight may be too intense. Conversely, if your plant looks pale, thin, or begins to lean aggressively toward the light source, it is likely not receiving enough exposure.
To ensure your plant remains stress-free, follow these temperature guidelines:
- Ideal Range: Keep your indoor environment between 55°F and 80°F (13°C to 27°C). Most standard household temperatures are perfectly suited for aloe.
- Avoid Drafts: Keep the plant away from drafty windows, exterior doors, or air conditioning vents, as sudden temperature fluctuations can damage the foliage.
- Heat Safety: Never place your aloe vera directly on top of or immediately next to radiators, space heaters, or furnace vents. Excessive dry heat will dehydrate the plant quickly and can cause the leaves to shrivel.
Consistency is key to long-term success. By positioning your plant in a stable, well-lit spot away from heating or cooling units, you create a reliable environment that allows the aloe to focus its energy on root development and leaf growth. Regularly rotating the pot every few weeks will also ensure that all sides of the plant receive even light exposure, preventing it from growing lopsided or weak.
Watering Best Practices for Aloe
Watering is the most critical aspect of keeping an indoor aloe vera plant healthy. Because aloe is a succulent, it stores water in its fleshy leaves, making it highly susceptible to root rot if the soil remains consistently damp. Overwatering is the leading cause of plant failure, so adopting a “less is more” approach is essential for long-term success.
Before adding water, always check the moisture level of the soil. Insert your finger about two inches deep into the potting mix. If you feel any dampness, wait a few more days. Only water when the top two inches of soil have dried out completely. During the winter months, when the plant enters a period of dormancy, you should reduce your watering frequency even further.
When it is time to water, follow these steps to ensure your plant receives the right amount of hydration:
- Soak thoroughly: Pour water directly onto the soil until it begins to run out of the drainage holes at the bottom of the pot. This ensures the entire root system is hydrated.
- Drain completely: Allow the pot to sit in the sink for several minutes until all excess water has drained away. Never let the pot sit in a saucer of standing water.
- Avoid the leaves: Try to keep water off the leaves and out of the central rosette, as moisture trapped in these areas can cause fungal issues or crown rot.
The type of container you use also plays a significant role in watering success. Always choose a pot with functional drainage holes. Terra cotta or unglazed ceramic pots are excellent choices for aloe because they are porous, allowing the soil to dry out faster and helping to prevent the roots from suffocating in soggy earth. If your plant is currently in a decorative pot without drainage, consider repotting it or using a plastic nursery liner that can be removed for watering.

Choosing the Right Soil and Pot
The foundation of a healthy indoor aloe vera plant begins with the right container and soil. Because aloe is a succulent, it is highly susceptible to root rot if left in standing water. Choosing the correct materials is essential to prevent moisture buildup and ensure long-term vitality.
Always select a pot that features drainage holes at the bottom. Without these holes, excess water has nowhere to escape, which quickly leads to saturated soil and decaying roots. Terracotta or unglazed ceramic pots are excellent choices because they are porous, allowing the soil to dry out more efficiently than plastic or glass containers.
When it comes to soil, standard potting mixes for houseplants are often too dense and retain too much moisture. Instead, use a specialized potting mix designed specifically for cacti and succulents. These blends typically contain a higher ratio of perlite, pumice, or coarse sand, which provides the necessary aeration for the plant’s root system to breathe.
If you are repotting an established aloe vera, follow these safety and hygiene steps to keep your plant thriving:
- Protect your hands: Wear sturdy gardening gloves to shield your skin from the plant’s serrated leaf edges, which can be surprisingly sharp.
- Sanitize your tools: Before making any cuts, wipe your knife or garden shears with rubbing alcohol to prevent the spread of pathogens.
- Inspect the roots: Gently remove the plant from its old container and examine the root ball. Use your sanitized, sharp blade to trim away any roots that appear mushy, discolored, or damaged.
- Repot carefully: Place the plant in its new container, ensuring it sits at the same depth it was previously planted. Fill the remaining space with your fresh, well-draining succulent mix and press down lightly to secure the base.
Avoid watering your aloe immediately after repotting. Give the plant a few days to settle into its new environment, which allows any trimmed roots to callous over and prevents potential rot.
Maintenance and Seasonal Care
Aloe vera plants are remarkably low-maintenance, but they do benefit from a light touch of seasonal attention to thrive indoors. Because these succulents are adapted to nutrient-poor soils, they do not require heavy feeding. Over-fertilizing can actually cause weak, rapid growth that compromises the plant’s structural integrity.
For optimal health, apply a balanced liquid houseplant fertilizer diluted to half-strength just once in the spring. This provides a gentle nutrient boost as the plant enters its primary growing season. Avoid fertilizing during the autumn and winter months, as the plant is not actively producing new foliage during this time.
As the days grow shorter and temperatures drop, your aloe vera will enter a period of natural dormancy. During this phase, its metabolic processes slow down significantly. To prevent root rot and other moisture-related issues, follow these seasonal adjustments:
- Reduce watering: Allow the soil to dry out completely between waterings. In winter, you may only need to water once every four to six weeks.
- Monitor light: Ensure the plant remains in a bright spot, even if the light is indirect, as low light combined with excess moisture is a common cause of decline.
- Maintain temperature: Keep the plant away from cold drafts, air conditioning vents, or heating units, which can dry out the leaves prematurely.
Beyond seasonal adjustments, regular grooming is essential for indoor plant health. Dust often accumulates on the thick, fleshy leaves, which can block sunlight and hinder the plant’s ability to photosynthesize efficiently. Every few weeks, gently wipe the leaves with a soft, damp cloth. This simple practice not only keeps your aloe vera looking vibrant but also ensures the stomata remain clear for optimal gas exchange. If you notice any shriveled or brown tips, you can carefully trim them with clean, sharp shears, though healthy leaves should generally be left intact to store water and nutrients for the plant.
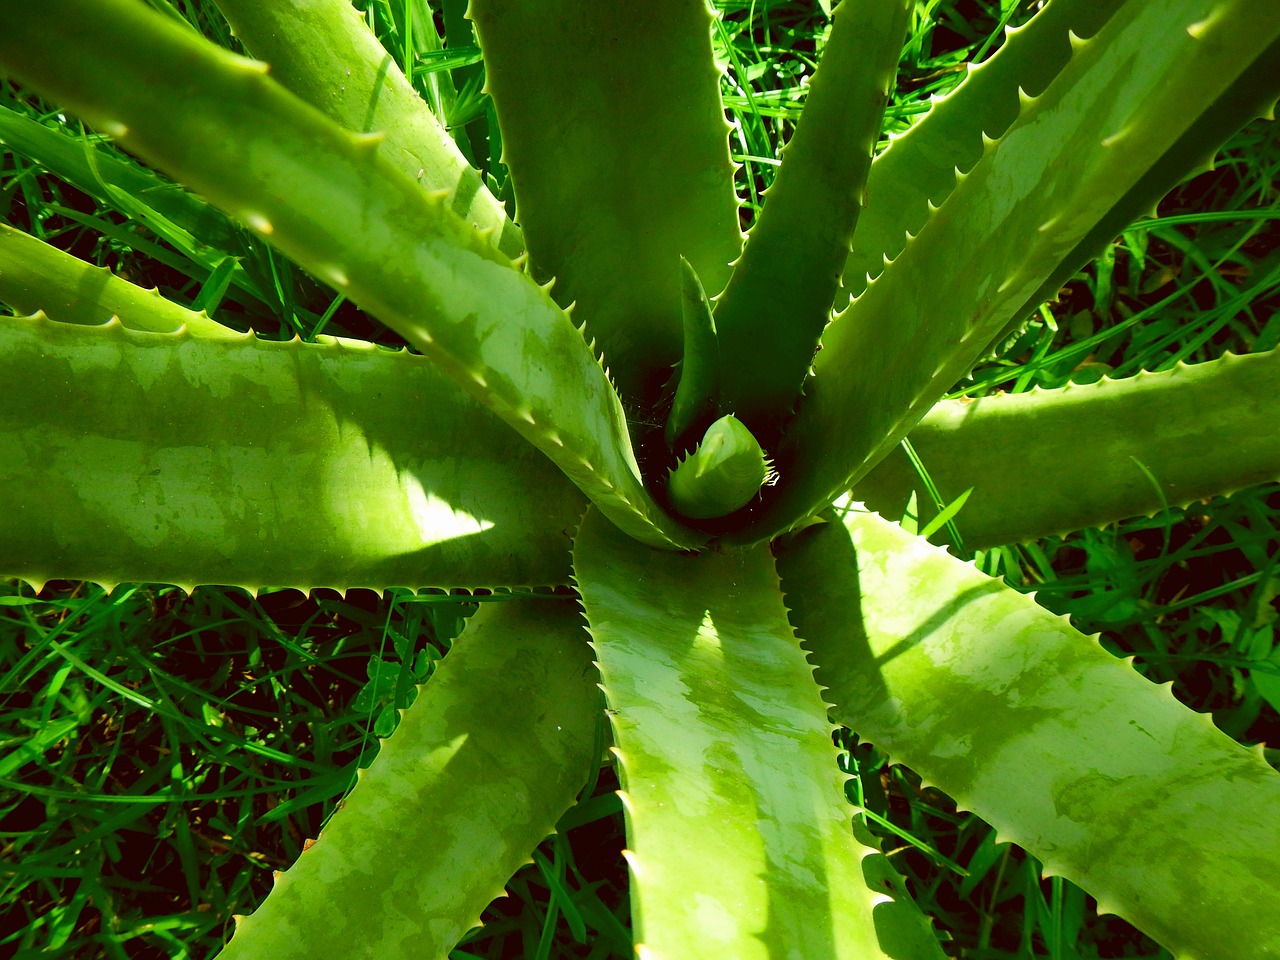
Troubleshooting Common Aloe Issues
Even with the best intentions, your aloe vera may occasionally show signs of distress. Understanding these visual cues is the first step toward restoring your plant to health. Most issues are directly related to watering habits or light exposure.
If you notice your aloe leaves turning brown or becoming mushy, you are likely overwatering. Aloe vera is a succulent that stores water in its leaves; too much moisture causes the tissue to collapse and rot. Allow the soil to dry out completely between waterings to prevent this.
Conversely, if the leaves appear thin, flat, or curled, the plant is signaling a need for more hydration or better light. Ensure your aloe is positioned in bright, indirect sunlight. If the soil is bone-dry for extended periods, increase your watering frequency slightly, ensuring excess water drains away freely.
Pests can also occasionally inhabit your plant. If you spot white, cotton-like clusters, you are likely dealing with mealybugs. You can manage these effectively by following these steps:
- Dip a cotton swab into standard rubbing alcohol (isopropyl alcohol).
- Gently wipe the affected areas to remove the pests on contact.
- Check the plant weekly to ensure the infestation does not return.
If your plant appears to be dying despite your best efforts, take a closer look at the root system. Carefully remove the aloe from its pot to inspect the roots. If they appear dark, slimy, or emit a foul odor, the plant is suffering from root rot. Trim away any damaged roots with sterilized shears and repot the plant in fresh, well-draining succulent soil.
Finally, if the roots look healthy but the plant is struggling, consider relocating it. Aloe vera thrives in consistent, bright light. Moving it to a spot with more stable conditions—away from cold drafts or intense, scorching direct sun—often provides the necessary environment for a full recovery.

Dedicated team of gardening enthusiasts with years of hands-on experience testing lawn mowers, gardening tools, and outdoor equipment. We help home gardeners and professionals alike make informed buying decisions with honest, thorough reviews. From push mowers to pruning shears, we test it all so you don’t have to. Got a gardening tool you’d like us to review? Get in touch!