
To care for an aloe succulent, provide it with bright, indirect sunlight and allow the soil to dry out completely between waterings. This popular, low-maintenance plant is prized for its soothing medicinal gel and striking architectural shape, making it a perfect addition to any indoor collection when given the right environment.
While aloe vera is remarkably resilient, it is not invincible and requires specific conditions to truly thrive rather than just survive. Understanding that this succulent originates from arid climates is crucial for success. By mimicking its natural habitat, you can easily prevent common issues like root rot and ensure your plant remains healthy.
This comprehensive guide explains the essential care requirements needed to keep your aloe flourishing for years to come. We will cover the critical balance of light exposure, proper watering techniques, ideal soil composition, and long-term maintenance tips. Follow these practical steps to master the art of nurturing your own vibrant, thriving aloe vera plant.

Ideal Light and Temperature Requirements
Aloe succulents are native to arid environments, making light and temperature control the most critical factors in keeping them healthy. To mimic their natural habitat, provide your plant with plenty of bright, indirect sunlight. A location near a south or west-facing window is usually ideal, as it allows the plant to receive the necessary light without being overwhelmed.
Aim for at least six hours of light daily. While aloes enjoy brightness, be cautious of harsh, direct afternoon sun, especially during the peak of summer. Intense, unfiltered rays can scorch the leaves, causing them to turn brown or develop unsightly dry patches. If you notice the leaves thinning or leaning excessively toward the light source, your plant is likely not receiving enough sun and should be moved to a brighter spot.
Temperature management is equally important for long-term vitality. Aloe plants prefer a stable environment and will thrive when you follow these guidelines:
- Optimal Range: Keep your aloe in temperatures between 55 and 80 degrees Fahrenheit (13 to 27 degrees Celsius).
- Draft Protection: Avoid placing your plant near drafty windows, air conditioning vents, or heating ducts, as sudden temperature fluctuations can stress the foliage.
- Frost Sensitivity: Aloe succulents are not frost-hardy. If you keep your plants outdoors during the warmer months, bring them inside well before the first frost of autumn.
Consistency is key to preventing stress. If you live in an area with extreme seasonal changes, you may find that your aloe requires a different placement during the winter months to avoid cold drafts. By maintaining these moderate temperature ranges and ensuring the plant receives consistent, bright light, you will encourage steady growth and ensure your aloe remains vibrant throughout the year. Always monitor the leaf color; a healthy, well-lit aloe should maintain a firm, plump appearance with a vibrant green hue.
Watering Best Practices
The most frequent cause of aloe decline is overwatering. Because these succulents store moisture in their thick, fleshy leaves, they are highly susceptible to root rot if left in soggy soil. To keep your plant thriving, you must mimic its natural, arid environment by following the soak-and-dry method.
When the soil is completely dry, water your aloe thoroughly. Pour water over the soil until you see it flowing freely out of the drainage holes at the bottom of the pot. This ensures that the entire root system receives hydration. Once finished, allow the excess water to drain away completely; never let the pot sit in a saucer of standing water.
Before watering again, you must verify that the plant actually needs it. Follow these steps to check for moisture:
- Insert your finger or a wooden skewer into the soil up to the second knuckle, or about two inches deep.
- If the soil feels moist, cool, or damp, wait a few more days before checking again.
- Only water once the top two inches of soil are bone dry to the touch.
Your watering schedule should shift throughout the year based on the plant’s natural growth cycle. During the spring and summer, aloe plants are actively growing and will require more frequent watering. However, as temperatures drop and light levels decrease in the winter, the plant enters a dormant phase.
During these colder months, the aloe’s metabolism slows down significantly, meaning it consumes very little water. You should reduce your watering frequency to once every four to six weeks, or even less, depending on your home’s humidity. If the leaves begin to look slightly shriveled or thin, it is a sign that the plant is using its stored water reserves, which is perfectly normal during dormancy. When in doubt, it is always safer to underwater an aloe than to provide too much moisture, as the plant can easily recover from mild dehydration but struggles to survive root rot.

Choosing the Right Soil and Pot
The foundation of a healthy aloe vera plant begins with its environment. Because aloe is a succulent, it stores water in its thick, fleshy leaves and is highly susceptible to root rot if left in damp, heavy soil. Providing the right drainage is the single most important step in preventing plant failure.
When selecting a potting medium, avoid standard garden soil or dense potting mixes that retain too much moisture. Instead, opt for a high-quality commercial cactus or succulent mix. These blends are specifically formulated to be porous, often incorporating perlite, pumice, or coarse sand to improve aeration and ensure water passes through the pot quickly.
Your choice of container is equally critical. Always select a pot that features functional drainage holes at the bottom. Without these, excess water will pool at the base, leading to stagnant conditions that quickly kill the root system. Terracotta or unglazed ceramic pots are excellent choices because they are porous, allowing the soil to dry out more evenly than plastic or glass containers.
If you are repotting an established aloe, follow these steps to ensure a smooth transition:
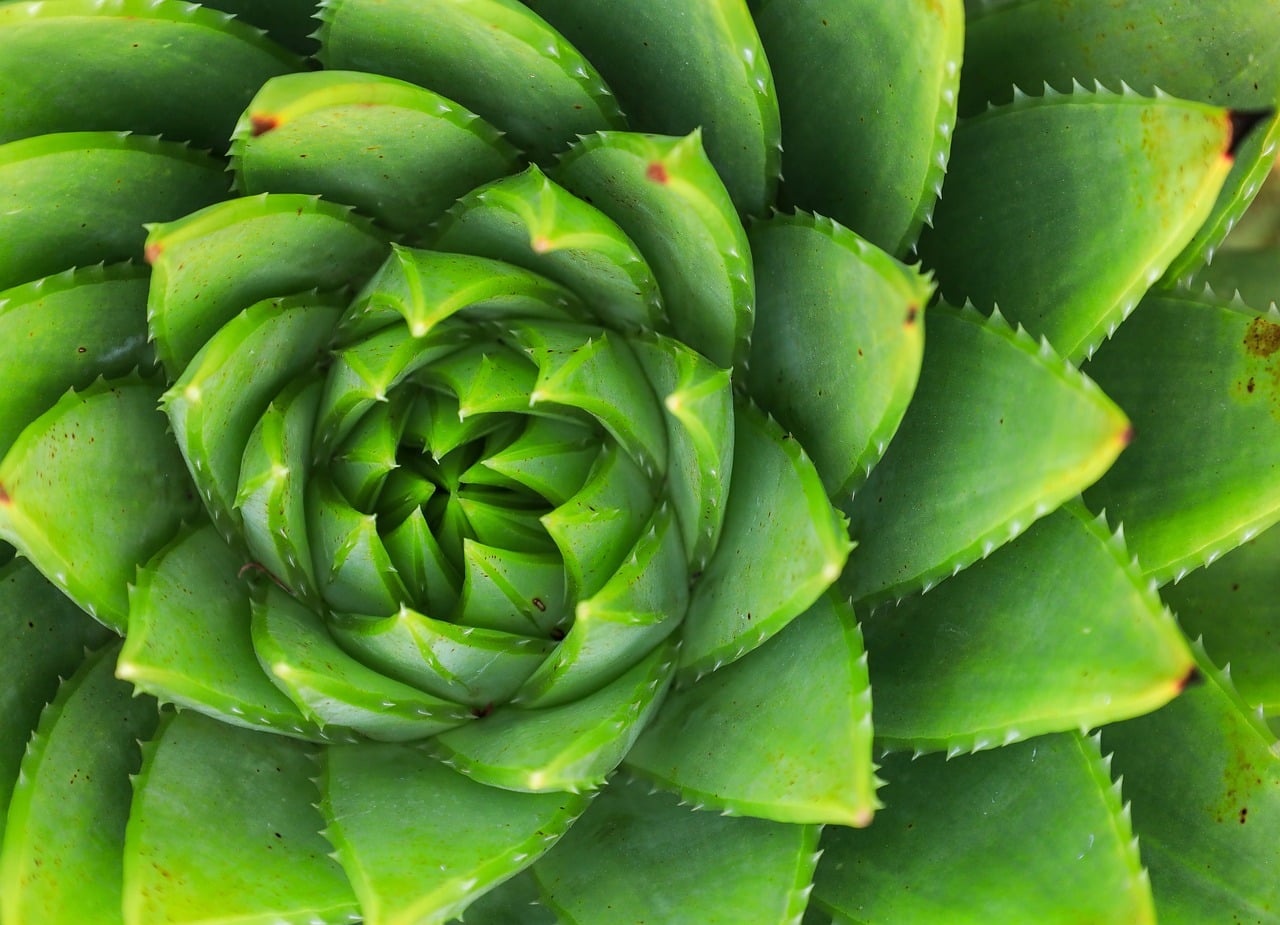
- Protect your hands: Aloe leaves often have small, serrated teeth along the edges. Wear thick gardening gloves to avoid scratches or irritation during handling.
- Inspect the roots: Once the plant is removed from its old container, gently shake away excess soil to reveal the root ball.
- Prune carefully: Use a sharp, sterilized knife or shears to trim away any roots that appear mushy, dark, or decayed. Healthy roots should be firm and light in color.
- Repot gently: Place the plant in its new container and fill with fresh succulent mix, ensuring the base of the plant sits at the same level it did previously.
After repotting, wait about a week before watering. This allows any roots damaged during the process to callus over, further protecting your aloe from potential rot.
Maintenance and Pruning
Regular maintenance is essential to keep your aloe vera healthy and aesthetically pleasing. Over time, it is natural for the oldest, outermost leaves to wither, turn brown, or become damaged. Removing these leaves not only improves the plant’s appearance but also directs energy toward new, vibrant growth.
Before you begin, ensure you are working on a stable, well-lit surface to prevent slips or accidental damage to the plant. You will need a pair of sharp garden shears or a clean, serrated knife. Hygiene is critical in succulent care, as dirty tools can introduce pathogens into the plant’s flesh.
Follow these steps to prune your aloe safely:
- Sterilize your tools: Wipe the blades of your shears or knife thoroughly with rubbing alcohol before you start. This prevents the spread of bacteria or fungal spores.
- Identify the target: Locate the leaves that are completely dried out, mushy, or severely damaged.
- Make a clean cut: Position your tool at the very base of the leaf, as close to the main stem as possible. Make a swift, clean cut to minimize the wound surface.
- Clear the area: Remove any fallen debris or dead foliage from the surface of the soil, as these can harbor pests or encourage rot.
- Sanitize again: Once you have finished, clean your tools with rubbing alcohol once more before storing them.
After pruning, avoid watering the plant for a day or two. This allows the small wounds at the base of the stem to callous over naturally, which acts as a protective barrier against infection. If you notice the plant leaking excessive sap, do not be alarmed; this is normal, but ensure the area remains dry to prevent rot. By consistently clearing away dead material, you create an environment where your aloe can thrive, stay pest-free, and maintain its structural integrity for years to come.
Troubleshooting and Long-Term Care
Even with the best intentions, aloe plants can show signs of distress. Observing your plant’s leaves is the most effective way to diagnose its needs. By adjusting your care routine early, you can often restore your aloe to its vibrant, healthy state.
If you notice the leaves becoming mushy, soft, or turning a dark brown, this is a classic sign of overwatering or poor drainage. Aloe is a succulent that thrives on neglect; allow the soil to dry out completely between waterings. Ensure your pot has adequate drainage holes to prevent root rot, which is fatal if left unaddressed.
Conversely, if the leaves appear thin, shriveled, or begin to curl inward, the plant is likely dehydrated or lacking sufficient light. While aloe enjoys bright, indirect sunlight, intense direct rays can sometimes scorch the leaves. Move your plant to a spot with consistent, filtered light and increase your watering frequency slightly, ensuring the soil remains well-draining.
As your aloe matures, it will naturally produce “pups” or offsets at the base of the main plant. These are miniature versions of the parent that can be propagated to expand your collection:
- Wait until the pups are at least two to three inches tall.
- Gently remove the pup from the parent plant using a clean, sharp knife or by carefully wiggling it free.
- Allow the cut end of the pup to callous over for a day or two before planting it in a small pot with fresh succulent soil.
Finally, stay vigilant for common pests like mealybugs, which appear as small, white, cottony masses in the crevices of the leaves. If you spot them, act immediately to prevent an infestation. Dip a cotton swab in isopropyl alcohol and gently wipe the affected areas. This method is safe for the plant and highly effective at removing pests without the need for harsh chemical pesticides. Consistent monitoring is the secret to long-term success with your aloe.

Dedicated team of gardening enthusiasts with years of hands-on experience testing lawn mowers, gardening tools, and outdoor equipment. We help home gardeners and professionals alike make informed buying decisions with honest, thorough reviews. From push mowers to pruning shears, we test it all so you don’t have to. Got a gardening tool you’d like us to review? Get in touch!