
To successfully care for an aloe plant indoors, place it in a spot with bright, indirect sunlight and water only when the top two inches of soil feel completely dry. This popular succulent is beloved for its medicinal gel and low-maintenance nature, making it an ideal choice for both beginner and experienced indoor gardeners.
While aloe vera is remarkably resilient, it is not invincible. Understanding its native desert environment is key to keeping your plant healthy year-round. These plants thrive when they are not overwatered and have access to well-draining soil. By mimicking these natural conditions, you can prevent common issues like root rot and leaf mushiness.
This comprehensive guide explains exactly how to provide the right light, water, and soil conditions to help your indoor aloe plant flourish. We will walk you through essential maintenance tips, including pot selection and seasonal care adjustments. Follow these practical steps to ensure your succulent remains vibrant, healthy, and ready to provide soothing relief whenever you need it.

Optimal Light and Temperature Requirements
Aloe vera plants are desert natives that crave plenty of light to remain healthy and vibrant. To ensure your plant thrives indoors, place it in a spot that receives bright, indirect sunlight. A south or west-facing window is typically ideal, as these locations provide the consistent, high-quality light the plant needs to grow.
Aim for at least six hours of light daily. While aloe loves brightness, be cautious of harsh, direct sun during the middle of the day. Intense noon rays can quickly scorch the thick, fleshy leaves, causing them to turn brown or develop unsightly dry patches. If your window gets very strong afternoon sun, consider using a sheer curtain to diffuse the light while maintaining the necessary brightness.
Temperature management is equally important for long-term success. Aloe plants prefer a stable environment that mimics their natural habitat. Follow these guidelines to keep your plant comfortable:
- Ideal Range: Maintain room temperatures between 55 and 80 degrees Fahrenheit (13 to 27 degrees Celsius).
- Avoid Fluctuations: Keep your plant away from cold drafts, such as those near leaky windows or exterior doors during winter.
- Steer Clear of Vents: Do not place your aloe directly in the path of heating vents, radiators, or air conditioning units. Rapid shifts in temperature or dry, forced air can stress the plant and cause the leaves to wilt or lose their plumpness.
If you notice your aloe beginning to stretch or lean heavily toward the light, it is a clear sign that it needs more sun. Conversely, if the leaves appear pale or yellow, the plant may be receiving too much direct heat or light. By finding a balance of steady, indirect brightness and a stable, moderate temperature, you provide the perfect foundation for your aloe to flourish for years to come.
Watering and Soil Best Practices
The most frequent mistake indoor gardeners make with aloe vera is overwatering. Because aloe is a succulent, it stores water in its thick, fleshy leaves, allowing it to thrive in dry conditions. Providing too much moisture—or leaving the roots sitting in damp soil—will quickly lead to root rot and plant decline.
To keep your aloe healthy, follow the “soak and dry” method:
- Check the soil: Before adding more water, insert your finger about two inches deep into the soil. If it feels damp, wait a few more days. Only water when the top two inches are completely dry.
- Water thoroughly: When you do water, pour it directly onto the soil until you see liquid escaping from the drainage holes at the bottom of the pot. This ensures the entire root system is hydrated.
- Drain completely: Never let your aloe sit in a saucer of standing water. Empty the saucer immediately after watering to prevent the soil from wicking moisture back up into the roots.
Your choice of potting medium is just as important as your watering schedule. Standard indoor potting soil holds too much moisture and will suffocate an aloe plant. Instead, use a specialized cactus or succulent potting mix. These blends are formulated with extra perlite, sand, or pumice, which improves aeration and allows water to pass through the soil quickly rather than pooling around the roots.
Finally, always ensure your container has adequate drainage holes. If you are using a decorative pot that lacks holes, plant your aloe in a plastic nursery liner first, then place that liner inside the decorative container. This allows you to easily remove the plant for watering and ensures that excess moisture never collects at the base of the pot. By prioritizing soil drainage and resisting the urge to water too frequently, you will create the ideal environment for your aloe to thrive indoors for years to come.
Safe Maintenance and Pruning
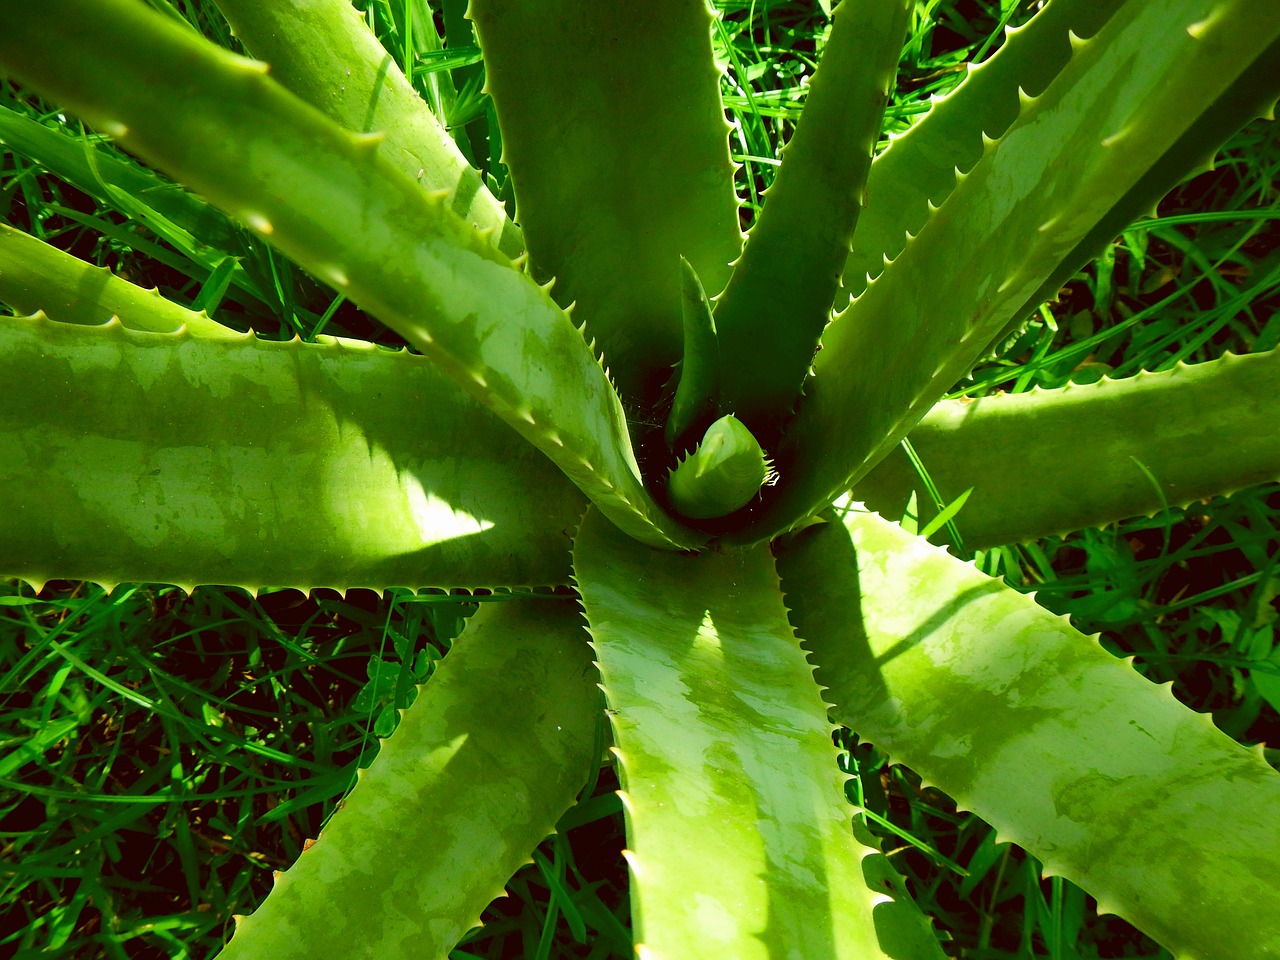
Aloe vera plants are remarkably low-maintenance, and they rarely require extensive pruning. However, regular upkeep helps maintain the plant’s aesthetic appeal and directs energy toward healthy new growth. You should primarily focus on removing dead, withered, or damaged leaves that have turned brown or mushy.
Before you begin, ensure you have the right tools and safety gear. Aloe sap can cause skin irritation for some individuals, so it is best to wear gardening gloves during the process. Additionally, use a pair of sharp, clean pruning shears or scissors to ensure the cut is precise and does not crush the delicate tissue of the plant.
Follow these steps to prune your aloe safely:
- Sanitize your tools: Wipe your blades with rubbing alcohol before and after use to prevent the spread of bacteria or fungal spores to your plant.
- Identify the target: Look for leaves that are completely dried out, yellowing, or showing signs of rot.
- Make the cut: Position your shears at the very base of the leaf, as close to the main stem as possible without damaging the central stalk.
- Cut cleanly: Apply firm, steady pressure to make a single, clean slice. Avoid tearing or sawing at the leaf, which can leave an open wound prone to infection.
Once you have removed the unwanted leaves, allow the plant to rest. The area where you made the cut will naturally callous over within a few days. Avoid watering the plant immediately after pruning, as moisture touching the fresh cut can sometimes lead to rot. Simply place the aloe back in its usual spot with bright, indirect sunlight and let it recover on its own.
If you notice that a large portion of the plant is dying, check your watering habits rather than just pruning. Overwatering is the most common cause of leaf decay in indoor aloe plants. By keeping the soil well-drained and only pruning when truly necessary, you will keep your aloe thriving for years to come.
Repotting and Propagation
Aloe plants are slow growers, but they will eventually outgrow their containers. When you notice roots circling the bottom of the pot or the plant becoming top-heavy, it is time to repot. The best time to perform this task is in the spring, when the plant enters its active growth phase.
Choose a new pot that is only one to two inches wider than the current one. Ensure the container has adequate drainage holes, as aloe is highly susceptible to root rot if left in standing water. Use a high-quality succulent or cactus potting mix, which is specifically formulated to provide the excellent drainage these plants require.
As your aloe matures, it will often produce “pups”—small offshoots growing from the base of the parent plant. Propagation is a simple way to expand your collection or share plants with friends. Follow these steps to safely separate them:
- Gently remove the entire plant from its pot to expose the root system.
- Identify a pup that is at least two to three inches tall.
- Use a clean, sharp knife to carefully sever the pup from the parent, ensuring you include a few of its own roots if possible.
- Place the pup in a warm, dry area out of direct sunlight for 24 hours. This allows the cut end to callous over, which prevents rot once it is planted.
- Pot the calloused pup into a small container with fresh succulent soil.
After repotting or propagating, avoid watering the plant for about a week. This “waiting period” allows the roots to settle into the new medium and heal from any minor damage sustained during the move. Place the plant in bright, indirect light, and resume your normal watering schedule once the soil feels completely dry to the touch. By providing this extra care during the transition, you ensure your aloe remains healthy and continues to thrive in its new environment.

Troubleshooting Common Issues
Even with the best intentions, aloe plants can occasionally show signs of distress. Understanding these visual cues is the fastest way to restore your plant to health. Most issues stem from minor adjustments in your watering routine or light placement.
If you notice your aloe leaves turning brown or becoming soft and mushy, you are likely overwatering. Aloe vera is a succulent that stores water in its leaves and prefers to dry out completely between waterings. If the soil remains consistently damp, the roots will struggle to breathe, leading to decay.
Conversely, if the leaves appear thin, shriveled, or begin to curl inward, the plant is signaling that it is dehydrated. This often happens if the plant is kept in a location with insufficient light, which prevents it from processing water efficiently. Ensure your aloe is placed in a spot that receives bright, indirect sunlight for several hours a day.
If your plant looks sickly, check for these common problems:
- Persistent Pests: If you spot white, cottony patches, you likely have mealybugs. Gently wipe the leaves with a soft, damp cloth. For more stubborn infestations, apply a mild insecticidal soap specifically formulated for houseplants.
- Root Health: If the plant continues to decline despite correcting your watering schedule, carefully remove it from its pot. Inspect the roots; if they appear black, slimy, or emit a foul odor, the plant is suffering from root rot. Trim away any damaged roots and repot the aloe in fresh, well-draining succulent soil.
- Professional Guidance: If you have exhausted these troubleshooting steps and the plant shows no signs of improvement, consider taking a photo of the leaves and roots to a local nursery. Professional horticulturists can often identify specific fungal or environmental issues that are not immediately obvious to the home gardener.
By monitoring these subtle changes, you can catch problems early and keep your aloe plant thriving for years to come.

Dedicated team of gardening enthusiasts with years of hands-on experience testing lawn mowers, gardening tools, and outdoor equipment. We help home gardeners and professionals alike make informed buying decisions with honest, thorough reviews. From push mowers to pruning shears, we test it all so you don’t have to. Got a gardening tool you’d like us to review? Get in touch!