
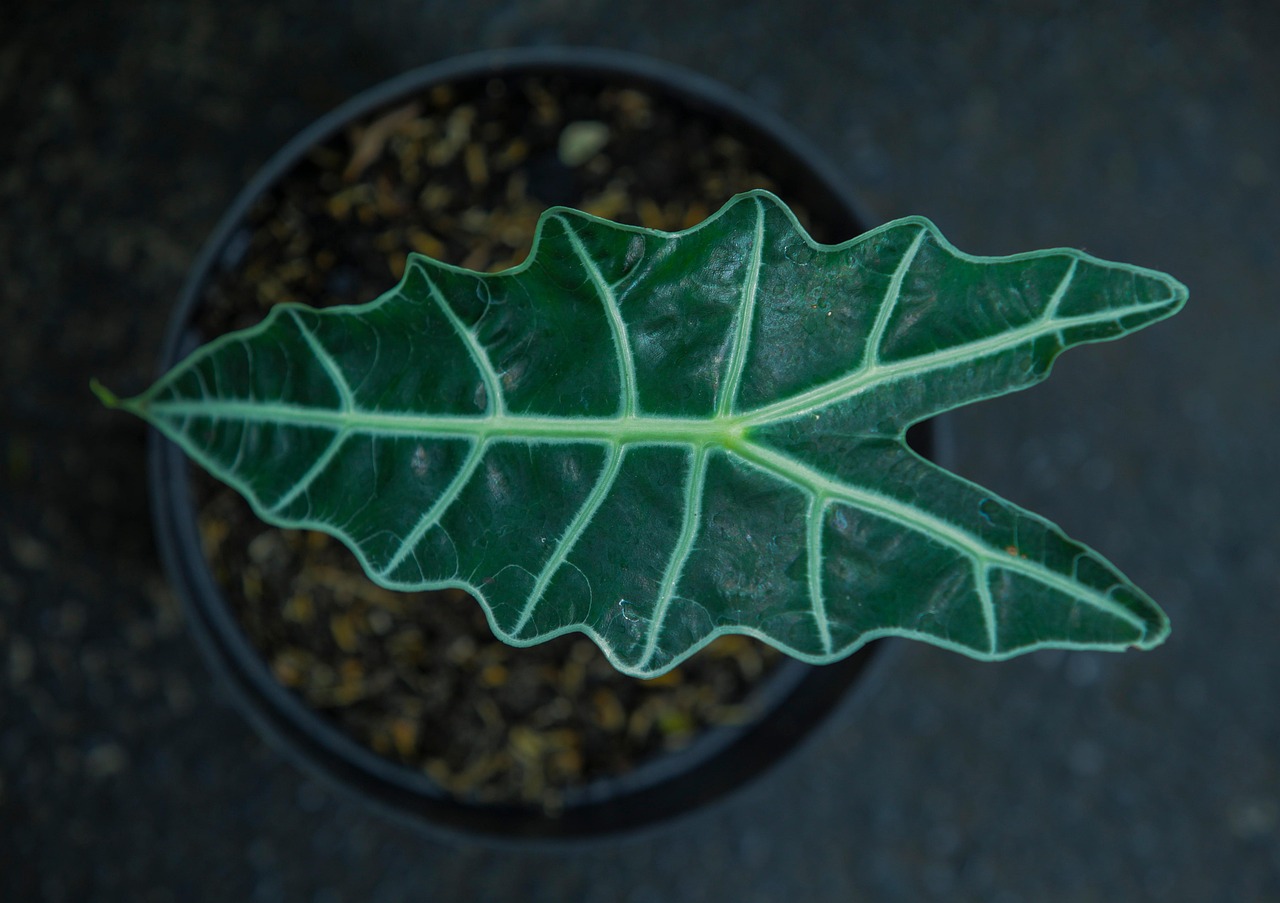
Alocasia plants, known for their stunning arrow-shaped foliage, can thrive indoors with the right environment. This guide explains the essential light, water, and humidity requirements to keep your Elephant Ear plant healthy and vibrant in your home. By mastering these specific environmental needs, you can ensure your tropical houseplant remains a beautiful focal point.
While these plants are undeniably beautiful, they have a reputation for being somewhat fussy compared to other common houseplants. Successfully growing Alocasia indoors requires a commitment to mimicking their native tropical habitat. Understanding their natural growth cycles and sensitivity to environmental changes is the first step toward preventing common issues like yellowing or drooping leaves.
In the following sections, we will break down the practical care steps needed to help your plant flourish. You will learn how to provide the bright, indirect light they crave, how to master the perfect watering schedule, and how to increase humidity levels effectively. Follow these expert tips to maintain a thriving, lush Alocasia collection today.
Optimal Light and Temperature Requirements
Alocasias are tropical plants that demand specific lighting conditions to thrive indoors. Their native environment consists of dappled light beneath a forest canopy, so mimicking this is the secret to healthy, vibrant foliage. The ideal spot for your plant is near an east-facing window, where it can enjoy gentle morning sun without the risk of damage.
If you only have access to south or west-facing windows, the light will likely be too intense. Harsh afternoon rays can quickly scorch the leaves, leaving unsightly brown patches. To protect your plant, place it a few feet back from the glass or use a sheer curtain to diffuse the light. If your home lacks natural brightness, a full-spectrum LED grow light can effectively supplement your plant’s needs.
Temperature consistency is just as critical as light. Alocasias are sensitive to rapid fluctuations, which can cause them to drop leaves or go into premature dormancy. To keep your plant happy, aim for these environmental standards:
- Ideal Temperature Range: Maintain a steady room temperature between 65°F and 80°F (18°C–27°C).
- Avoid Cold Drafts: Keep your plant away from drafty windows, doors, or entryways, especially during winter months.
- Steer Clear of Vents: Never place an Alocasia directly in the path of heating or air conditioning vents, as the dry, forced air will dehydrate the leaves rapidly.
Beyond light and temperature, remember that these plants are sensitive to sudden changes. Once you find a spot where your Alocasia is producing new growth, try to leave it there. Frequent relocation forces the plant to constantly adjust to new light levels and airflow patterns, which often leads to stress. By providing a stable, warm, and brightly lit environment, you create the perfect foundation for your Alocasia to grow lush and strong throughout the year.
Watering and Soil Needs
Alocasia plants are native to tropical rainforests, meaning they thrive in soil that mimics a forest floor: light, airy, and consistently moist but never waterlogged. Because these plants are highly susceptible to root rot, your choice of potting medium is the most important factor in their long-term health.
Use a high-quality, well-draining potting mix specifically designed for aroids. If your mix is too dense, it will suffocate the roots. You can improve aeration by amending standard potting soil with the following ingredients:
- Perlite: Increases drainage and prevents soil compaction.
- Orchid bark: Adds chunky texture to allow oxygen to reach the roots.
- Coco coir or peat moss: Helps the soil retain just enough moisture to keep the plant hydrated.
When it comes to watering, consistency is key. Alocasias do not like to sit in dry soil for extended periods, but they will quickly decline if left in soggy conditions. A reliable rule of thumb is to check the soil moisture manually before adding water. Insert your finger about one inch deep into the potting mix; if it feels dry, it is time to water. If it still feels damp, wait another day or two.
Always ensure your pot features functional drainage holes at the bottom. These are essential for allowing excess water to escape. If you use a decorative cachepot or a saucer, make it a habit to empty any standing water immediately after you finish watering. Leaving the pot to sit in a pool of water is the fastest way to invite root rot and fungal issues.
During the winter months, your Alocasia will naturally enter a period of dormancy or slower growth. During this time, the soil will dry out much more slowly than in the summer. Adjust your watering frequency accordingly, allowing the top two inches of soil to dry out to prevent overwatering while the plant is resting.

Humidity and Maintenance
Alocasia plants are native to tropical rainforests, meaning they thrive in high-humidity environments. In most homes, the air is too dry, which frequently causes the edges of the leaves to turn brown, crispy, or curl. To keep your plant healthy, aim for a humidity level between 50% and 70%.
You can effectively increase the moisture around your Alocasia by using a humidifier near the plant or placing it on a pebble tray filled with water. Ensure the pot sits on top of the pebbles rather than directly in the water to prevent root rot. Grouping your Alocasia with other tropical plants can also create a microclimate that naturally boosts ambient humidity.
Regular maintenance, such as removing old or damaged foliage, is essential for the plant’s aesthetic and overall health. As your Alocasia matures, it is normal for the oldest leaves to yellow and eventually die off. When you notice a leaf fading, follow these steps for safe pruning:
- Always wear gardening gloves. Alocasia sap contains calcium oxalate crystals, which can cause significant skin irritation or rashes upon contact.
- Use sharp, sterilized garden shears to make clean, precise cuts near the base of the stem.
- Wipe your shears with rubbing alcohol or a 10% bleach solution both before and after pruning to prevent the spread of bacteria or fungal pathogens between your plants.
Avoid pulling or tearing yellowing leaves by hand, as this can damage the main stem and create open wounds susceptible to infection. A clean cut allows the plant to heal quickly and redirects its energy toward producing new, vibrant growth. If you notice a sudden increase in yellowing leaves, check your watering habits, as this can sometimes indicate that the soil is too wet or the plant is sitting in stagnant water. Consistent, gentle care will help your Alocasia maintain its signature lush, tropical appearance indoors.
Fertilizing and Growth Cycles
Alocasia plants are heavy feeders during their active growing season, which typically spans from spring through late summer. To support their rapid leaf production, provide a balanced, water-soluble liquid fertilizer once a month. Always dilute the fertilizer to half-strength to prevent potential root burn, as these plants can be sensitive to high concentrations of salts.
When applying fertilizer, ensure the soil is slightly damp. Never fertilize an Alocasia if the soil is bone-dry, as this can damage the delicate root system. If your plant is not producing new leaves, hold off on feeding until you see signs of active growth.
As daylight hours decrease and temperatures drop in the autumn and winter, Alocasias often enter a period of dormancy. During this phase, the plant’s metabolism slows significantly, and it may stop producing new foliage or even shed older leaves. Adjusting your care routine during this time is critical to prevent root rot.
Follow these guidelines to manage your Alocasia’s growth cycle effectively:
- Spring and Summer: Feed once a month with a balanced, half-strength liquid fertilizer. Keep the soil consistently moist but never waterlogged.
- Autumn Transition: As growth slows, gradually reduce the frequency of watering and stop fertilizing entirely.
- Winter Dormancy: Allow the top two inches of soil to dry out between waterings. Do not fertilize during this period.
- Spring Awakening: Once you notice new growth emerging, resume your regular watering schedule and reintroduce the monthly feeding routine.
Patience is essential during the winter months. Even if your Alocasia loses several leaves, the rhizome (the underground storage structure) remains alive. Avoid the temptation to increase water or fertilizer to “force” growth, as this will likely cause the plant to rot. Simply provide bright, indirect light and wait for the natural cues of spring to resume your active care regimen.

Troubleshooting Common Alocasia Issues
Alocasias are rewarding houseplants, but they can be temperamental when their environment shifts. If you notice your plant’s leaves drooping, do not panic. This is usually a signal that your plant’s hydration needs are not being met. Immediately check the soil moisture by inserting your finger two inches deep; if the soil is bone-dry, the plant is underwatered, but if it is soggy or waterlogged, you are likely overwatering. Adjust your watering schedule accordingly to allow the top inch of soil to dry out between sessions.
Brown, crispy leaf tips are another common complaint. In most indoor settings, this is a clear sign that the ambient humidity is too low. Alocasias thrive in tropical, humid conditions. You can remedy this by placing your plant on a pebble tray filled with water, grouping it with other plants to create a microclimate, or using a humidifier nearby.
Pests can occasionally find their way to your Alocasia, with spider mites being the most frequent culprit. If you spot fine webbing or tiny, moving specks on the undersides of leaves, take the following steps:
- Isolate the plant immediately to prevent the infestation from spreading to your other houseplants.
- Gently wipe the leaves with a damp cloth to remove visible pests.
- Treat the plant with insecticidal soap or neem oil, ensuring you follow all safety instructions and dilution ratios listed on the product label.
- Re-inspect the plant weekly until you are certain the pests are gone.
Finally, prioritize safety within your home. Alocasias contain calcium oxalate crystals, which are toxic to cats and dogs if ingested. These plants can cause significant oral irritation, swelling, and digestive distress. To keep your pets safe, always display your Alocasia on a high shelf, a sturdy plant stand, or in a room that is strictly off-limits to your furry companions. By staying observant and proactive, you can keep your Alocasia healthy and thriving for years to come.

Dedicated team of gardening enthusiasts with years of hands-on experience testing lawn mowers, gardening tools, and outdoor equipment. We help home gardeners and professionals alike make informed buying decisions with honest, thorough reviews. From push mowers to pruning shears, we test it all so you don’t have to. Got a gardening tool you’d like us to review? Get in touch!