
To care for a Phalaenopsis orchid indoors, provide bright, indirect light and water only when the potting medium feels dry to the touch. These popular moth orchids are beloved for their elegant, long-lasting blooms, but they require specific environmental conditions to thrive and remain healthy throughout the entire year within your home.
While many beginners fear these plants are difficult to maintain, they are actually quite resilient when you understand their needs. They naturally grow in tropical environments, meaning they prefer consistent temperatures and moderate humidity levels. With the right balance of care, you can easily mimic their native habitat to ensure long-term success.
This guide provides practical, step-by-step instructions on how to master the essentials of orchid maintenance. We will cover everything from selecting the proper potting mix to mastering your watering schedule. By following these expert tips, you will create the perfect conditions to keep your orchid healthy and encourage beautiful, repeat flowering cycles.
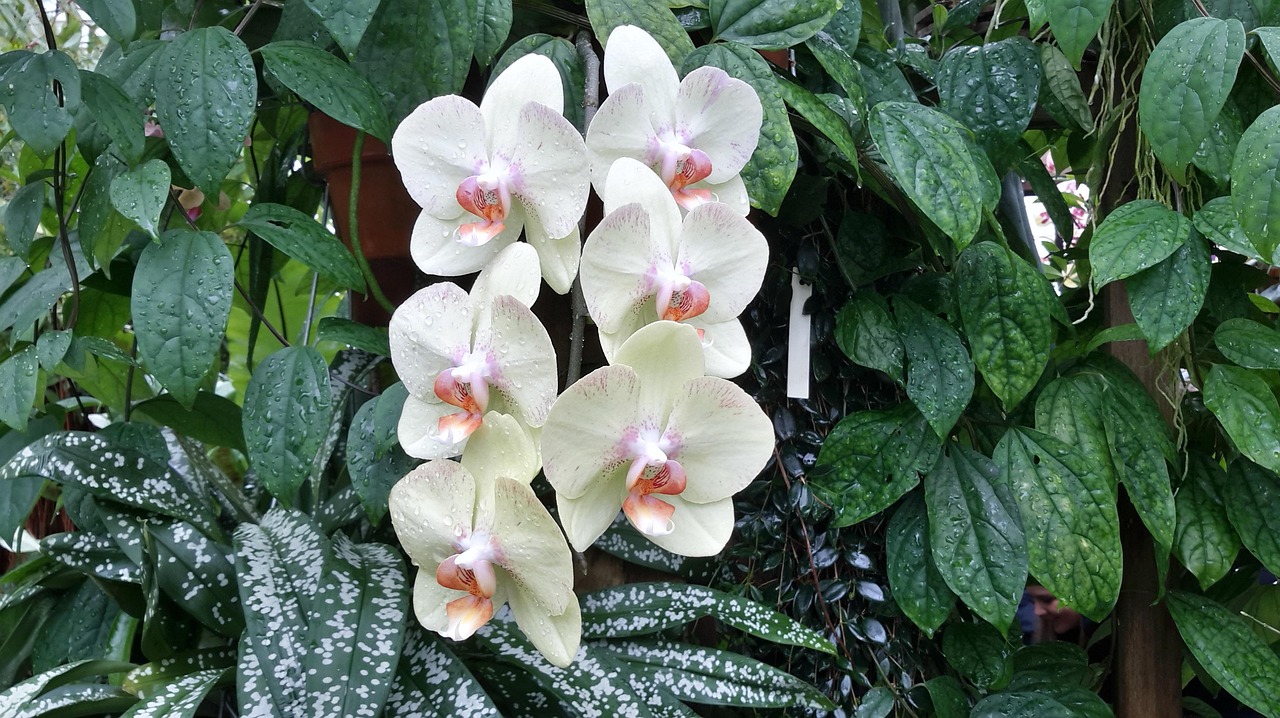
Finding the Perfect Light and Temperature
Phalaenopsis orchids thrive when provided with bright, indirect light. Achieving the right balance is the most important factor in encouraging your orchid to bloom year after year. The ideal location is near an east-facing window, where the morning sun is gentle. If you choose a south-facing window, you must filter the light with a sheer curtain to prevent the harsh midday sun from reaching the foliage.
Direct sunlight is the primary enemy of indoor orchids. Exposure to intense rays will quickly scorch the leaves, causing unsightly yellow or brown patches that can weaken the plant. If you notice the leaves turning a deep, dark green, your orchid is likely not receiving enough light to trigger a new bloom spike. Aim for a healthy, olive-green leaf color.
To ensure your plant stays healthy, keep these environmental factors in mind:
- Temperature Range: Maintain indoor temperatures between 65°F and 75°F (18°C–24°C). These orchids are comfortable in the same environment as most humans.
- Avoid Drafts: Keep your orchid away from cold window drafts during the winter and avoid placing it directly in the path of air conditioning vents.
- Heat Sources: Position the plant well away from radiators, space heaters, or heating ducts. Dry, forced air can dehydrate the plant and cause flower buds to drop prematurely.
Consistency is key for Phalaenopsis health. Once you find a spot that meets these lighting and temperature criteria, try to leave the plant undisturbed. Frequent moving can stress the orchid, especially when it is in the process of developing flower buds. By maintaining a stable, bright environment, you provide the foundation necessary for your orchid to produce long-lasting, vibrant blooms throughout the season.
Watering and Humidity Requirements
Mastering the watering routine is the most critical step in keeping your Phalaenopsis orchid healthy. These plants are epiphytes, meaning they grow on trees in nature rather than in soil. Consequently, their roots require excellent airflow and hate sitting in water. Overwatering is the leading cause of root rot and eventual plant failure.
Instead of following a strict calendar, check the potting medium before adding moisture. Stick your finger about an inch into the bark or moss; if it feels damp, wait a few more days. On average, most indoor orchids thrive with a thorough watering every 7 to 10 days, depending on your home’s temperature and humidity levels.
When you water, follow these essential guidelines to prevent decay:
- Direct the water only at the base of the plant, soaking the potting medium thoroughly.
- Ensure no water collects in the crown (the center where leaves emerge) or between the leaf joints. Standing water in these areas quickly leads to crown rot, which is often fatal.
- If water accidentally splashes into the crown, use a soft cloth or a paper towel to blot it dry immediately.
Phalaenopsis orchids also appreciate higher humidity levels than the average home provides. You can boost ambient moisture by placing the pot on a tray filled with pebbles and a small amount of water. Ensure the bottom of the pot sits on the pebbles above the water line, rather than directly in it, to prevent the roots from becoming waterlogged.
If you notice dead or mushy roots during a repotting session, trim them away using sharp pruning shears. To protect the health of your plant, always sterilize your tools with rubbing alcohol before and after each cut. This simple habit prevents the spread of pathogens that could compromise your orchid’s recovery. By maintaining this balance of careful hydration and clean maintenance, you provide the stable environment your orchid needs to bloom repeatedly.
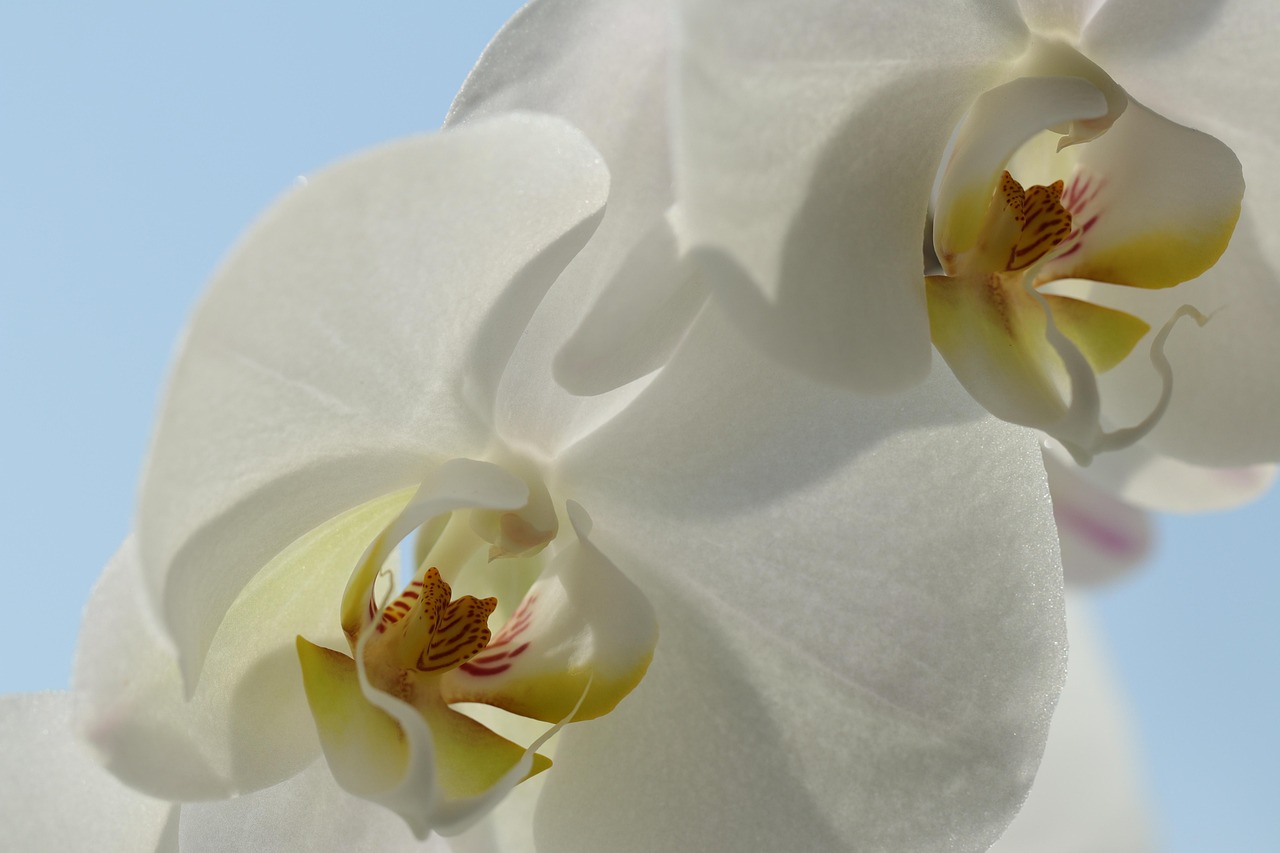
Choosing the Right Potting Medium and Container
Phalaenopsis orchids are epiphytes, meaning they naturally grow on trees rather than in soil. Because of this, their roots require significant airflow and rapid drainage to remain healthy. Never plant your orchid in standard potting soil, as it will suffocate the roots and lead to fatal rot.
Instead, use a specialized orchid bark mix. These coarse blends, typically made of fir bark, perlite, and charcoal, mimic the orchid’s natural environment by allowing water to pass through quickly while maintaining necessary humidity. When selecting a container, ensure it has multiple drainage holes at the bottom. If the pot lacks sufficient drainage, the roots will sit in stagnant water, inviting disease.
If you decide to repot your orchid, follow these steps to ensure a healthy transition:
- Inspect the root system carefully. Healthy roots are firm and silvery-green or white.
- Use clean, sharp gardening scissors to trim away any mushy, hollow, or dark brown roots. Sterilize your scissors with rubbing alcohol between cuts to prevent spreading pathogens.
- Always wear gardening gloves when handling potting materials. This protects your skin from sharp bark fragments and potential irritants found in some organic mixes.
- Gently nestle the orchid into the new bark, ensuring it is stable but not buried too deeply.
When choosing a container, many enthusiasts prefer clear plastic pots. These allow you to monitor the health of the roots and the moisture level of the bark at a glance. If you prefer a decorative ceramic or terracotta pot, use it as a cachepot—simply place the plastic nursery pot inside the decorative one. This setup allows for easy watering: you can remove the inner pot, soak it in the sink, let it drain completely, and then return it to the decorative container. This simple practice prevents water from pooling at the base, keeping your orchid’s root system vibrant and oxygenated for years to come.
Fertilizing and Maintenance
Consistent nutrition is the key to encouraging your Phalaenopsis orchid to produce vibrant, long-lasting blooms. Because these orchids are often grown in bark or sphagnum moss rather than nutrient-rich soil, they rely entirely on you for sustenance.
During the active growing season—typically spring through early autumn—apply a balanced, water-soluble orchid fertilizer. To avoid root burn, always dilute the formula to half-strength. Aim to fertilize once or twice a month, following the “weakly, weekly” principle for the best results. During the winter months, when growth naturally slows, you can reduce or pause fertilization entirely.
Proper maintenance also involves managing the byproduct of these nutrients. Over time, mineral salts from fertilizers can accumulate in the potting medium, which may damage sensitive roots. To prevent this, follow these simple maintenance steps:
- Flush the pot: Once a month, run plain, room-temperature water through the potting medium for several minutes. This leaches out excess salts and refreshes the root environment.
- Clean the foliage: Dust acts as a barrier to sunlight. Gently wipe the top and bottom of each leaf with a soft, damp cloth. This simple action allows the plant to photosynthesize more efficiently, leading to stronger, healthier growth.
- Inspect for health: While cleaning the leaves, check for pests like mealybugs or scale. Early detection is the most effective way to keep your orchid thriving.
Avoid getting water trapped in the “crown”—the center where the leaves emerge—as this can lead to rot. If you accidentally splash water into the crown during cleaning or flushing, use a paper towel to gently wick the moisture away. By keeping the foliage clean and the root zone free of salt buildup, you create the ideal conditions for your orchid to store the energy required for its next spectacular flowering cycle. With this routine, your Phalaenopsis will remain a resilient and beautiful centerpiece in your home for years to come.

Troubleshooting and Long-Term Care
Even with the best intentions, Phalaenopsis orchids can sometimes struggle. If your orchid has stopped blooming, don’t be discouraged. These plants often require a specific environmental cue to initiate a new flower spike. Try placing your orchid in a spot where nighttime temperatures drop by about 10 to 15 degrees Fahrenheit for three to four weeks. This subtle “cool down” mimics their natural habitat and often triggers the development of a new bloom stalk.
Visual cues are your best tool for diagnosing health issues. If you notice problems, inspect the plant closely using this guide:
- Yellowing leaves: This is frequently a sign of overwatering or poor drainage. Ensure your orchid is not sitting in standing water and that the potting medium allows air to circulate around the roots.
- Shriveled or mushy roots: Healthy orchid roots should be firm and silvery-green. If they appear brown, soft, or shriveled, the plant is likely suffering from root rot caused by moisture stress. Trim away dead roots and repot in fresh, well-draining bark.
- Pests: If you spot white, cottony patches (mealybugs) or small, hard bumps (scale) on the leaves, act immediately. Isolate the plant from your other houseplants to prevent the infestation from spreading. Gently wipe the leaves with a cloth dampened with insecticidal soap or a diluted rubbing alcohol solution.
Consistency is the secret to long-term success. Phalaenopsis orchids thrive on a routine of bright, indirect light and careful watering. Avoid getting water in the “crown”—the center where the leaves emerge—as this can lead to rot.
If your orchid continues to decline despite adjusting your care routine, do not hesitate to seek expert advice. Take a clear photo of the plant or bring it to a local nursery. A professional can often identify subtle issues, such as fungal infections or nutrient deficiencies, that are difficult for home gardeners to spot. With patience and minor adjustments, most orchids can be nursed back to health.

Dedicated team of gardening enthusiasts with years of hands-on experience testing lawn mowers, gardening tools, and outdoor equipment. We help home gardeners and professionals alike make informed buying decisions with honest, thorough reviews. From push mowers to pruning shears, we test it all so you don’t have to. Got a gardening tool you’d like us to review? Get in touch!