
Learning how to care for an aloe plant indoors is simple because these succulents are naturally resilient and low-maintenance. They thrive in home environments when provided with the right balance of light and drainage. By following a few basic rules, you can easily keep your aloe vera healthy, vibrant, and growing year-round.
While aloe vera is famous for being hard to kill, it still requires specific conditions to truly flourish rather than just survive. Understanding that these plants are desert natives is key to their long-term success. With the proper setup, you can avoid common pitfalls like overwatering and ensure your plant remains a beautiful feature.
This comprehensive guide covers the essential light, water, and soil requirements to help your aloe plant thrive in your home. We will walk you through practical tips for troubleshooting common issues and maintaining optimal growth. Get ready to master the art of indoor succulent care with our easy, step-by-step advice for beginners.

Ideal Light and Temperature Requirements
Aloe vera plants are desert natives that crave plenty of light to remain healthy and vibrant. To mimic their natural environment indoors, place your plant near a south or west-facing window. These locations typically provide the high-intensity, bright, indirect light necessary for robust growth.
Your aloe needs at least six hours of light every day. While these plants love sunshine, they are susceptible to leaf scorch if exposed to intense, direct midday rays for too long. If your plant begins to look pale or develops brown, crispy patches, it may be receiving too much harsh sunlight. In such cases, move the pot a few feet away from the glass or use a sheer curtain to filter the light.
Temperature management is equally important for long-term success. Aloe plants prefer consistent conditions and will thrive in most standard household environments. To keep your plant comfortable, aim for the following conditions:
- Ideal Temperature Range: Maintain a room temperature between 55 and 80 degrees Fahrenheit (13 to 27 degrees Celsius).
- Avoid Cold Drafts: Keep your plant away from drafty windows, exterior doors, or air conditioning vents, as sudden temperature drops can cause stress.
- Heat Sources: Do not place your aloe directly next to radiators, space heaters, or wood stoves, as the dry, concentrated heat can dehydrate the leaves rapidly.
If you live in a climate with extreme seasonal changes, monitor your plant closely as the weather shifts. During the winter months, ensure the plant is not touching cold window panes, as this can lead to localized chilling. Conversely, during the peak of summer, ensure the room remains well-ventilated to prevent the plant from overheating. By providing stable temperatures and consistent, bright light, you create the perfect foundation for your indoor aloe to grow thick, succulent leaves and stay healthy year-round.
Watering Best Practices
Mastering your watering schedule is the single most important factor in keeping an indoor aloe plant healthy. Because aloe is a succulent, it stores water in its thick, fleshy leaves. This adaptation makes the plant highly drought-tolerant but extremely susceptible to root rot if the soil remains constantly damp.
To avoid overwatering, always check the soil moisture before reaching for your watering can. Insert your finger about two inches deep into the potting mix. If you feel any moisture, wait a few more days. The soil should be completely dry to the touch at this depth before you provide more water.
When it is time to water, follow this “soak and drain” method to ensure your plant receives enough hydration without becoming waterlogged:
- Water thoroughly: Pour water directly onto the soil until it begins to run out of the drainage holes at the bottom of the pot. This ensures the entire root ball is hydrated.
- Drain completely: Allow the pot to sit for about 15 to 20 minutes until the excess water has finished dripping.
- Empty the saucer: Never let your aloe sit in standing water. Discard any water collected in the saucer or decorative cachepot immediately. Leaving the roots in stagnant water is a fast track to fungal decay and root rot.
Keep in mind that your aloe’s water requirements will change throughout the year. During the active growing season in spring and summer, the plant will dry out faster and require more frequent watering. In the winter months, when growth slows significantly, the plant enters a semi-dormant state. During this time, you may only need to water once a month or even less. Always prioritize the dryness of the soil over a rigid calendar schedule. If the leaves begin to look thin or slightly puckered, the plant is signaling that it needs a drink, but if they feel mushy or translucent, you are likely watering too often.
Choosing the Right Soil and Pot
The foundation of a thriving indoor aloe plant begins with the right environment. Aloe vera is a succulent that naturally stores water in its leaves, making it highly susceptible to root rot if it sits in damp, heavy soil. To prevent this, always use a potting mix specifically formulated for cacti and succulents. These blends are engineered to be porous, allowing excess water to drain quickly and ensuring the roots receive adequate airflow.
Equally important is the container you choose. Never plant an aloe in a pot without drainage holes at the bottom. Without a way for water to escape, moisture collects at the base of the pot, quickly leading to decay. Terracotta or unglazed ceramic pots are excellent choices because they are porous, allowing the soil to dry out more efficiently than plastic or glass containers.
As your plant grows, you may notice older, lower leaves turning brown or shriveling. This is a natural part of the plant’s life cycle. To keep your aloe healthy and looking its best, you can remove these spent leaves:
- Use clean, sharp garden shears to make a clean cut as close to the base of the plant as possible.
- Ensure your tools are sanitized with rubbing alcohol to prevent the spread of bacteria or fungi.
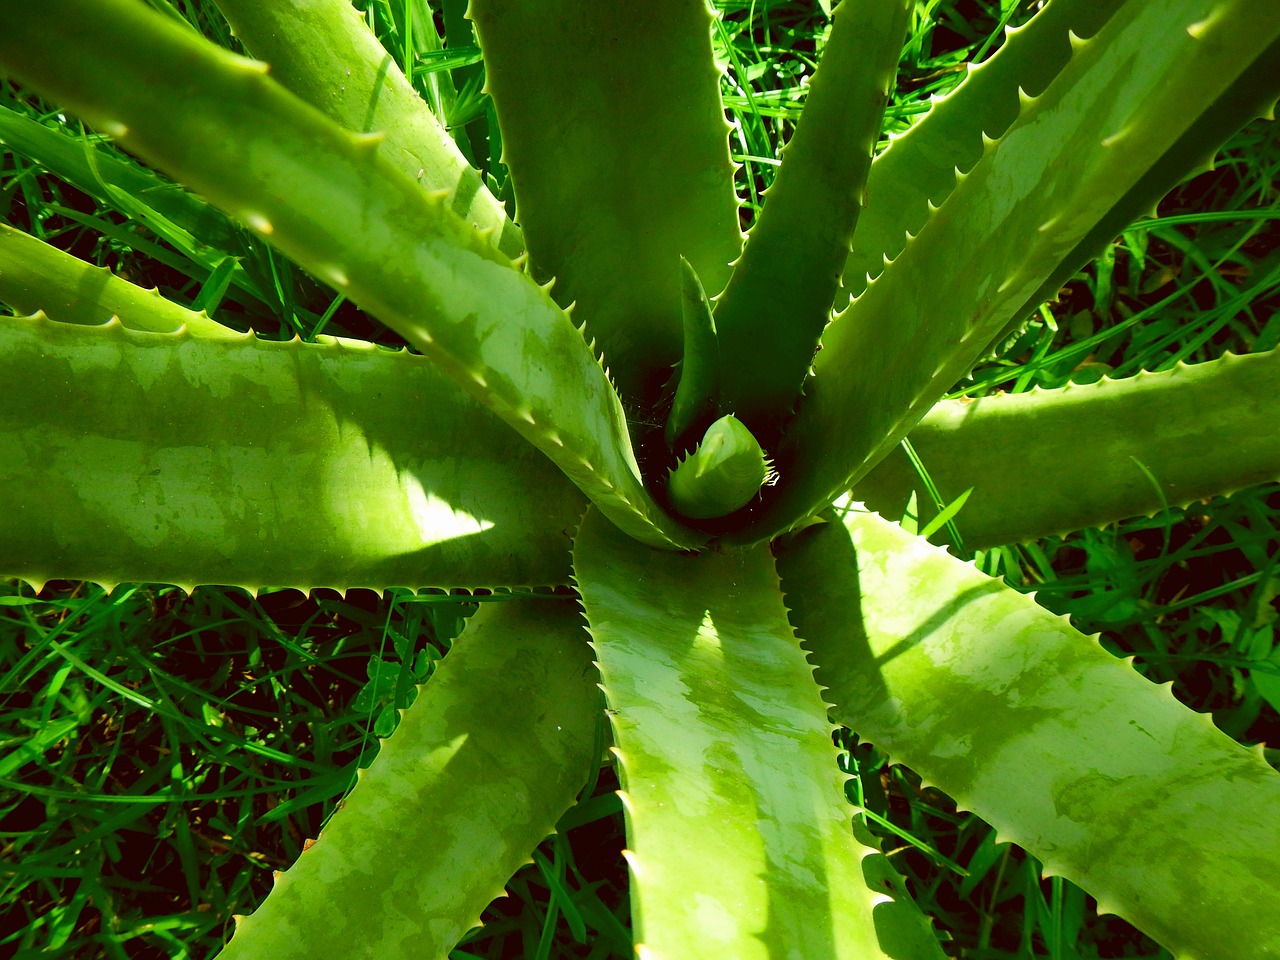
- Always wear sturdy gardening gloves when handling your plant. Aloe leaves often have serrated, prickly edges that can easily scratch or irritate your skin.
By selecting a fast-draining soil and a pot that breathes, you mimic the arid conditions aloe plants crave in the wild. Proper maintenance not only keeps the plant aesthetically pleasing but also prevents common issues like root rot and fungal infections, ensuring your aloe remains a vibrant, low-maintenance addition to your home for many years to come.
Fertilizing and Maintenance
Aloe vera plants are remarkably low-maintenance, but they do benefit from a light touch of nutrition to support healthy growth. Because these succulents are adapted to nutrient-poor soils, they do not require heavy feeding. Over-fertilizing can actually cause more harm than good, leading to weak, leggy growth or damaged roots.
To keep your plant thriving, follow this simple fertilizing schedule:
- Stick to the growing season: Only apply fertilizer during the spring and summer months when the plant is actively producing new leaves.
- Dilute your mixture: Use a balanced liquid houseplant fertilizer, but dilute it to half-strength. If the instructions suggest a specific ratio, mix in double the amount of water to ensure the solution is gentle enough for the aloe’s sensitive root system.
- Pause in winter: Do not fertilize your aloe plant during the autumn or winter. During these cooler months, the plant enters a period of dormancy and does not need extra nutrients.
Beyond feeding, maintenance is primarily about keeping the plant clean and efficient. Indoor environments often accumulate a layer of dust on broad, fleshy leaves. This dust acts as a barrier, blocking sunlight and hindering the plant’s ability to photosynthesize effectively.
To maintain your plant’s health, take a soft, damp cloth and gently wipe the surface of the leaves every few weeks. This simple habit not only keeps your aloe looking vibrant and green but also ensures the plant can breathe and absorb light at its full potential. Avoid using leaf shine products, which can clog the pores of the plant. If you notice any leaves that have shriveled, turned brown, or become mushy, use a clean, sharp pair of shears to snip them off at the base. This keeps the plant looking tidy and directs its energy toward healthy, new growth rather than trying to repair damaged tissue.

Common Troubleshooting and Care Tips
Even with the best intentions, your aloe vera may occasionally show signs of distress. Learning to read these physical cues is the key to long-term success. Most issues stem from improper watering, which is easily corrected once you know what to look for.
If you notice the leaves turning brown, soft, or mushy, you are likely overwatering the plant. Aloe is a succulent that stores water in its leaves and prefers to dry out completely between waterings. If the soil remains soggy, the roots may begin to rot. Conversely, if the leaves appear thin, shriveled, or curled, the plant is likely dehydrated and needs a thorough soaking.
Follow these simple guidelines to keep your plant thriving:
- Check the soil: Always insert your finger two inches into the soil before watering. If it feels moist, wait a few more days.
- Drainage is essential: Ensure your pot has drainage holes to prevent water from pooling at the bottom.
- Light requirements: If the leaves seem to be stretching or leaning heavily, move the plant to a brighter spot with indirect sunlight.
As your aloe grows, it may eventually become root-bound, meaning the roots have filled the entire container and have nowhere left to expand. If you see roots growing out of the drainage holes or the plant stops growing entirely, it is time to repot. Perform this task in the spring, which is the start of the plant’s active growing season. Always choose a container only one size larger than the current one to prevent excess soil from holding too much moisture.
Finally, prioritize safety in your home. While aloe vera is famous for its soothing gel, it is toxic to pets if ingested. Keep your plant on a high shelf or in a room inaccessible to cats and dogs to prevent gastrointestinal upset. By balancing light, water, and placement, your aloe will remain a healthy, vibrant addition to your indoor space for years to come.

Dedicated team of gardening enthusiasts with years of hands-on experience testing lawn mowers, gardening tools, and outdoor equipment. We help home gardeners and professionals alike make informed buying decisions with honest, thorough reviews. From push mowers to pruning shears, we test it all so you don’t have to. Got a gardening tool you’d like us to review? Get in touch!