
Building a greenhouse extends your growing season and protects sensitive plants from the elements. This guide outlines the essential planning, materials, and construction steps to help you build a functional structure in your backyard. Whether you are a beginner or an experienced gardener, creating a dedicated space for your plants will revolutionize your home cultivation efforts.
Constructing a greenhouse is a rewarding project, but it requires careful preparation to ensure success. Before you begin, consider your local climate, available yard space, and specific gardening goals. While DIY builds can be cost-effective, they demand a realistic understanding of structural requirements, ventilation needs, and the importance of choosing durable, weather-resistant materials for long-term use.
In the following sections, we break down the entire process into manageable phases. You will learn how to select the ideal site, choose the right framing materials, and install glazing that maximizes sunlight. By following these practical steps, you will gain the knowledge and confidence to build a sturdy, productive greenhouse that enhances your home gardening experience for years.
Planning and Site Selection
Before buying materials, your first priority is identifying the perfect spot. A greenhouse is a long-term investment, and its success depends heavily on its foundation and orientation.
Sunlight Requirements
Plants need significant energy to thrive. Choose a location that receives at least six hours of direct, unobstructed sunlight daily. In the Northern Hemisphere, a south-facing site is ideal, as it maximizes light exposure throughout the winter months when solar gain is most critical. Avoid areas shaded by large trees, fences, or your home, as even partial shade can drastically reduce plant productivity.
Site Preparation
The ground must be stable to prevent structural damage over time. Prioritize these three factors when surveying your yard:
- Level Ground: A flat surface prevents uneven stress on the frame and ensures doors open and close smoothly. If your yard is sloped, you must level the area or build a raised foundation.
- Drainage: Avoid low-lying areas where water pools after rain. Excess moisture can lead to root rot, fungal issues, and unstable soil that may cause your greenhouse to shift or sink.
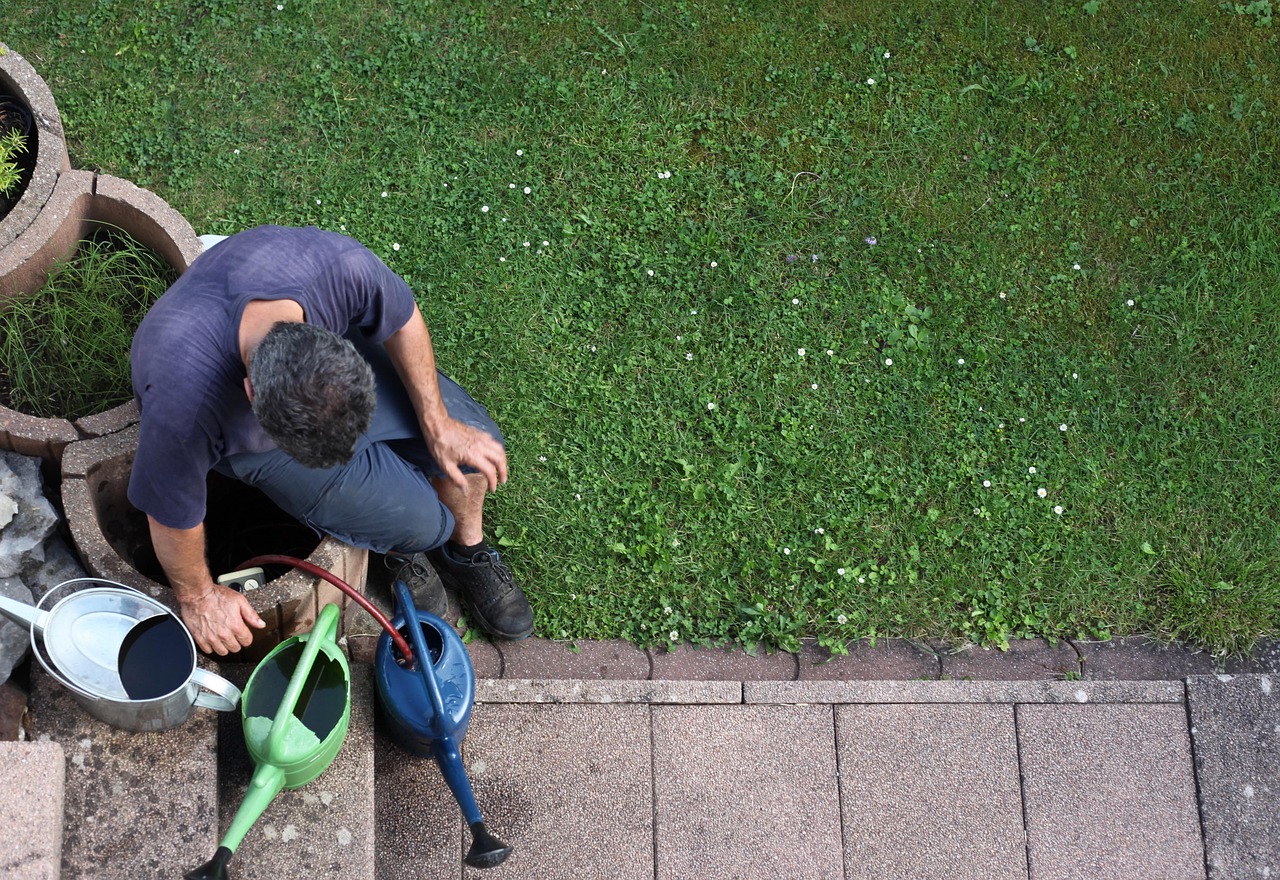
- Accessibility: Place the structure near a water source and an electrical outlet if you plan to use fans or heaters. Carrying heavy watering cans across the yard becomes tiresome quickly.
Legal and Neighborhood Compliance
Never skip the administrative phase. Before breaking ground, research your local municipal zoning laws and homeowners association (HOA) guidelines. Many areas classify greenhouses as “accessory structures,” which may require specific permits, set-back distances from property lines, or height restrictions.
Contact your local building department to verify if your project requires a permit. Failing to check these regulations can lead to costly fines or, in worst-case scenarios, a forced removal of your structure. Taking these steps early ensures your greenhouse project remains a rewarding hobby rather than a legal headache.
Choosing Your Greenhouse Design and Materials
Selecting the right greenhouse design depends on your available space, local climate, and gardening goals. Before you begin construction, evaluate these three common styles to determine which best fits your backyard:
- Hoop House: The most budget-friendly option. It uses arched PVC or metal pipes covered in greenhouse-grade plastic. These are excellent for extending the growing season but offer less structural protection against heavy snow or high winds.
- Lean-To: Ideal for smaller footprints. This structure attaches directly to the side of your home or a garage. It benefits from the existing wall’s thermal mass, which helps regulate temperature, making it easier to heat during colder months.
- Traditional Framed Structure: A free-standing, gable-roofed greenhouse. While it requires a higher initial investment and more labor, it offers the most durability and vertical growing space for tall plants like tomatoes or vining crops.
Your choice of materials will dictate your greenhouse’s longevity and efficiency. For the frame, pressure-treated lumber provides a sturdy, rot-resistant base, while PVC pipe is lightweight and easy to assemble for temporary seasonal structures. If you live in an area with harsh winters, prioritize wood or metal framing to ensure the structure can support the weight of snow.
For the covering, you must choose between longevity and cost. Polycarbonate panels are the gold standard for durability and insulation; they are impact-resistant and diffuse light well, which prevents plant scorching. If you are working with a strict budget, greenhouse-grade polyethylene plastic film is a practical alternative. While it requires replacement every few years due to UV degradation, it is highly affordable and provides adequate light transmission for most vegetable and flower varieties.
Always check your local building codes before finalizing your design. Even small, DIY structures may require a permit depending on your municipality. By aligning your materials with your specific climate—prioritizing insulation in cold zones and ventilation in hot zones—you will create a productive environment that helps your plants thrive year-round.

Essential Tools and Safety Protocols
Building a greenhouse requires precision and careful handling of construction materials. Whether you are framing the structure or installing glazing, prioritizing your physical safety is the most critical step in the process.
Always wear high-quality safety glasses to shield your eyes from flying debris, sawdust, and metal shavings. Sturdy, leather-reinforced work gloves are essential to prevent splinters, cuts from sharp edges, and abrasions while handling glass or polycarbonate panels.
Before you begin, establish a safe working environment:
- Inspect equipment: Check all power tool cords for fraying or exposed wires. Replace damaged cables immediately to prevent electrical hazards.
- Clear the area: Keep your workspace tidy. Remove scraps, loose screws, and discarded packaging to eliminate tripping hazards.
- Manage tools: When not in use, store saws and drills away from the immediate construction zone to prevent accidental activation or injury.
Construction often involves working at height, particularly when installing roof panels or vents. Never compromise on stability. Ensure your ladder is fully extended, locked, and positioned on level, solid ground. If the terrain is soft or uneven, use a plywood base to create a stable footing for the ladder legs. Avoid overreaching; if you cannot reach a section comfortably, climb down and reposition the ladder.
If you are working with heavy materials, such as large glass panes or thick timber beams, enlist a partner. Having a second person to hold components in place not only improves the structural integrity of your greenhouse but also prevents the fatigue that leads to accidents. If you feel tired or lose focus, take a break. Rushing the assembly process is the most common cause of avoidable injuries. By maintaining a clean site and respecting the power of your tools, you ensure that your project remains a rewarding experience rather than a hazardous one.
Step-by-Step Construction Process
A durable greenhouse begins with a solid foundation. Whether you are using pressure-treated timber, concrete footings, or ground anchors, the structure must be firmly secured to the earth. This prevents the greenhouse from shifting or blowing away during high winds. Use a carpenter’s level to ensure your base is perfectly flat before proceeding.
Next, assemble the frame according to your specific blueprints. Work methodically, checking for squareness at every corner as you connect the members. If the frame is slightly out of alignment, the glazing panels will not fit correctly later. Use a measuring tape to compare diagonal distances across the frame; if the measurements match, your structure is square.
Once the frame is rigid and bolted tight, begin attaching your glazing material, such as polycarbonate sheets or greenhouse film. Follow these best practices for a professional finish:
- Pull it taut: Ensure the material is stretched firmly across the frame to prevent sagging, which can collect water and debris.
- Use proper fasteners: Use washers and screws designed for greenhouse glazing to create a watertight seal without cracking the panels.
- Seal the edges: Apply weather-stripping or silicone sealant where necessary to prevent drafts and heat loss.
With the skin of the greenhouse secure, install the door and essential ventilation systems. Proper airflow is non-negotiable for healthy plants. At a minimum, install a door for access and at least one roof vent or side louver. These allow hot, humid air to escape, preventing the buildup of mold and fungal diseases during the peak of summer.
Test your vents immediately after installation to ensure they open and close smoothly. If you live in a particularly hot climate, consider adding an automatic vent opener that expands with heat to regulate internal temperatures without requiring electricity. By prioritizing a sturdy frame and reliable airflow, you create a controlled environment where your plants can thrive throughout the growing season. Always double-check that all hardware is tightened before moving your first seedlings inside.

Maintenance and Troubleshooting
A greenhouse requires consistent attention to remain a productive environment for your plants. Neglecting routine maintenance can lead to structural failure or poor growing conditions. After every major storm or period of high wind, perform a thorough inspection of the entire frame. Check for loose fasteners, bolts that have vibrated free, and any signs of warping in the structural members. If you use a plastic or polycarbonate covering, inspect it closely for tears or degradation caused by UV exposure, as these gaps will compromise your internal temperature control.
Light transmission is the lifeblood of your greenhouse. Over time, dust, algae, and mineral deposits accumulate on the glazing, significantly reducing the amount of sunlight reaching your plants. Plan to deep-clean your glazing panels at least once a year. Use a soft cloth or a long-handled sponge with mild, non-toxic soap and warm water. Avoid abrasive scrubbers or harsh chemicals that can scratch the surface or damage the integrity of the material.
Beyond the structure, keep a close watch on your environmental systems:
- Ventilation: Ensure automatic vent openers are calibrated correctly and that manual vents operate smoothly without binding.
- Irrigation: Flush drip lines periodically to prevent mineral buildup and check for leaks that could create standing water.
- Sanitation: Remove dead foliage and debris from the floor immediately to prevent the spread of mold, pests, and fungal diseases.
Safety should always be your primary concern, especially when integrating technology into your greenhouse. If you are installing heaters, automated misting systems, or ventilation fans, you will likely need to manage electrical wiring. If you are not experienced with electrical work or structural carpentry, do not attempt these installations yourself. Consult a licensed electrician or a professional contractor to ensure your setup is properly grounded, weather-resistant, and compliant with local building codes. A professional installation prevents fire hazards and protects your equipment from moisture-related shorts, ensuring your greenhouse remains a safe, functional space for years to come.

Dedicated team of gardening enthusiasts with years of hands-on experience testing lawn mowers, gardening tools, and outdoor equipment. We help home gardeners and professionals alike make informed buying decisions with honest, thorough reviews. From push mowers to pruning shears, we test it all so you don’t have to. Got a gardening tool you’d like us to review? Get in touch!