
If your hydrangeas, blueberries, or azaleas are struggling, your soil pH might be too alkaline. Learn how to safely and effectively lower your soil pH to create the perfect acidic environment for your favorite plants to thrive. Achieving the right balance is essential for nutrient absorption, ensuring your garden stays vibrant and healthy throughout the growing season.
Before you begin, it is important to understand that soil chemistry does not change overnight. You must test your current pH levels accurately before applying any amendments to avoid over-correcting. Patience is key, as drastic adjustments can shock your plants or damage delicate root systems, so always aim for a gradual, measured transition toward acidity.
In the following sections, we will explore the most reliable methods for acidifying your garden beds, including the use of elemental sulfur, peat moss, and organic mulches. We provide clear, step-by-step instructions to help you choose the right product and apply it safely. Follow these practical tips to master your soil management and see your acid-loving plants flourish.

Confirm Your Soil pH Before You Act
Before you reach for soil amendments, you must determine your current baseline. Adding acidic materials to soil that is already low in pH can lead to nutrient toxicity and severely damage your plants. Guessing your soil’s needs is a common mistake that often results in stunted growth or plant death.
The most reliable way to confirm your soil pH is to use a high-quality home test kit or, for the most accurate results, send a sample to your local university extension office. These professional labs provide precise data and often include customized recommendations for soil amendments based on your specific region.
Most acid-loving plants, such as blueberries, azaleas, rhododendrons, and hydrangeas, thrive in a pH range between 5.0 and 6.0. If your soil is already within this range, no action is required. If your test reveals a pH above 6.5, you may need to introduce amendments to increase acidity gradually.
To get the most accurate sample for testing, follow these steps:
- Clear away surface debris, such as mulch or leaves, from the testing area.
- Use a clean trowel to dig down 4 to 6 inches, as this is where the majority of plant roots reside.
- Collect small samples from several different spots in the garden bed to get a representative average.
- Mix the samples together in a clean plastic bucket and remove any rocks or large organic chunks before testing.
Avoid taking samples immediately after heavy rainfall or fertilizer application, as these can temporarily skew your pH readings. By establishing a clear baseline, you ensure that any adjustments you make are safe, necessary, and effective. Remember that soil chemistry changes slowly; patience is your best tool when managing pH. Once you have a verified number, you can proceed with confidence, knowing exactly how much amendment is required to create the ideal environment for your garden to flourish.
Choose the Right Soil Acidifier
Selecting the correct acidifier depends on how quickly you need to shift your soil pH and the specific needs of your plants. Because soil chemistry is complex, choosing the wrong amendment can lead to nutrient imbalances or plant stress.
Elemental Sulfur: The Long-Term Solution
For most home gardeners, elemental sulfur is the gold standard. It is a slow-release amendment that relies on soil bacteria to convert it into sulfuric acid. Because this biological process takes time, you typically won’t see significant pH changes for several months. However, it is the safest, most cost-effective, and most sustainable way to lower pH over the long term.
Aluminum Sulfate: The Rapid Fix
If you require immediate results, aluminum sulfate is the preferred choice. It reacts almost instantly with soil moisture to lower pH. While effective, it carries a significant risk: aluminum toxicity. If applied in excessive amounts, the aluminum can build up to levels that damage delicate root systems, particularly in sensitive species like blueberries or certain perennials. Always follow label application rates precisely and avoid over-applying.
Organic Amendments for Maintenance
Organic materials are excellent for maintaining a slightly acidic environment, though they are rarely strong enough to correct highly alkaline soil on their own. Incorporating these into your garden beds improves soil structure while providing a mild, steady reduction in pH:
- Sphagnum Peat Moss: Naturally acidic and excellent for improving water retention in sandy soils.
- Pine Needles: A great mulch option that slowly releases acidity as it decomposes.
- Composted Oak Leaves: These break down into a slightly acidic humus, perfect for top-dressing around acid-loving shrubs.
Before applying any amendment, perform a professional soil test. This ensures you are adding only what is necessary, preventing the “pH bounce” that occurs when you over-correct and force the soil chemistry out of balance. Always water thoroughly after application to help the amendments integrate into the root zone safely.
Safety Precautions and Equipment
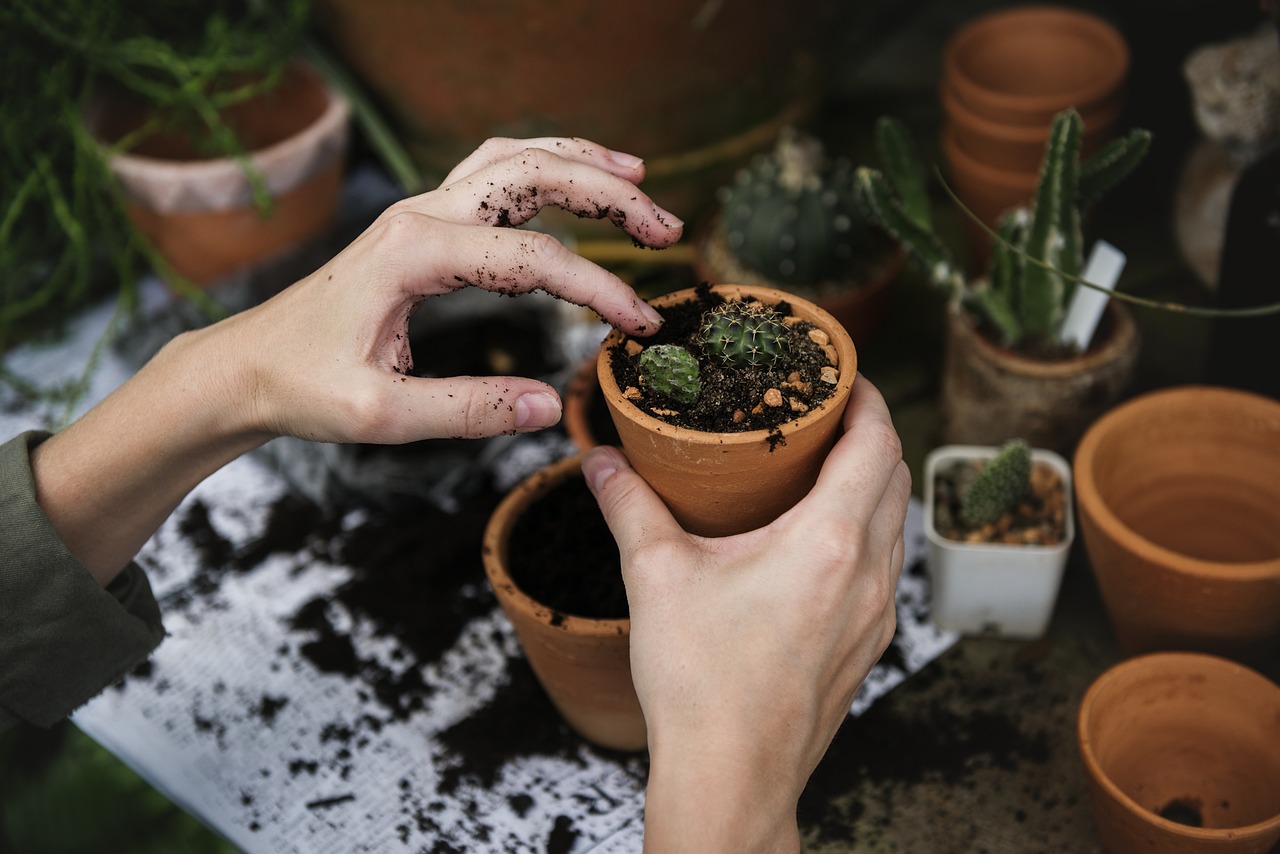
When modifying your soil pH, safety must be your primary concern. Soil amendments like elemental sulfur or aluminum sulfate are concentrated chemicals that require careful handling to prevent injury or accidental ingestion. Before you begin, ensure you are wearing the proper personal protective equipment (PPE) to shield yourself from irritation and respiratory distress.
To stay safe while working, always use the following gear:
- Gloves: Wear heavy-duty nitrile or leather gardening gloves to prevent skin irritation and chemical burns.
- Safety Glasses: Protect your eyes from fine, airborne particles that can cause severe irritation.
- Dust Mask: A N95-rated mask is essential to prevent the inhalation of fine dust, which can irritate your lungs and respiratory tract.
Once you have your gear, focus on a controlled application process. Use a hand trowel or a garden rake to gently incorporate the amendments into the top few inches of your soil. Avoid using power tillers or leaf blowers near the application site, as these tools can kick up significant amounts of harmful dust into the air, making it difficult to maintain a safe breathing zone.
Storage is equally important for maintaining a safe home environment. Always keep soil amendments in their original, labeled containers. This ensures you have access to the manufacturer’s specific safety instructions and emergency contact information if an accident occurs. Store these products in a cool, dry, and locked location, such as a garden shed or a high garage shelf, where they remain completely inaccessible to children and pets.
Finally, wash your hands and arms thoroughly with soap and water immediately after you finish working in the garden, even if you wore gloves. If you accidentally spill a large amount of product, do not use a vacuum or air compressor to clean it up. Instead, use a damp cloth or a broom to sweep the material into a container to avoid aerosolizing the dust. By following these simple steps, you can successfully lower your soil pH while keeping yourself and your household safe.
Step-by-Step Application Process
Before applying any acidifying amendment, such as elemental sulfur or aluminum sulfate, you must calculate the precise amount required. Consult your soil test report, which should specify the current pH level and the target pH for your specific plants. Use the manufacturer’s application chart to determine how many pounds of product are needed per 100 square feet based on your soil type—sandy soils generally require less amendment than clay-heavy soils.
Once you have measured the correct amount, follow these steps to ensure safe and effective application:
- Prepare the area: Clear away any mulch or debris from the soil surface to ensure direct contact with the amendment.
- Distribute evenly: Use a handheld spreader or a scoop to distribute the product uniformly across the garden bed. Avoid dumping large piles in one spot, as this can create localized “hot spots” that may harm sensitive root systems.
- Incorporate: Using a hand cultivator or garden rake, gently mix the amendment into the top 4 to 6 inches of soil. This depth is where the majority of feeder roots reside, ensuring the material reaches the active root zone.
- Water thoroughly: Immediately after mixing, water the area deeply. Moisture is essential to trigger the chemical reaction that lowers the soil pH. A slow, steady soak is better than a heavy blast, as it prevents the product from washing away.
Always wear gloves and protective eyewear when handling soil amendments, especially powdered products, to avoid skin and eye irritation. If you are treating a large area, consider applying the amendment in two passes—moving in perpendicular directions—to ensure total coverage.
Keep in mind that soil acidification is a gradual process. It can take several weeks or even months for the pH to shift significantly. Avoid the temptation to apply extra product if you do not see immediate results; re-test your soil in three to six months to determine if further adjustments are necessary. Patience is key to maintaining a healthy, balanced growing environment for your acid-loving plants.

Follow-Up Care and Common Questions
Adjusting soil pH is rarely a permanent solution. Because soil chemistry is dynamic, your garden will naturally drift back toward its original alkaline state over time due to irrigation, rainfall, and the natural decomposition of organic matter. To maintain the ideal environment for your acid-loving plants, consistency is key.
Plan to retest your soil every six to twelve months using a reliable soil testing kit or a professional laboratory analysis. This routine monitoring allows you to make minor, proactive adjustments before your plants show signs of stress, such as yellowing leaves or stunted growth.
If you have applied amendments but do not see improvements in plant health after a full growing season, do not simply add more acidifying agents. Excessive application can lead to salt buildup or nutrient toxicity, which may damage your plants further. Instead, take a step back and consider these troubleshooting steps:
- Verify Drainage: Ensure your garden beds have adequate drainage. Waterlogged soil can cause root rot, which often mimics the symptoms of nutrient deficiency.
- Check for Nutrient Deficiencies: Sometimes, plants struggle because they lack specific micronutrients like iron or magnesium, rather than because of pH issues. A comprehensive soil test will clarify if your soil is deficient in these areas.
- Consult Local Experts: Reach out to your local university extension office or a certified master gardener. These professionals understand the specific soil profiles and common gardening challenges in your region and can provide tailored advice based on your local climate.
Gardening is an iterative process of observation and adjustment. By tracking your soil’s pH trends over time and seeking expert guidance when results fall short of expectations, you can create a thriving, healthy garden environment. Remember that healthy soil is the foundation of plant vitality; patience and careful observation will always yield better results than rapid, reactive changes to your soil chemistry.

Dedicated team of gardening enthusiasts with years of hands-on experience testing lawn mowers, gardening tools, and outdoor equipment. We help home gardeners and professionals alike make informed buying decisions with honest, thorough reviews. From push mowers to pruning shears, we test it all so you don’t have to. Got a gardening tool you’d like us to review? Get in touch!