
Gardenias are acid-loving plants that require a specific soil pH to thrive and absorb nutrients. If your gardenias have yellowing leaves or are failing to bloom, your soil may be too alkaline. This guide explains how to safely test your soil and lower its pH to create the perfect environment for your gardenias.
Achieving the ideal acidity is a gradual process that requires patience and precision. While many store-bought amendments promise instant results, aggressive adjustments can often shock delicate root systems or cause nutrient imbalances. Understanding your current soil composition is the essential first step toward ensuring your shrubs remain healthy, vibrant, and ready to produce fragrant blossoms.
In the following sections, we will walk you through the most effective methods for acidifying your garden soil using organic and synthetic options. You will learn how to interpret test results, apply sulfur or peat moss correctly, and maintain the long-term balance your gardenias need. Follow these practical steps to transform your garden into a lush, thriving sanctuary.

Why Gardenias Need Acidic Soil
Gardenias are acid-loving plants that thrive best when planted in soil with a pH between 5.0 and 6.0. This specific range is critical because it dictates how effectively the plant can access nutrients from the ground. If your soil pH rises above 6.0, it becomes alkaline, which chemically locks essential nutrients—most notably iron—inside the soil particles.
When a gardenia cannot absorb iron, it develops a condition known as iron chlorosis. This is easily identified by the appearance of the foliage: the leaves turn a pale, sickly yellow while the veins remain a stark, vibrant green. If left uncorrected, the plant will struggle to photosynthesize, leading to stunted growth, fewer blooms, and eventual decline.
Before you attempt to lower your soil pH, you must perform a soil test. Guessing the pH level or applying acidifying amendments without data can be counterproductive and potentially harmful to your gardenia’s root system. Over-acidifying soil can cause nutrient toxicity or burn delicate roots, making recovery difficult.
To get started safely, follow these steps:
- Purchase a home testing kit: These are widely available at garden centers and provide a reliable baseline for your soil’s current state.
- Follow sampling instructions: Collect soil from the root zone—about 4 to 6 inches deep—rather than just the surface layer.
- Analyze the results: Only proceed with amendments if your test confirms that your pH is consistently above 6.0.
Think of a soil test as a roadmap for your garden. By confirming your starting point, you ensure that any adjustments you make are precise, safe, and tailored to the specific needs of your gardenias. Once you have an accurate reading, you can confidently choose the right amendment to bring your soil back into the ideal range for lush, dark green foliage and fragrant, healthy flowers.
How to Test Your Garden Soil pH
Before you attempt to lower your soil pH for gardenias, you must establish your current baseline. Gardenias thrive in acidic conditions, typically between 5.0 and 6.0. Testing ensures you apply the correct amount of soil amendments without over-acidifying your garden beds.
You can use a simple home soil test kit with chemical reagents or a digital pH meter. While digital meters offer convenience, chemical kits are often more reliable for long-term accuracy. Regardless of the tool, the collection method is the most critical step in obtaining a precise reading.
Follow these steps to collect a representative sample:
- Clear the area: Use a trowel to scrape away any surface mulch, leaf litter, or decorative stones. These materials can skew your results if they mix with the soil sample.
- Target the root zone: Gardenias are sensitive to their immediate environment. Dig your sample from the root zone, located approximately 4 to 6 inches deep. Avoid taking surface soil, as it does not accurately reflect the conditions surrounding the plant’s primary feeder roots.
- Prepare the sample: Remove any large rocks, sticks, or organic debris from the soil. If using a chemical test kit, place the soil into the provided container and add the testing solution according to the manufacturer’s instructions.
- Use a clean tool: Always use a clean stainless steel or plastic trowel. Residue from previous fertilizers or lime on your tools can contaminate the sample and produce a false reading.
If you are testing a large area, take samples from three or four different spots around the drip line of your gardenia and mix them together to create a composite sample. This provides a more accurate average of the soil pH across the entire root system. Once you have your reading, you will know exactly how much sulfur or other acidifying agents are required to create the perfect environment for your gardenias to bloom.
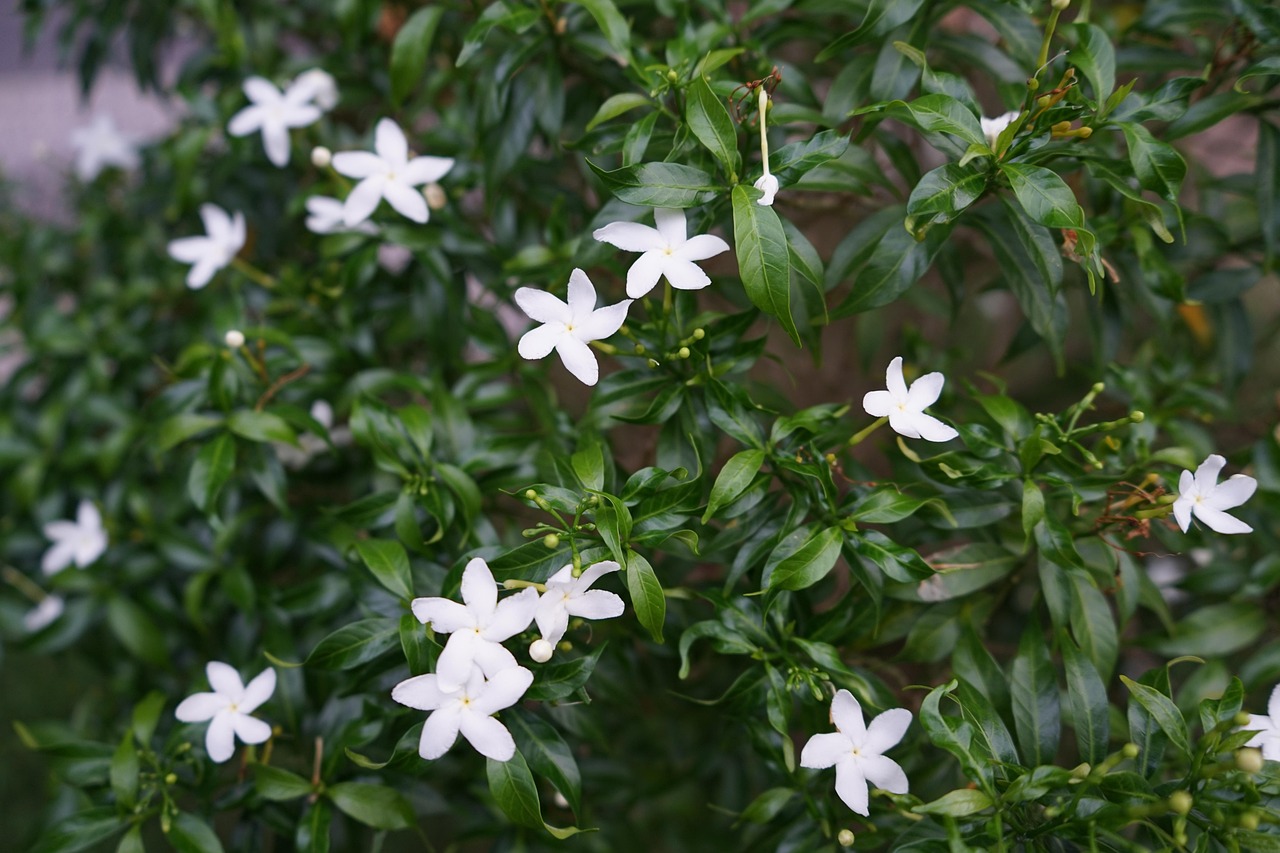
Safe Methods to Lower Soil pH
To successfully acidify soil for gardenias, you must choose the right amendment. Gardenias thrive in soil with a pH between 5.0 and 6.0. If your soil test indicates a higher pH, you can lower it using either elemental sulfur or aluminum sulfate.
Elemental sulfur is the industry-preferred choice for home gardeners. While it works more slowly than other options—often taking several months to fully integrate—it provides a safer, more stable, and longer-lasting change to your soil chemistry. Because it relies on soil bacteria to convert the sulfur into sulfuric acid, it is less likely to cause sudden, harmful spikes in acidity that can shock plant roots.
Aluminum sulfate acts much faster, providing an almost immediate pH drop. However, it carries a higher risk of toxicity. Excessive use can lead to a buildup of aluminum in the soil, which may damage gardenia roots and inhibit nutrient uptake. For most home gardens, elemental sulfur is the superior, lower-risk investment.
Regardless of the product you choose, safety is paramount when handling powdered soil amendments. Follow these precautions to protect yourself and your household:
- Wear Personal Protective Equipment: Always wear chemical-resistant gloves, safety glasses, and a dust mask. Powdered sulfur and aluminum sulfate can cause significant skin irritation and respiratory discomfort if inhaled.
- Apply Carefully: Work on a calm, windless day to prevent the dust from blowing into your face or onto neighboring plants.
- Secure Storage: Keep all amendments in their original, tightly sealed containers. Store them in a cool, dry place that is completely inaccessible to children and pets.
- Wash Up: Thoroughly wash your hands and any exposed skin with soap and water immediately after application.
Always follow the application rates listed on the product label based on your soil type. Sandy soils require less amendment than clay soils to achieve the same pH shift. When in doubt, apply less than you think you need; you can always add more in the next season, but reversing over-acidification is difficult.
Step-by-Step Application and Soil Incorporation
Proper application is critical when adjusting soil pH for gardenias. To achieve the best results without harming your plants, focus your efforts on the drip line—the area directly beneath the outer edge of the plant’s canopy where the feeder roots are most active. Avoid placing amendments directly against the main stem or crown, as concentrated chemicals can cause severe tissue burn.
Follow these steps to safely incorporate your chosen acidifying agent, such as elemental sulfur or agricultural-grade soil acidifier:
- Measure the correct dosage based on your specific soil test results and the product manufacturer’s instructions.
- Spread the amendment evenly in a ring around the plant, staying well clear of the stems.
- Use a hand trowel or a small cultivator to gently work the amendment into the top two to three inches of soil.
- Be careful to avoid deep digging, which can damage the shallow, sensitive root system typical of gardenias.
Once the amendment is incorporated, water the area thoroughly. This step is non-negotiable for two reasons. First, moisture is required to trigger the chemical reaction that lowers the soil pH. Second, watering dilutes the concentration of the amendment, ensuring it reaches the root zone gradually rather than in a harsh, localized burst that could shock the plant.
If you are applying a granular product, ensure the soil is moist before you begin. If the ground is exceptionally dry, water the gardenia lightly before application to prevent the roots from absorbing the concentrated amendment too quickly. After you have finished watering, you may apply a fresh layer of organic mulch, such as pine bark or needles, to help maintain consistent soil moisture and further support the acidic environment gardenias crave. Monitor your plant over the following weeks; while soil chemistry changes take time, healthy, dark green foliage is the best indicator that your gardenia is responding well to the treatment.

Ongoing Care and Monitoring
Adjusting soil pH is a gradual process rather than an overnight fix. After applying soil acidifiers like elemental sulfur or aluminum sulfate, it typically takes several weeks to months for the chemical reactions to fully alter the soil chemistry. Avoid the temptation to apply additional treatments prematurely, as rapid, drastic shifts in pH can shock your gardenias, leading to leaf drop or stunted growth.
Consistency is key to maintaining the ideal environment for acid-loving plants. You should re-test your soil pH every three to six months to monitor progress. This prevents over-correction and ensures your gardenia remains in its preferred range of 5.0 to 6.0.
To support long-term acidity, integrate organic materials into your routine. These amendments break down slowly, providing a stable, acidic environment over time:
- Pine Needles: Excellent as a top dressing; as they decompose, they naturally lower the pH of the surface soil.
- Sphagnum Peat Moss: Mixing this into the top few inches of soil around the base helps retain moisture and acidity.
- Composted Oak Leaves: These contribute to a healthy, acidic soil structure when used as mulch.
If you have diligently followed these steps and your soil remains stubbornly alkaline, your local environment may have high levels of limestone or mineral deposits that are difficult to overcome with standard amendments. In these cases, it is wise to consult your local university cooperative extension office. They can provide professional soil analysis and region-specific advice, such as recommending localized raised beds or containers if the native soil composition is fundamentally incompatible with gardenias.
Remember that gardenias thrive on stability. By focusing on slow, incremental adjustments and using organic mulches, you create a sustainable foundation that supports vibrant, dark green foliage and healthy blooms season after season. Patience is your most effective tool in the garden; let the soil chemistry settle before making further interventions.

Dedicated team of gardening enthusiasts with years of hands-on experience testing lawn mowers, gardening tools, and outdoor equipment. We help home gardeners and professionals alike make informed buying decisions with honest, thorough reviews. From push mowers to pruning shears, we test it all so you don’t have to. Got a gardening tool you’d like us to review? Get in touch!