
To acidify potting soil, you should incorporate elemental sulfur or organic amendments like peat moss into your container mix. These additives gradually lower the pH, creating the ideal environment for acid-loving plants to thrive. By adjusting your soil chemistry, you can ensure your favorite greenery absorbs essential nutrients efficiently for vibrant, healthy growth.
Achieving the perfect soil acidity is a gradual process rather than an overnight fix. It requires patience and consistent monitoring to avoid over-correcting, which can harm delicate root systems. Understanding your starting pH level is crucial, as different potting media react differently to amendments. Realistic expectations will help you successfully cultivate thriving, lush containers.
This guide provides practical, step-by-step methods to safely lower your container soil’s pH for plants like blueberries, azaleas, and hydrangeas. We cover effective amendment techniques, essential safety precautions for handling materials, and reliable ways to monitor soil health over time. Follow these expert tips to master soil management and achieve long-term gardening success.

Understanding Soil pH and Why It Matters
Soil pH is a measure of the acidity or alkalinity of your potting mix, measured on a scale from 0 to 14. A pH of 7.0 is neutral, while anything below 7.0 is acidic and anything above 7.0 is alkaline. Most common houseplants and garden vegetables prefer a slightly acidic range between 6.0 and 6.8, which allows them to efficiently absorb essential nutrients.
Acid-loving plants—such as blueberries, azaleas, gardenias, and hydrangeas—require a lower pH, typically between 4.5 and 5.5. When these plants are grown in neutral or alkaline potting soil, they struggle significantly. In high-pH environments, the chemical structure of the soil binds tightly to essential micronutrients like iron, manganese, and phosphorus. Even if these nutrients are present in the soil, the plant cannot “unlock” or absorb them, leading to stunted growth, yellowing leaves (chlorosis), and eventual decline.
Before you attempt to lower your soil pH, you must test it. Guessing can lead to over-correction, which is far more damaging than a slightly off-balance pH. Adding too much acidifying agent can cause a rapid pH drop, triggering nutrient lockout or chemical root burn. Always follow these steps to ensure plant safety:
- Use a reliable test: Invest in a digital pH meter or a chemical soil test kit from a garden center to get an accurate baseline reading.
- Test the runoff: For potting soil, testing the water that drains from the bottom of the pot often provides a more accurate reading of the root zone than testing the dry mix alone.
- Adjust gradually: Never attempt to shift the pH by more than 0.5 to 1.0 points at a time. Rapid changes shock the plant’s root system.
- Re-test: Wait at least two weeks after applying any amendment before testing again. This allows the product to fully integrate and react with the soil chemistry.
By taking a measured, scientific approach, you can create the perfect environment for your acid-loving plants to thrive without risking unnecessary stress or nutrient deficiencies.
Safe Methods for Lowering Soil pH
Lowering the pH of potting soil requires a gentle, measured approach. Because container environments are small and sensitive, sudden chemical spikes can burn delicate root systems. Always test your soil with a digital pH meter or test kit before applying amendments to determine your starting baseline.
Here are the safest, most reliable methods to acidify your potting mix:
- Elemental Sulfur: This is the most effective long-term solution. Mix finely ground elemental sulfur into the top inch of soil. Because it relies on soil bacteria to convert into sulfuric acid, it works slowly—typically taking several weeks to show results. Use sparingly, as over-application can lead to toxic salt buildup.
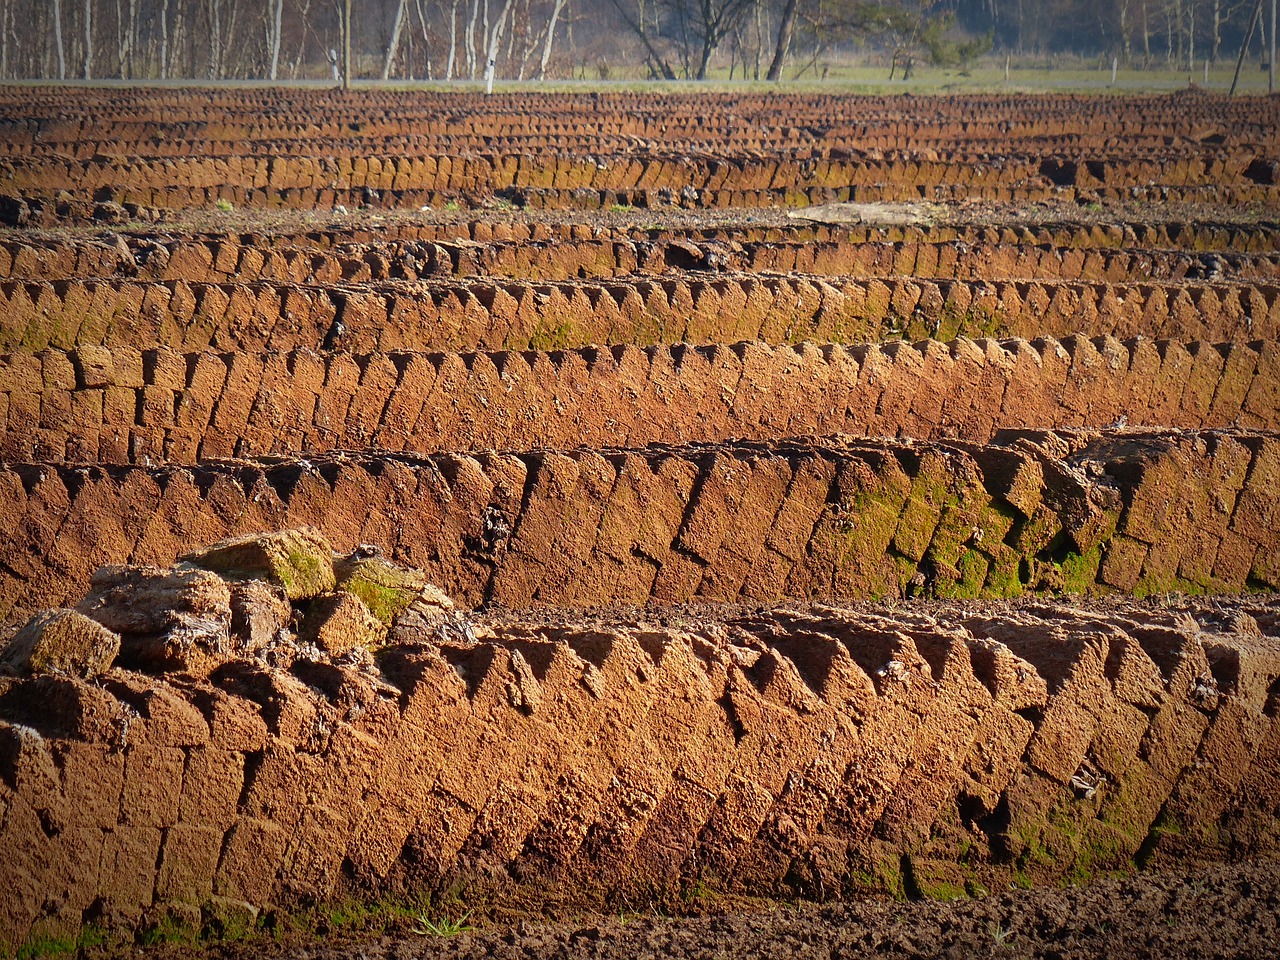
- Sphagnum Peat Moss: If you are repotting, incorporate a high-quality sphagnum peat moss into your mix. It is naturally acidic and improves moisture retention. It is a safer, organic alternative to chemical additives for plants that prefer a slightly lower pH.
- Acid-Loving Fertilizers: Use fertilizers formulated for “acid-loving” plants like azaleas, blueberries, or hydrangeas. These products often contain ammonium sulfate or urea, which naturally lower pH over time. Follow the package instructions strictly; liquid versions are generally easier to distribute evenly than granular options.
When applying these amendments to existing containers, avoid deep tilling, which can sever established roots. Instead, gently scratch the amendments into the top layer of the soil and water thoroughly. This allows the acidic components to leach down into the root zone gradually.
Avoid using household “hacks” like vinegar or lemon juice. While these lower pH instantly, the effect is extremely short-lived and often causes severe osmotic stress, which can kill your plant. Consistency is the key to success; aim for gradual adjustments over several weeks rather than an immediate overhaul. If you notice yellowing leaves or stunted growth after treatment, flush the soil with plain, pH-neutral water to remove any excess acidity and allow the plant time to recover before attempting further adjustments.
Safety Precautions and Handling Amendments
Modifying your potting soil with acidifying agents like elemental sulfur or aluminum sulfate requires a cautious approach. While these amendments are effective for lowering pH, they are chemical compounds that demand careful handling to protect your health and maintain a safe home environment.
Always prioritize personal protective equipment (PPE) before opening any packaging. Powdered sulfur, in particular, is extremely fine and can easily become airborne. When inhaled, these particles can irritate your respiratory tract, while direct skin contact may lead to dryness or irritation. To minimize these risks, follow these essential safety guidelines:
- Wear gloves: Use nitrile or heavy-duty garden gloves to prevent direct skin contact with concentrated amendments.
- Use a dust mask: A standard N95 mask or a dedicated respirator is necessary when measuring or mixing powdered sulfur to avoid inhaling fine dust.
- Work in a ventilated area: Always mix your soil amendments outdoors or in a well-ventilated garage to prevent the accumulation of airborne particles.
- Avoid eye contact: Wear safety glasses if you are prone to splashing or if you are working in windy conditions.
Proper storage is equally critical for household safety. Keep all soil amendments in their original, clearly labeled containers. Store these products in a cool, dry place that is completely inaccessible to children and pets. If a container is damaged, transfer the contents to a heavy-duty, airtight plastic bin and ensure it is marked clearly with the product name.
Finally, maintain strict hygiene standards after every gardening session. Even when wearing gloves, microscopic residue can remain on your hands or under your fingernails. Always wash your hands thoroughly with soap and warm water immediately after handling soil additives, before touching your face, eating, or moving on to other household tasks. If you accidentally spill concentrated amendments on your skin, rinse the area immediately with plenty of water to prevent irritation. By treating these amendments with respect, you can safely achieve the ideal soil acidity for your acid-loving plants.
Step-by-Step Application Process
Amending potting soil requires precision to avoid shocking your plants. Because containers have limited volume, concentrated additives can quickly alter pH levels beyond the safe range. Always start by testing your soil with a digital meter to determine your current baseline before adding any acidifying agents like elemental sulfur or peat moss.
When applying amendments to existing containers, follow this methodical approach:
- Calculate your ratio: Follow the manufacturer’s instructions strictly. For elemental sulfur, a common starting point is one teaspoon per gallon of soil volume, but this varies based on the product’s concentration.
- Distribute evenly: Gently scratch the amendment into the top two inches of soil using a hand trowel. Avoid digging too deeply, as you risk damaging the fine root hairs near the surface.
- Incorporate thoroughly: Ensure the additive is well-mixed with the existing substrate to prevent “hot spots” of high acidity that could cause chemical burns on sensitive roots.
Once the amendment is incorporated, immediate watering is essential. Irrigation acts as the delivery mechanism, dissolving the particles and distributing the acidity throughout the root zone. Use enough water to ensure it drains slightly from the bottom of the pot, which helps stabilize the new pH level.
Monitor your plants closely over the next two weeks. If you notice yellowing leaf margins or wilting, you may have over-applied the amendment. Remember that acidification is a gradual process; it is far safer to make small, incremental adjustments over several weeks than to attempt a drastic pH shift in a single application. If the soil remains too alkaline, wait at least four weeks before adding another small dose. This patience protects your plants from root toxicity and ensures a steady transition rather than a sudden, damaging chemical spike. Always keep a log of how much you added and when, as this data will help you fine-tune your care routine for future seasons.
Monitoring Progress and Troubleshooting
After applying an acidifying agent, patience is essential. Wait at least three to four weeks before re-testing your soil pH. This duration allows the amendments to break down and integrate fully into the potting medium. Use a reliable digital pH meter or a chemical test kit to track your progress; consistency in testing methods ensures accurate comparisons.
If the pH remains higher than your target range, you may need a second application. However, avoid aggressive, frequent treatments. Over-acidifying can lead to rapid nutrient lockout, where the soil becomes too toxic for roots to absorb essential minerals. Generally, aim for incremental adjustments rather than drastic shifts.
Distinguishing between nutrient deficiencies and pH issues can be tricky, as both often manifest as yellowing leaves (chlorosis). If your plant shows signs of distress despite regular fertilization, check the pH first. If the pH is within the correct range for your specific plant, the issue is likely a genuine lack of nutrients or poor drainage. If the pH is off, the plant is likely suffering from “locked out” nutrients that are present in the soil but chemically unavailable for uptake.
Sometimes, corrective measures are not the most practical solution. Consider repotting with a fresh, pre-formulated acidic potting mix if:
- The current soil has become compacted, hindering aeration and water flow.
- The pH level is consistently fluctuating despite your best efforts.
- The plant has been in the same container for over two years, leading to soil exhaustion.
- You have accidentally over-applied fertilizers, resulting in a buildup of salts that simple acidification cannot resolve.
Starting fresh with a high-quality, peat-based or composted pine bark mix specifically labeled for acid-loving plants is often safer and more effective than attempting to balance degraded soil. This provides your plants with a stable, nutrient-rich foundation, reducing the need for ongoing chemical intervention and promoting long-term root health.

Dedicated team of gardening enthusiasts with years of hands-on experience testing lawn mowers, gardening tools, and outdoor equipment. We help home gardeners and professionals alike make informed buying decisions with honest, thorough reviews. From push mowers to pruning shears, we test it all so you don’t have to. Got a gardening tool you’d like us to review? Get in touch!