
To plant an amaryllis bulb indoors, choose a pot just slightly larger than the bulb and fill it with well-draining potting mix. Leave the top third of the bulb exposed above the soil line to prevent rot while encouraging healthy root development in your warm, bright indoor space.
Growing amaryllis indoors is a rewarding way to bring vibrant color into your home during the winter months. While these plants are relatively easy to manage, they require patience and consistent light to thrive. Understanding their specific dormant and active growth cycles is essential for achieving those spectacular, trumpet-shaped seasonal blooms.
This guide explains the step-by-step process of potting, watering, and caring for your bulb to ensure a successful bloom. We will cover everything from selecting the right container to managing light exposure and moisture levels. Follow these practical tips to enjoy stunning flowers that brighten even the coldest, darkest days of the year.

Selecting the Right Bulb and Pot
The success of your indoor amaryllis begins with the quality of the bulb you select. When shopping, look for the largest, firmest bulb available. A healthy bulb should feel heavy for its size and be completely free of mold, mushy areas, or discolored soft spots. Avoid any bulbs that show signs of damage to the outer papery skin or the basal plate, which is the flat, root-bearing area at the bottom.
Once you have your bulb, choosing the correct container is essential for blooming. Amaryllis plants actually perform better when they are slightly root-bound. If the pot is too large, the soil will hold excess moisture, which can lead to bulb rot before the plant has a chance to establish itself.
Follow these guidelines to select the perfect home for your bulb:
- Diameter: Choose a pot that is only one to two inches wider in diameter than the bulb itself. This leaves just enough room for soil around the sides without creating a waterlogged environment.
- Drainage: Ensure the pot has adequate drainage holes at the bottom. Amaryllis bulbs are highly susceptible to rot; if water cannot escape freely, the roots will quickly deteriorate.
- Material: While plastic, ceramic, and terracotta are all acceptable, consider the weight of the pot. Because amaryllis produce tall, heavy flower stalks, a heavy ceramic or clay pot provides better stability and prevents the plant from tipping over once it begins to bloom.
If you choose a decorative cachepot without drainage holes, place the bulb in a standard plastic nursery pot first. You can then set the plastic pot inside the decorative container. This setup allows you to easily remove the plant for watering, ensuring that no standing water remains trapped at the base of the bulb. Taking these simple steps during the selection process creates the ideal foundation for a vibrant, long-lasting display.
Preparing the Potting Medium
The foundation of a healthy amaryllis begins with the right environment. Choose a high-quality, well-draining indoor potting mix rather than garden soil, which can compact and harbor pests. A peat-based or coco-coir mix with added perlite is ideal, as it retains necessary moisture while allowing excess water to escape, preventing the bulb from rotting.
Before you begin, prioritize safety by wearing gardening gloves. Amaryllis bulbs contain calcium oxalate crystals in their sap, which can cause skin irritation or rashes upon contact. Protecting your hands ensures a comfortable and safe planting experience.
To prepare your container, follow these steps:
- Select a pot that is only one to two inches wider than the diameter of the bulb. Amaryllis prefer a snug fit, which helps manage moisture levels effectively.
- Ensure the pot has at least one large drainage hole at the bottom.
- Fill the bottom of the pot with your potting mix until the level is high enough that, when the bulb is placed on top, the upper third of the bulb remains exposed above the rim of the pot.
- Place the bulb firmly on the soil, ensuring the roots are spread downward.
Positioning the bulb correctly is critical. If you bury the entire bulb, the neck and nose are prone to fungal decay. By keeping the top third exposed, you allow the bulb to breathe and ensure that moisture does not collect around the growing point. Once positioned, gently fill in the sides with more soil, pressing down lightly to remove large air pockets. Do not pack the soil too tightly, as the roots need loose, aerated medium to establish themselves quickly. After planting, give the soil a light watering to settle the medium around the base of the bulb, ensuring the soil remains damp but never waterlogged throughout the initial growing phase.
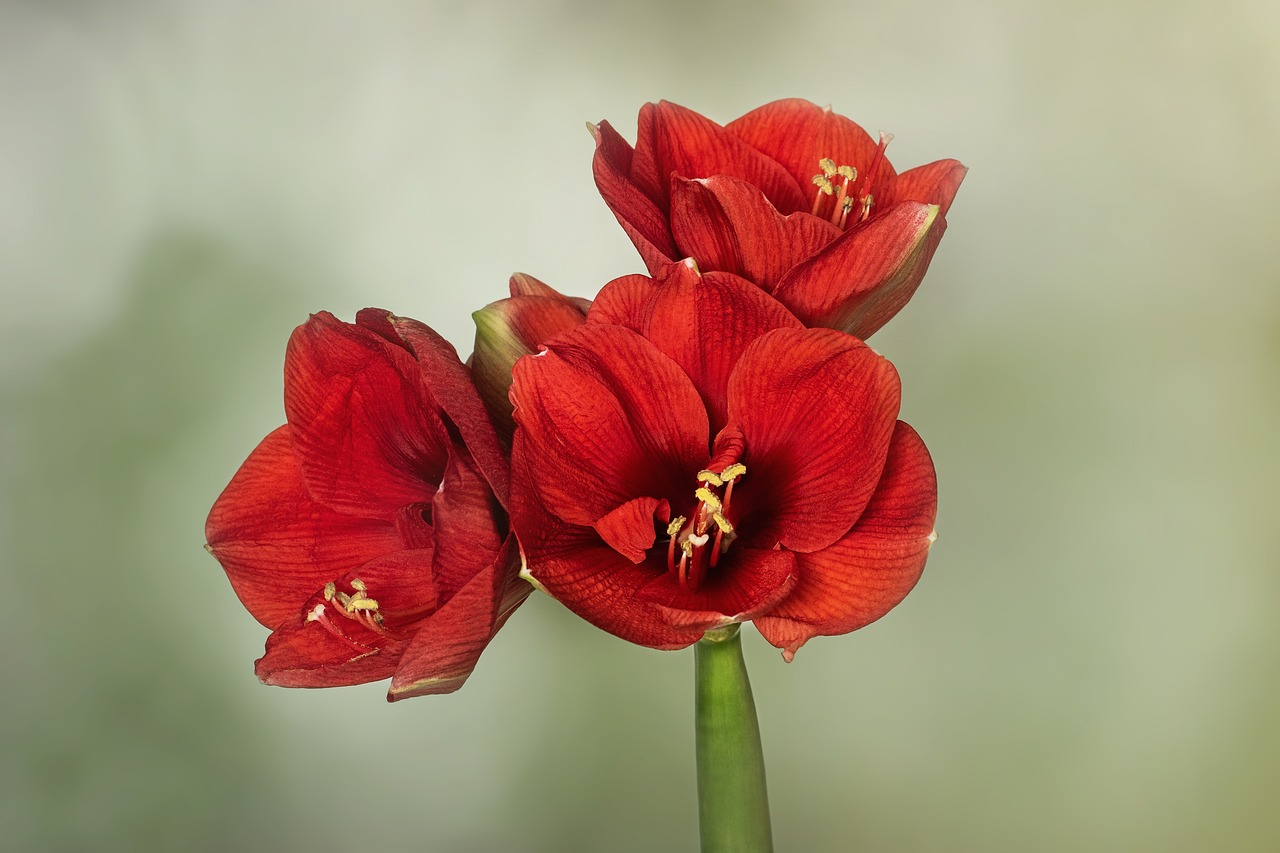
Planting Your Amaryllis Bulb
Before planting, inspect the bulb carefully. If you notice any excessively long or shriveled, dried roots, trim them back using clean, sharp garden shears. Always handle your tools with caution, ensuring your fingers remain well clear of the blade path to prevent accidental injury.
To plant your amaryllis, follow these steps:
- Select a pot that is only one to two inches wider in diameter than the bulb itself. Ensure the container has adequate drainage holes at the bottom.
- Fill the bottom of the pot with a high-quality, well-draining potting mix.
- Place the bulb in the center of the pot with the root plate facing downward.
- Gently fill the space around the bulb with additional soil.
As you add the potting mix, ensure the top third of the bulb remains exposed above the soil line. Covering the entire bulb can lead to rot, especially if the soil stays too damp. Once the bulb is positioned, press down lightly on the soil with your fingers to secure it in place and remove any large air pockets. Avoid packing the soil too tightly, as the roots need a loose environment to expand and breathe.
After planting, water the soil sparingly to settle the mix around the roots. Do not saturate the bulb, as it requires very little moisture until you see active green growth emerging from the top. Place your pot in a warm, sunny location, such as a south-facing windowsill, to encourage healthy development. If the bulb feels firm and the soil is well-draining, your amaryllis is perfectly positioned to begin its growth cycle.
Monitor the soil moisture regularly. Only water again when the surface feels dry to the touch. By keeping the bulb stable and the surrounding soil aerated, you create the ideal foundation for the impressive, trumpet-shaped blooms that make amaryllis a favorite for indoor winter gardening.
Initial Placement and Watering
Once you have nestled your amaryllis bulb into its pot, the immediate goal is to encourage root development without inviting decay. Start by watering the soil lightly. The objective is to settle the potting medium around the bulb rather than saturating it.
Precision is vital during this first watering. Direct the water toward the soil surrounding the bulb, taking great care to keep the neck and the top of the bulb dry. If water pools in the crevices of the bulb’s neck, it can quickly lead to fungal issues or rot, which will compromise the plant’s health before it even begins to grow.
After the initial watering, place your pot in a location that meets these specific environmental requirements:
- Temperature: Choose a warm spot, ideally between 68°F and 75°F (20°C–24°C). Consistent warmth is a primary trigger for waking the bulb from dormancy.
- Light: Position the pot where it will receive bright, indirect sunlight. While amaryllis bulbs eventually crave direct sun, intense rays hitting a dormant bulb can cause the soil to dry out too quickly or overheat the container.
Patience is your best tool during this phase. It is crucial to resist the urge to water frequently while the bulb is dormant. Excess moisture in the absence of active foliage is the most common cause of bulb failure. Check the soil moisture periodically by inserting your finger about an inch deep; only provide a small amount of water if the soil feels completely dry to the touch.
Continue this careful, sparing routine until you see the first signs of green growth emerging from the top of the bulb. Once you spot that initial shoot, the plant has successfully established its roots, and you can gradually transition to a more regular watering schedule as the foliage and flower stalk begin their rapid ascent.

Ongoing Care and Common Questions
Once you see the first signs of green growth emerging from your amaryllis bulb, transition the pot to a bright, sunny location. A south-facing window is ideal, as the plant requires plenty of indirect light to develop strong, healthy stems and vibrant blooms. Rotate the pot every few days to ensure the stalk grows straight rather than leaning toward the light.
Watering is the most critical aspect of ongoing care. Check the soil moisture regularly by pressing your finger about an inch into the potting mix. If it feels dry, provide a moderate amount of water. Aim for consistent moisture, but never let the bulb sit in standing water, as this leads to root rot.
If you notice the following signs, adjust your care routine immediately:
- Top-heavy stalks: Amaryllis blooms can become quite large and heavy. If the stem begins to tilt, insert a slender bamboo stake into the soil near the bulb and loosely tie the stalk to it with soft twine for support.
- Soft or mushy bulbs: This is a common symptom of overwatering. If the bulb feels squishy or emits an unpleasant odor, stop watering immediately and allow the soil to dry out completely. If the rot is advanced, you may need to repot the bulb in fresh, well-draining soil.
Safety is a priority when keeping indoor plants. It is vital to keep your amaryllis out of reach of curious cats, dogs, or small children. All parts of the amaryllis plant, particularly the bulb, contain alkaloids that are toxic if ingested. If you suspect a pet has chewed on or consumed any part of the plant, contact your veterinarian immediately.
By monitoring the soil moisture and providing adequate light, you can enjoy the spectacular, trumpet-shaped flowers for several weeks. Once the blooms fade, you can choose to discard the bulb or continue caring for the foliage to encourage a repeat performance next year.

Dedicated team of gardening enthusiasts with years of hands-on experience testing lawn mowers, gardening tools, and outdoor equipment. We help home gardeners and professionals alike make informed buying decisions with honest, thorough reviews. From push mowers to pruning shears, we test it all so you don’t have to. Got a gardening tool you’d like us to review? Get in touch!