
To grow hydrangeas successfully, you must plant them in a location that receives morning sun and afternoon shade while ensuring the soil remains consistently moist and well-draining. These shrubs thrive when provided with nutrient-rich organic matter and regular deep watering, especially during the hot summer months, to support their signature voluminous, stunning blooms.
While hydrangeas are beloved for their ability to transform garden spaces, they are not entirely maintenance-free. Achieving those iconic, vibrant flowers requires patience and an understanding of specific local environmental conditions. By setting realistic expectations regarding soil pH and seasonal pruning, you can avoid common pitfalls and keep your garden looking healthy year-round.
This comprehensive guide covers the essential steps for planting and maintaining healthy hydrangeas in your backyard. We will walk you through the specific light, soil, and watering requirements needed for these plants to truly thrive. Follow these practical tips to master the art of hydrangea care and enjoy spectacular floral displays every single season.
Selecting the Right Hydrangea for Your Garden
Before you purchase a hydrangea, you must identify your USDA hardiness zone. Hydrangeas are not one-size-fits-all; a variety that thrives in the cool, moist climate of the Pacific Northwest may struggle in the intense heat of the South. Choosing a plant bred for your specific regional conditions is the most important step toward ensuring long-term success.
Beyond climate, consider the specific light requirements and growth habits of the three most popular hydrangea types:
- Bigleaf Hydrangeas (Hydrangea macrophylla): Famous for their massive, colorful mophead or lacecap blooms. These prefer partial shade, specifically morning sun and afternoon protection. They are sensitive to late spring frosts, which can kill the flower buds.
- Panicle Hydrangeas (Hydrangea paniculata): These are the most sun-tolerant and cold-hardy varieties. They produce cone-shaped flowers that often transition from white to pink or bronze. They perform best with at least six hours of direct sunlight daily and are generally the easiest for beginners to maintain.
- Smooth Hydrangeas (Hydrangea arborescens): Best known for the classic ‘Annabelle’ cultivar, these produce large, globe-shaped white flowers. They are highly adaptable to various light conditions, ranging from full sun to partial shade, and bloom on new wood, making them very reliable even in colder climates.
When selecting your plant, check the tag for “bloom habit.” Some hydrangeas bloom on “old wood” (buds formed the previous summer), meaning if you prune them at the wrong time, you will lose next year’s flowers. Others bloom on “new wood,” which allows for more flexible pruning schedules. If you live in an area with harsh winters, look for varieties labeled as “reblooming” or “everblooming.” These types produce flowers on both old and new wood, providing a safety net if a late frost damages early growth. By matching the variety to your garden’s light levels and your local weather patterns, you set the stage for years of vibrant, low-maintenance blooms.
Ideal Planting Conditions and Soil Preparation
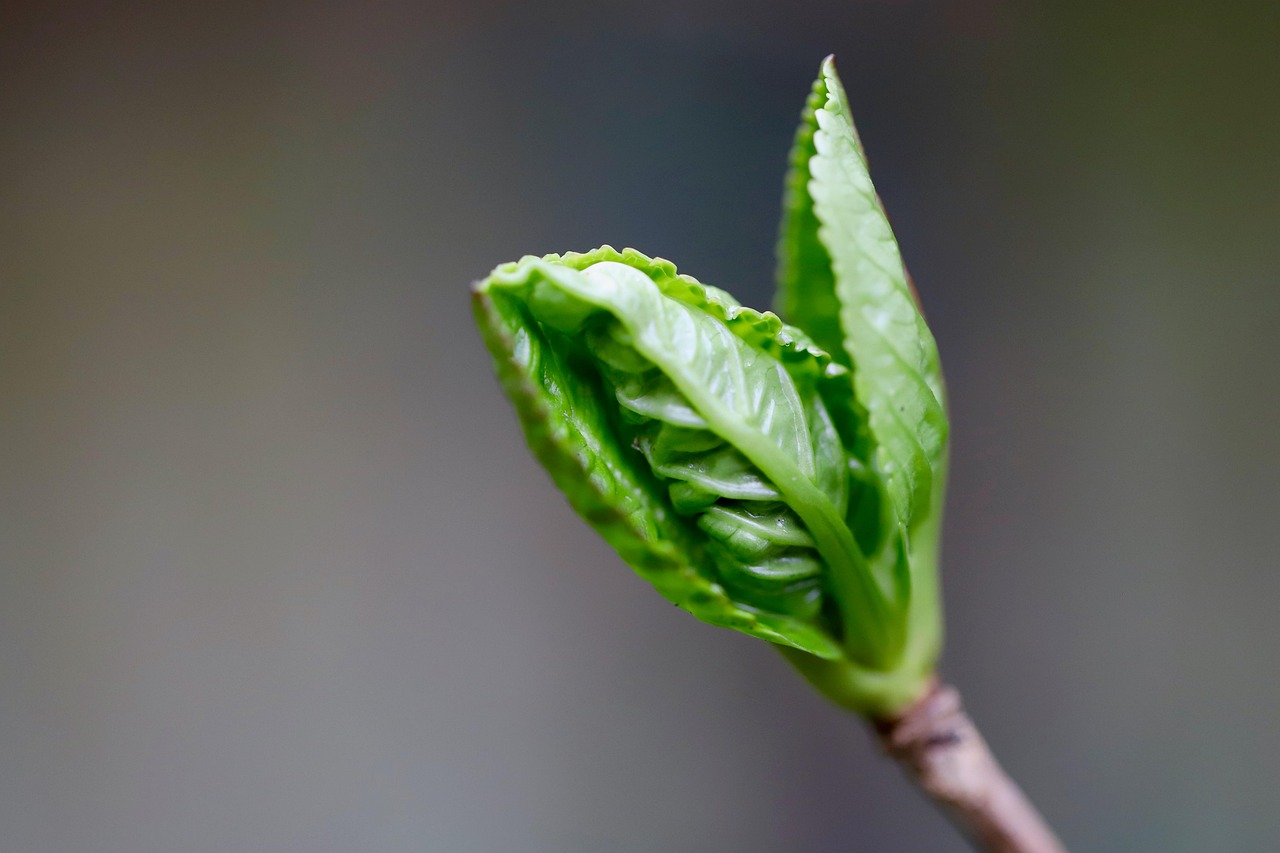
Timing is critical for establishing healthy hydrangeas. The best windows for planting are early spring, once the danger of frost has passed, or early fall, when cooler temperatures allow roots to settle before winter dormancy. Avoid planting during the heat of mid-summer, as the stress of high temperatures and intense sunlight can hinder root development.
Site selection significantly influences bloom performance. Most hydrangea varieties thrive in locations that receive morning sun and afternoon shade. Harsh, direct afternoon sun can cause leaves to wilt and flowers to scorch. Ensure your chosen spot provides adequate space for the plant to reach its mature size, as overcrowding reduces airflow and increases the risk of fungal diseases.
Soil preparation is the foundation of a thriving plant. Hydrangeas prefer moist, well-draining soil that is rich in organic matter. If your native soil is heavy clay or sandy, incorporate several inches of compost or aged manure to improve drainage and nutrient retention. Proper soil structure allows roots to breathe and prevents water from pooling around the base, which can lead to root rot.
Gardening requires physical effort, so prioritize your safety while preparing the planting site:
- Wear protective gear: Always use sturdy, well-fitting gardening gloves to prevent blisters, cuts, and exposure to soil-borne bacteria.
- Use ergonomic tools: Select shovels or spades with ergonomic handles to maintain a neutral wrist position and reduce physical load.
- Protect your back: When digging, keep your back straight and bend at the knees. Avoid twisting your torso while lifting heavy shovelfuls of soil; instead, pivot your entire body toward the target area.
- Pace yourself: Take frequent breaks to stretch and hydrate, especially when working in warmer weather.
By preparing the soil correctly and using the right tools safely, you create the ideal environment for your hydrangeas to establish a strong, resilient root system. Investing this effort upfront ensures your plants are well-positioned for years of vibrant, reliable blooms.
Watering and Fertilization Best Practices
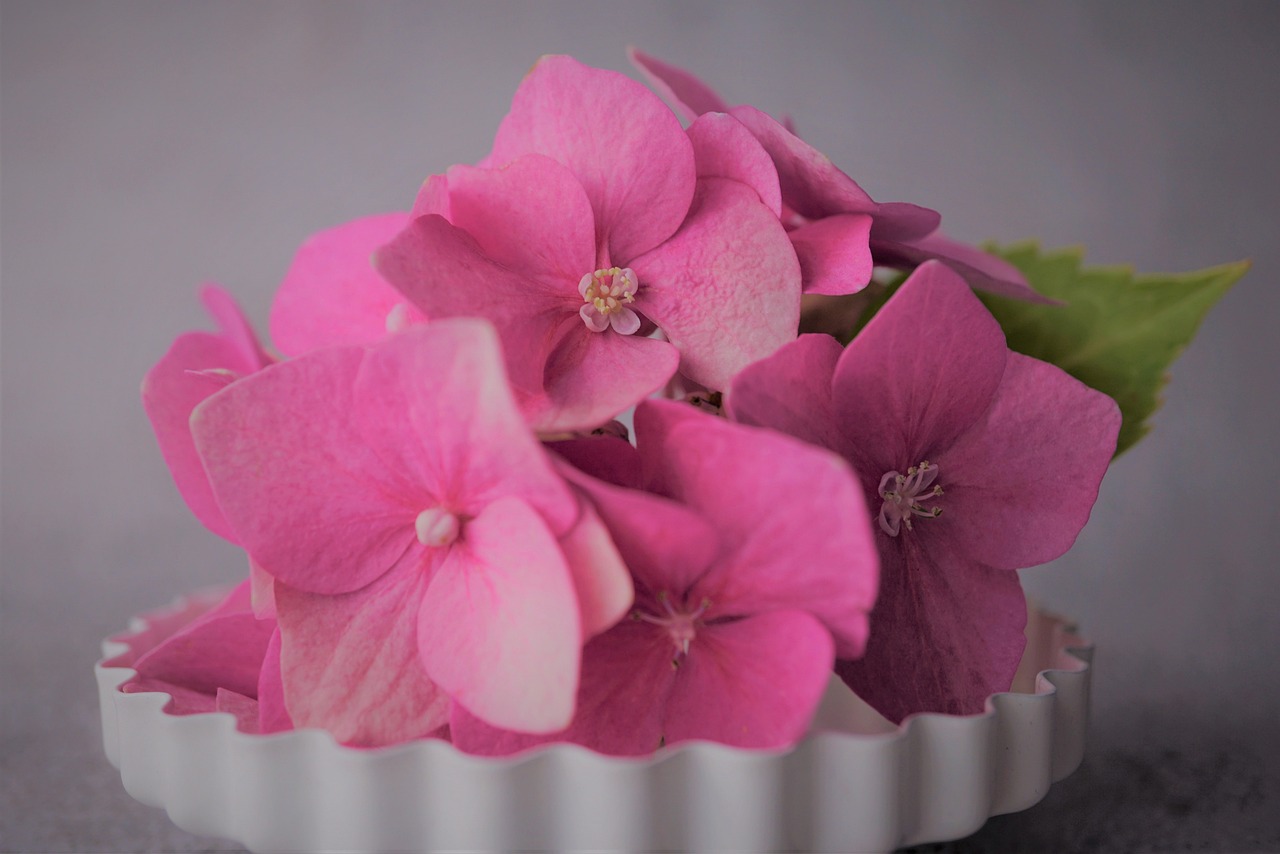
Hydrangeas are thirsty plants, but they are also sensitive to poor drainage. Their name derives from the Greek word “hydro,” meaning water, which underscores their need for consistent moisture. To keep your hydrangeas healthy, aim to provide about one inch of water per week. During hot, dry spells, you may need to increase this frequency to prevent the leaves from wilting.
Always water at the base of the plant rather than overhead. Wet foliage can encourage fungal diseases like powdery mildew. Ensure the soil remains consistently damp, but never waterlogged; if the roots sit in standing water, they will begin to rot, which can quickly kill the shrub.
Proper fertilization is equally important for lush foliage and abundant blooms. Follow these guidelines to feed your hydrangeas effectively:
- Timing: Apply fertilizer only once in early spring, just as the new growth begins to emerge. Avoid fertilizing in late summer or fall, as this encourages tender growth that will likely be killed by the first frost.
- Application: Use a balanced, slow-release, organic-based fertilizer. Organic options, such as composted manure or seaweed extract, improve soil health over time and provide a steady, gentle supply of nutrients.
- Moderation: Do not over-feed your plants. Excessive nitrogen promotes thick, leafy growth at the expense of flower production. If you provide too much fertilizer, you may end up with a large, green bush that produces very few blossoms.
Before applying any product, test your soil to understand its specific nutrient needs. If you are growing mophead hydrangeas (Hydrangea macrophylla), remember that soil pH significantly influences bloom color. Adding organic matter, such as pine needles or compost, is a safe way to enrich the soil structure naturally without the risk of chemical burn. By maintaining steady moisture and providing a single, thoughtful feeding in the spring, you create the ideal environment for your hydrangeas to thrive throughout the growing season.
Pruning Techniques for Healthy Growth
Understanding whether your hydrangea blooms on old wood or new wood is the most critical step in pruning. If you prune at the wrong time, you risk cutting off next year’s flower buds.
Old wood varieties, such as Bigleaf (Hydrangea macrophylla) and Oakleaf hydrangeas, set their buds in late summer for the following year. Prune these immediately after they finish flowering in mid-summer. If you wait until winter or spring, you will remove the buds and lose your blooms.
New wood varieties, like Panicle (Hydrangea paniculata) and Smooth hydrangeas (Hydrangea arborescens), bloom on growth produced during the current season. These are best pruned in late winter or early spring while the plant is still dormant, just before new growth emerges.
Safe Pruning Steps:
- Equip Yourself: Always wear safety glasses to protect your eyes from snapping branches or flying debris.
- Use the Right Tools: Use sharp, clean bypass pruners. Bypass pruners act like scissors to create a clean cut; avoid anvil pruners, which can crush stems and invite disease.
- Position Safely: Keep your fingers well clear of the blade path at all times. Grip the handle firmly and ensure your non-cutting hand is positioned away from the stem you are trimming.
- Make the Cut: Identify a healthy bud facing outward. Cut at a 45-degree angle about a quarter-inch above that bud. This directs growth away from the center of the plant, improving airflow.
- Clean Up: Remove any dead, damaged, or diseased wood first. This “sanitation pruning” keeps the plant healthy regardless of the variety.
If you are ever unsure about your specific hydrangea variety, it is safer to prune less rather than more. Simply removing dead wood is usually sufficient to maintain plant health without risking your floral display. Always wipe your blades with rubbing alcohol between plants to prevent the spread of soil-borne pathogens.
Troubleshooting Common Issues and Ongoing Care
Even with proper planting, hydrangeas can occasionally struggle. If your plant is healthy but fails to produce blooms, the most common culprit is improper pruning. Many varieties, such as Bigleaf hydrangeas, set buds on “old wood” from the previous year. If you prune these in late winter or spring, you accidentally remove the flower buds before they can open. Always research your specific cultivar to determine the correct pruning window.
Soil pH plays a fascinating role in the appearance of certain hydrangeas. If you have Hydrangea macrophylla, you can influence flower color by adjusting the soil chemistry:
- For blue flowers: Increase soil acidity by adding aluminum sulfate or elemental sulfur.
- For pink flowers: Increase alkalinity by adding garden lime.
Note that color changes do not happen overnight; it often takes an entire growing season for the plant to absorb these amendments and reflect the change in its blooms.
Pests like aphids and spider mites can occasionally appear. A gentle spray of water or an application of insecticidal soap is usually enough to manage minor infestations without harming beneficial pollinators. If you notice signs of fungal disease, such as powdery mildew or leaf spot, improve air circulation around the plant and avoid overhead watering, which keeps foliage wet.
As autumn approaches, prepare your hydrangeas for the cold. Apply a two-to-three-inch layer of organic mulch, such as shredded bark or pine straw, around the base of the plant. This insulates the root system and protects the crown from harsh winter temperature fluctuations.
While many issues can be managed at home, some problems require expert intervention. If you encounter severe structural damage, persistent wilting despite proper moisture, or widespread disease that does not respond to basic care, do not hesitate to reach out for help. Contacting a local master gardener or a certified professional arborist is the safest way to diagnose complex issues and protect the long-term health of your landscape.

Dedicated team of gardening enthusiasts with years of hands-on experience testing lawn mowers, gardening tools, and outdoor equipment. We help home gardeners and professionals alike make informed buying decisions with honest, thorough reviews. From push mowers to pruning shears, we test it all so you don’t have to. Got a gardening tool you’d like us to review? Get in touch!