
To grow a hydrangea successfully, you must plant it in a location with rich, well-draining soil and partial shade. These popular shrubs thrive when provided with consistent moisture and protection from harsh afternoon sun. By following these fundamental environmental requirements, you can easily cultivate healthy, vibrant blooms that enhance your home landscape.
Hydrangeas are beloved for their stunning, voluminous blooms and ability to transform garden spaces. While they are relatively hardy, they do require specific care regarding pruning and soil pH to maintain their best appearance. Understanding these nuances early on ensures you avoid common pitfalls and enjoy a flourishing, long-lasting garden display annually.
This guide provides practical, step-by-step instructions on selecting the right variety, planting, and maintaining your hydrangeas for years of vibrant color. We will cover essential watering techniques, ideal fertilization schedules, and simple tips for managing soil acidity. Get ready to master the art of hydrangea care with these easy-to-follow, expert-approved gardening strategies.
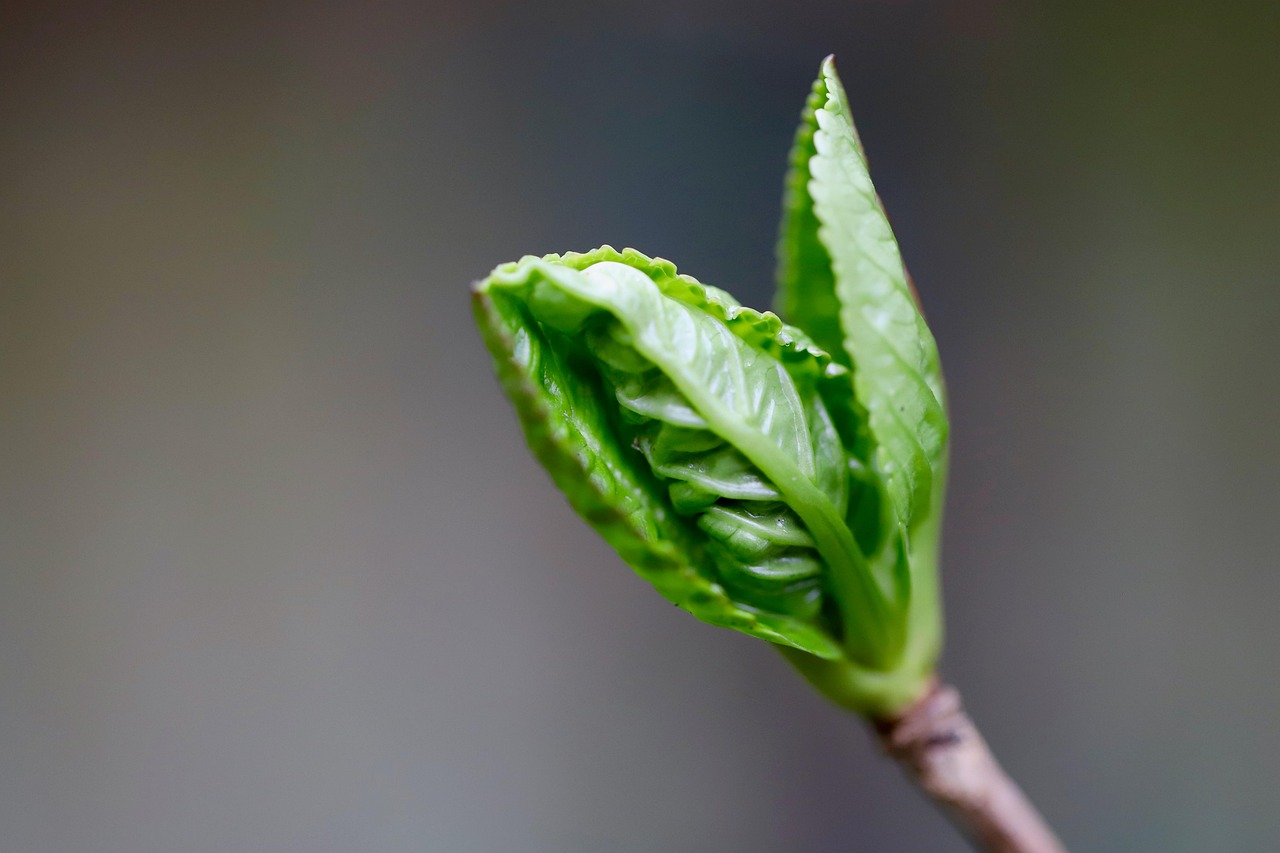
Choosing the Right Hydrangea for Your Garden
Selecting the right hydrangea starts with understanding that not all varieties perform equally in every climate. Before you purchase a shrub, identify your specific USDA hardiness zone. This map is your most reliable tool for ensuring a plant can survive your region’s winter temperatures and summer heat.
Once you know your zone, choose a variety that aligns with your local environment. Here are the three most common types and their unique growing requirements:
- Bigleaf Hydrangeas (Hydrangea macrophylla): Famous for their massive, globe-shaped blooms that shift color based on soil pH. They thrive in zones 5 through 9 and prefer morning sun with afternoon shade. They are sensitive to late spring frosts, which can damage developing buds.
- Panicle Hydrangeas (Hydrangea paniculata): These are the most cold-hardy and sun-tolerant options, often thriving in zones 3 through 8. They produce cone-shaped flowers that transition from white to pink or bronze as the season progresses. They are an excellent choice for beginners due to their robust nature.
- Smooth Hydrangeas (Hydrangea arborescens): Best known for the ‘Annabelle’ variety, these hardy shrubs perform well in zones 3 through 9. They tolerate more shade than other types and produce large, white, mophead flowers. They are highly adaptable to various soil types, though they require consistent moisture during dry spells.
When shopping, always check the plant tag for the specific variety name rather than just the general type. A tag will provide the mature size, light requirements, and specific hardiness range for that cultivar. Avoid the temptation to buy a plant simply because it looks beautiful in the garden center; if it isn’t rated for your hardiness zone, it will likely struggle to bloom or survive the winter.
By matching the hydrangea’s natural preferences to your garden’s microclimate—specifically the amount of sunlight and your local temperature extremes—you set the foundation for years of healthy, vigorous growth and reliable seasonal displays.
Selecting the Ideal Planting Spot
Choosing the right location is the most critical step in ensuring your hydrangeas thrive. While specific varieties vary, most hydrangeas perform best when they receive morning sunlight followed by afternoon shade. Harsh, direct afternoon sun can cause the large leaves to wilt and the delicate blooms to scorch, especially in warmer climates.
Before you commit to a planting site, observe your garden throughout the day. A spot that receives gentle eastern light is ideal, as it provides the energy needed for robust flowering without the intense heat of the late-day sun.
Beyond light, soil quality is paramount. Hydrangeas require soil that is rich in organic matter and, crucially, well-draining. These plants enjoy consistent moisture, but they will quickly succumb to root rot if left in standing water or heavy, compacted clay.
To ensure your chosen spot has adequate drainage, perform this simple test before digging:
- Dig a hole approximately 12 inches deep and 12 inches wide.
- Fill the hole completely with water and allow it to drain entirely.
- Fill the hole a second time and time how long it takes for the water to disappear.
If the water drains within a few hours, your soil is likely perfect. If it takes more than 12 hours for the water to empty, the area has poor drainage. In such cases, you should either select a different location or amend the soil significantly with compost, pine bark, or other organic materials to improve porosity. Alternatively, consider planting in a raised bed, which allows you to control the soil composition and ensure excess moisture can escape easily.
Finally, avoid planting your hydrangeas too close to large trees or aggressive shrubs. These established plants often have extensive root systems that will compete with your new hydrangea for both water and vital nutrients. Giving your hydrangea its own dedicated space ensures it has the best chance to establish a strong, healthy root system during its first growing season.

Step-by-Step Planting Instructions
Before you begin, prioritize your safety. Always wear sturdy gardening gloves to protect your hands from soil-borne bacteria, hidden sharp rocks, or debris. Additionally, ensure you are using a clean, sharp spade; a well-maintained tool cuts through turf and compacted earth with significantly less physical strain on your back and shoulders.
Once you have selected a location with the appropriate light exposure, follow these steps to plant your hydrangea correctly:
- Digging the hole: Dig a hole that is at least twice as wide as the hydrangea’s current root ball. While the width is generous, the depth should be no deeper than the container the plant arrived in. This wide berth encourages roots to spread into loose, aerated soil.
- Amending the soil: If your native soil is heavy clay or very sandy, mix in a generous amount of organic matter, such as high-quality compost or well-rotted leaf mold. This improves drainage and nutrient retention, creating an ideal environment for delicate hydrangea roots to establish.
- Positioning the plant: Gently remove the hydrangea from its nursery pot. If the roots are circling the bottom, tease them outward with your fingers. Place the plant in the center of the hole. It is critical that the top of the root ball sits perfectly level with the surrounding soil surface. Planting too deep can lead to stem rot, while planting too shallow may cause the roots to dry out.
After positioning, backfill the hole with your amended soil mixture, pressing down lightly with your hands to eliminate large air pockets. Avoid stomping on the soil, as this can compact it too tightly. Immediately after planting, water the hydrangea thoroughly. A deep initial soaking helps settle the soil around the root zone and reduces transplant shock. Continue to monitor moisture levels closely during the first few weeks, as the roots need consistent hydration to establish themselves firmly in their new home.
Essential Maintenance and Watering
Hydrangeas are thirsty plants that require consistent moisture to thrive, particularly during their first year in the ground. While they are establishing their root systems, they cannot tolerate drought. Aim to keep the soil evenly moist but never waterlogged. If the leaves begin to wilt, it is a clear signal that the plant needs immediate hydration.
To support moisture retention and regulate soil temperature, apply a two-to-three-inch layer of organic mulch around the base of the plant. Wood chips, shredded bark, or pine needles work effectively. Ensure you leave a small gap between the mulch and the plant’s main stems to prevent rot and discourage pests.
Proper maintenance also involves regular pruning to keep your hydrangea healthy and shapely. When pruning, always use sharp, high-quality bypass shears to ensure clean cuts that heal quickly. Dull blades can crush stems, leaving the plant vulnerable to disease. Before starting, sanitize your blades with rubbing alcohol to prevent the spread of pathogens between plants.
Safety is paramount when performing garden maintenance. Follow these guidelines to protect yourself while pruning:
- Always keep your fingers well clear of the blade path.
- Avoid rushing; make deliberate, controlled cuts.
- Wear sturdy gardening gloves to protect your hands from thorns or hidden debris.
- Once finished, wipe your shears clean and store them in a secure, dry place out of the reach of children.
For most hydrangea varieties, pruning is best done immediately after the flowers fade. Avoid heavy pruning in late fall or winter, as you may accidentally remove the flower buds for the following season. By observing how your plant responds to water and keeping your tools in top condition, you provide the foundation for vibrant, long-lasting blooms. Consistent care throughout the growing season is the most reliable way to ensure your hydrangea remains a standout feature in your landscape for years to come.

Common Questions and Long-Term Care
Even with proper planting, hydrangeas occasionally present challenges. If your plant refuses to bloom, the culprit is often improper pruning or late-season frost. Hydrangeas that bloom on “old wood” set their buds in late summer; if you prune them in autumn or winter, you remove the next season’s flowers. Ensure you know your specific variety’s blooming cycle before reaching for the shears.
Gardeners often wonder how to manipulate bloom color. This is only possible with Hydrangea macrophylla (bigleaf) and Hydrangea serrata (mountain) varieties. The color shift depends on aluminum availability in the soil, which is dictated by pH:
- For blue blooms: Increase soil acidity (lower pH) by adding elemental sulfur or acidic compost.
- For pink blooms: Increase alkalinity (raise pH) by adding garden lime.
- For white blooms: Soil pH typically does not affect color, as these varieties lack the pigments that react to aluminum.
In colder regions, winter protection is essential for ensuring a spring display. Once the ground freezes, apply a thick layer of mulch—such as shredded bark or pine needles—around the base to insulate the roots. For sensitive varieties, wrap the stems in burlap to protect dormant buds from harsh, drying winds and sudden temperature swings.
While most issues are manageable, some problems require expert intervention. If you notice persistent wilting despite adequate watering, unusual leaf spotting, or heavy infestations of scale or aphids that do not respond to organic soaps or oils, consult a local master gardener or professional arborist. These experts can accurately diagnose systemic diseases like bacterial wilt or root rot, which may require specific fungicides or soil treatments that are difficult to apply correctly at home.
Remember that consistent care—deep watering during dry spells and a balanced fertilizer application in early spring—is your best defense. By observing your plant’s behavior throughout the seasons, you will quickly learn to distinguish between minor environmental stress and issues that genuinely require professional help.

Dedicated team of gardening enthusiasts with years of hands-on experience testing lawn mowers, gardening tools, and outdoor equipment. We help home gardeners and professionals alike make informed buying decisions with honest, thorough reviews. From push mowers to pruning shears, we test it all so you don’t have to. Got a gardening tool you’d like us to review? Get in touch!