
Most hydrangeas grow only 6 to 12 inches during their first year after planting. While you might hope for a massive shrub immediately, these plants prioritize establishing a strong root system underground before focusing on visible foliage. Expect modest height gains and limited blooming as your new garden addition settles into its permanent home.
Many new gardeners expect immediate, massive shrubs, but hydrangeas follow a specific growth pattern during their first season. It is completely normal for your plant to look somewhat small or sparse during these initial months. Patience is key, as this slow start is essential for building the structural foundation required for future years of vigorous growth.
This guide explains what to expect in terms of size and development after planting, helping you manage your expectations and care for your new plants effectively. We will cover essential watering techniques, ideal soil conditions, and fertilization tips to ensure your hydrangea thrives. Follow these practical steps to support healthy development throughout your plant’s critical first year.

The First Year Growth Reality
When you first plant a hydrangea, it is natural to expect rapid, bushy growth. However, the first year is a period of transition rather than immediate expansion. During this time, your hydrangea is prioritizing root development over foliage production.
Because the plant is working to establish a strong foundation in its new environment, you should expect modest results above the soil. Most hydrangea varieties will only add a few inches of top growth during their first season. This is not a sign of poor health; it is a vital biological investment that ensures the plant can support larger blooms and stems in future years.
To support this essential root development, focus your efforts on consistent care rather than pushing for height. Follow these practical steps to help your hydrangea thrive:
- Consistent Hydration: Young hydrangeas have small root systems that cannot yet reach deep water. Keep the soil consistently moist, but not waterlogged, especially during the peak heat of summer.
- Mulching: Apply a two-to-three-inch layer of organic mulch, such as shredded bark or pine straw, around the base. This regulates soil temperature and retains moisture, which is critical for root establishment.
- Avoid Heavy Fertilizing: While it is tempting to use high-nitrogen fertilizers to force growth, this can actually stress a young plant. Focus on soil health by incorporating compost at the time of planting instead.
- Minimize Disturbance: Allow the plant to stay exactly where it is. Avoid moving or transplanting it during the first year, as this forces the plant to restart its root-anchoring process.
By managing your expectations and providing steady care, you are setting the stage for a robust, long-lived shrub. If your hydrangea looks small or “stalled” by the end of the first autumn, rest assured that it is likely busy building the hidden infrastructure necessary for a spectacular display in its second and third years.
Factors Influencing First-Year Size
While many gardeners expect immediate, dramatic height from new hydrangeas, the first year is primarily dedicated to root system establishment rather than above-ground foliage. Several key factors dictate how much your specific plant will grow during this initial phase.
The variety you select is the most significant predictor of size. Dwarf cultivars, such as ‘Bobo’ or ‘Little Lime,’ are genetically programmed to remain compact and may only add a few inches of growth in their first season. Conversely, vigorous mophead or panicle varieties may send out long, leafy canes as they prioritize structural development.
Beyond genetics, environmental conditions play a crucial role in first-year vigor:
- Soil Quality: Hydrangeas thrive in rich, well-draining soil amended with organic matter. If the soil is compacted or nutrient-poor, the plant will divert energy toward root exploration, resulting in slower top growth.
- Sunlight Exposure: While most hydrangeas prefer morning sun and afternoon shade, insufficient light can lead to leggy, stunted growth. Conversely, too much intense sun may stress the plant, forcing it to focus on survival rather than expansion.
- Watering Consistency: This is the single most important factor for young plants. Hydrangeas have shallow root systems that dry out quickly. Consistent moisture—aiming for about an inch of water per week—is essential to support steady cellular division and growth.
It is also important to note the difference between planting methods. Hydrangeas grown in containers often experience a temporary growth lag when first transplanted into the landscape as they adjust to the surrounding soil density and temperature fluctuations. In contrast, hydrangeas planted directly into well-prepared, loose garden beds may establish more quickly, provided they receive supplemental irrigation. Regardless of the method, do not be discouraged if your hydrangea appears modest in size during year one. By focusing on deep, consistent watering and soil health, you are laying the necessary foundation for the rapid, robust growth expected in the second and third seasons.

Proper Planting and Safety Precautions
Successfully establishing your hydrangeas begins with proper planting techniques. While these shrubs are resilient, their first year is crucial for root development. Before you break ground, ensure you have selected a location that receives the appropriate light for your specific hydrangea variety, as this directly influences how well they grow during their initial season.
Safety is the foundation of any successful gardening project. Before you begin digging, take these essential precautions to protect yourself and your property:
- Check for Utilities: Never dig without first confirming the location of underground utility lines. Call your local utility notification center to have lines marked; this prevents dangerous and costly accidents.
- Wear Protective Gear: Always wear durable gardening gloves. They protect your skin from sharp debris, thorns, and potential soil-borne pathogens that can cause infections through minor cuts.
- Use Proper Mechanics: When using a shovel, keep your back straight and bend at the knees. Use your leg muscles to push the shovel into the soil rather than relying on your lower back to lift heavy dirt, which helps prevent strain or injury.
When planting, dig a hole twice as wide as the root ball but no deeper than the container it arrived in. Gently loosen the roots if they are circling the edge of the pot, then place the plant in the center. Backfill the hole with a mixture of native soil and organic compost. Firm the soil gently with your hands to remove large air pockets, but avoid packing it so tightly that you restrict water drainage.
Immediately after planting, water the hydrangea thoroughly to settle the soil around the roots. Apply a two-inch layer of mulch around the base, keeping it a few inches away from the main stem to prevent rot. By prioritizing these safety steps and planting techniques, you provide your hydrangea with the stable environment it needs to thrive throughout its first year.
Signs of Healthy Establishment
During their first year, hydrangeas prioritize root development over vertical growth. It is completely normal for your plant to remain relatively small or appear stagnant above the soil line. Instead of measuring height, focus on physiological indicators that confirm your hydrangea is successfully establishing itself in its new environment.
A healthy, establishing hydrangea will exhibit several key physical traits:
- Vibrant Foliage: Leaves should be a consistent, rich green without signs of yellowing, browning edges, or wilting during the cooler parts of the day.
- Firm Stems: When gently touched, the stems should feel turgid and upright rather than soft, limp, or woody-brittle.
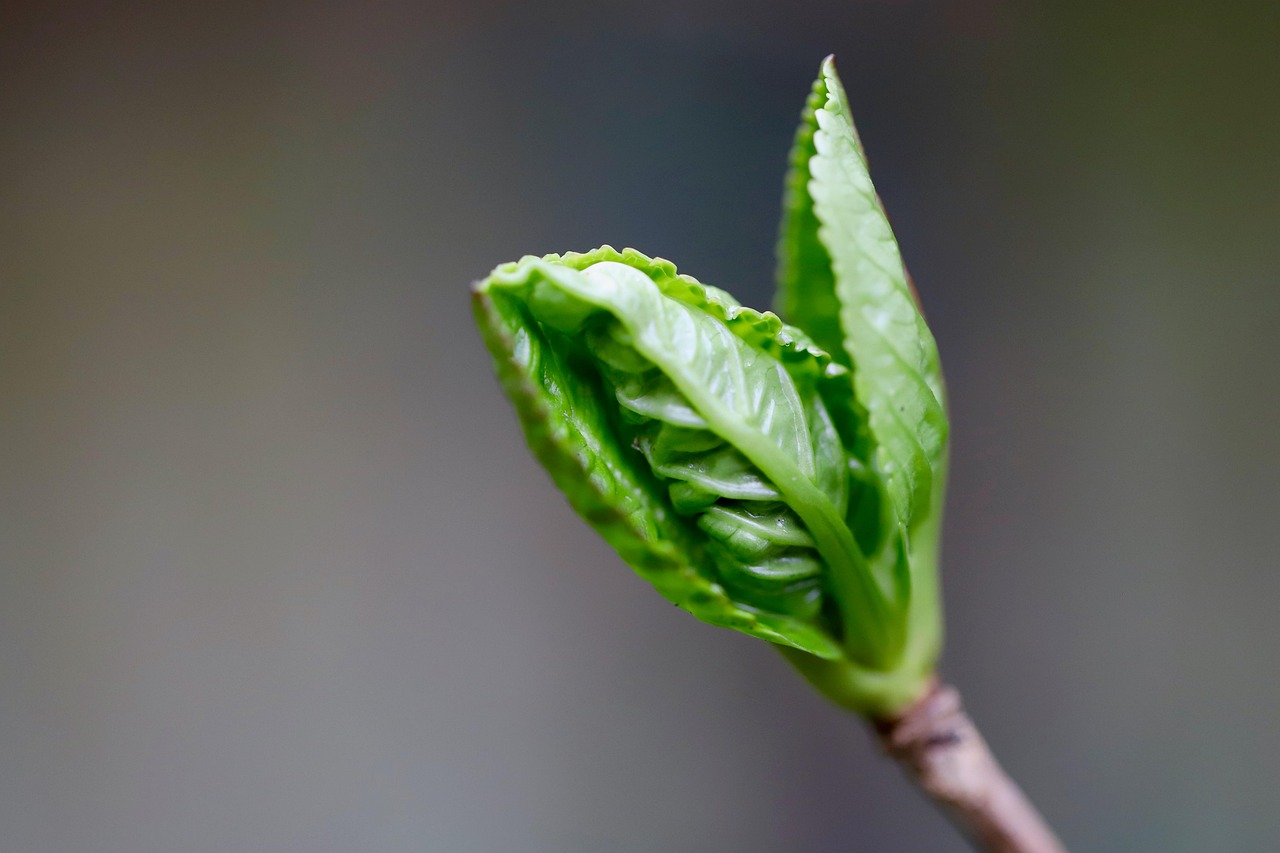
- Steady Leaf Production: Even if the plant does not gain significant height, the appearance of new, small leaves at the nodes indicates the root system is functioning well enough to support vegetative growth.
If your hydrangea is producing new leaves, it is successfully acclimating. Do not be discouraged if the plant looks nearly identical to when you first planted it; this is a sign that the energy is being directed downward into the soil. Avoid the temptation to over-fertilize, as pushing top growth too quickly can stress a plant that is still building its foundation.
Watering is the most critical factor during this stage. Consistent moisture—roughly one inch per week—is essential. You can verify healthy establishment by checking the soil moisture levels around the base. If the leaves remain perky and the plant shows no signs of transplant shock, such as drooping that does not recover overnight, your hydrangea is on the right track.
Remember that “small” is not synonymous with “unhealthy.” A first-year hydrangea that maintains its leaf color and produces even a few new sets of leaves is a success. Patience during this initial season is the best investment you can make for a robust, larger plant in its second and third years. If the plant remains stable and green, it is simply preparing for a growth spurt in the following season.
Follow-up Care and When to Seek Advice
During their first year, hydrangeas focus almost entirely on establishing a robust root system rather than producing significant top growth. Because their roots are still compact, they are highly susceptible to drying out. Consistent, deep watering is the most critical factor for success. Instead of light daily sprinkles, provide a deep soak at the base of the plant two to three times per week, ensuring the water penetrates several inches into the soil. Aim for the soil to remain consistently moist, but not waterlogged.
Applying a two-to-three-inch layer of organic mulch, such as shredded bark or pine straw, is highly recommended. Mulch acts as an essential buffer, regulating soil temperature and retaining vital moisture during the heat of the summer. Keep the mulch a few inches away from the main stems to prevent rot and discourage pests.
Regarding maintenance, follow these simple rules for your first-year plants:
- Avoid pruning: Do not prune your hydrangea during its first year. Pruning can remove potential flower buds or stress the plant while it is trying to establish itself.
- Hold off on heavy fertilizing: If you amended your soil at planting, your hydrangea likely has enough nutrients. Over-fertilizing a young plant can lead to weak, rapid growth that is prone to damage.
While some minor wilting is normal during the hottest part of the day, the plant should recover by evening. However, if you notice persistent signs of distress, it is time to seek professional input. Contact your local university cooperative extension office if you observe the following:
- Leaves that remain wilted even after deep watering.
- Unusual spots, powdery white coatings, or dark lesions on the foliage.
- A complete lack of new growth by mid-summer despite adequate water.
Extension agents are an invaluable, free resource. They can provide specific guidance based on your local climate, soil pH, and common regional pests, ensuring your hydrangea has the best chance to thrive in the years to come.

Dedicated team of gardening enthusiasts with years of hands-on experience testing lawn mowers, gardening tools, and outdoor equipment. We help home gardeners and professionals alike make informed buying decisions with honest, thorough reviews. From push mowers to pruning shears, we test it all so you don’t have to. Got a gardening tool you’d like us to review? Get in touch!