
Allium bulbs are a fantastic addition to any garden, offering architectural beauty and long-lasting color. To achieve the best results, you should plant these hardy bulbs in the autumn, ideally between September and November, before the ground freezes. This timing allows the roots to establish themselves properly, ensuring a spectacular display of globe-shaped blooms come late spring.
While alliums are relatively low-maintenance, success depends on choosing the right environment for your specific variety. These plants thrive in well-draining soil and require plenty of direct sunlight to reach their full potential. Understanding these basic environmental preferences is essential, as poor drainage can lead to bulb rot, which prevents your garden from reaching its true aesthetic potential.
This guide covers the ideal timing and step-by-step planting techniques to ensure your alliums thrive and return year after year. We will walk you through the proper planting depth, spacing requirements, and essential care tips for the growing season. By following these practical instructions, you can confidently transform your outdoor space into a stunning, professional-looking landscape with minimal effort.

The Best Time to Plant Allium Bulbs
Timing is the most critical factor for a successful allium display. Because these bulbs require a prolonged period of cold dormancy to trigger root development and future flowering, they must be planted in the autumn. This natural chilling process is essential for the bulb to gather the energy needed to push up its iconic, globe-shaped blooms in the spring.
The optimal window for planting is between September and November. You should aim to get your bulbs into the ground well before the first hard frost freezes the soil. If you wait until the ground is impenetrable, it becomes impossible to reach the necessary planting depth, which is typically two to three times the height of the bulb.
Planting during this autumn window offers several key advantages for your garden:
- Root Establishment: Cooler soil temperatures encourage the bulb to focus its energy on developing a robust root system rather than producing top-side foliage prematurely.
- Workability: Autumn soil is generally moist and easy to dig, allowing you to achieve the proper spacing and depth without excessive effort.
- Natural Cycle: Providing the bulbs with a full winter season in the ground mimics their natural habitat, ensuring they are fully prepared for a vigorous growth cycle when temperatures rise in spring.
If you live in a region with very mild winters, ensure your bulbs have undergone a pre-chilling process in a refrigerator for several weeks before planting. However, for most temperate climates, simply placing them in the ground during the autumn months is sufficient. Avoid the temptation to plant them in the spring; bulbs planted after the winter cycle has passed will rarely bloom in their first year and may struggle to establish themselves. By respecting this seasonal rhythm, you provide your alliums with the best possible foundation for long-term health and reliable annual flowering. Once the bulbs are tucked into the soil, add a light layer of mulch to help regulate ground temperature until the spring thaw arrives.
Selecting the Right Site and Soil Conditions
Alliums are sun-loving perennials that perform best when they receive at least six to eight hours of direct sunlight daily. While some smaller woodland varieties can tolerate partial shade, the larger, iconic globe-shaped alliums require full sun to develop strong stems and vibrant, long-lasting blooms. Choosing a spot that avoids heavy shade ensures your plants won’t become leggy or lean toward the light.
Equally important is the quality of your soil. Alliums are highly susceptible to bulb rot if left in standing water, especially during the dormant winter months. Before planting, evaluate your garden’s drainage. If you squeeze a handful of soil and it forms a tight, sticky ball that does not crumble easily, you likely have heavy clay soil. This must be amended to prevent the bulbs from decaying underground.
To create the ideal environment for your allium bulbs, follow these preparation steps:
- Test for drainage: Dig a hole 12 inches deep and fill it with water. If it takes more than a few hours to drain completely, your site needs drainage improvements.
- Amend heavy soil: Mix in generous amounts of organic matter, such as well-rotted compost or leaf mold, to improve soil structure.
- Add inorganic grit: For extremely heavy clay, incorporate horticultural grit or coarse sand into the planting hole. This creates air pockets and allows excess moisture to move away from the bulb base.
- Consider raised beds: If your garden consistently holds water, planting alliums in raised beds or containers is a practical solution to guarantee the necessary drainage.
By prioritizing a sunny location and ensuring the soil remains porous, you provide the foundation necessary for your alliums to return year after year. Proper site selection at the time of planting is the single most effective way to avoid common issues like fungal rot and stunted growth. Once these conditions are met, your bulbs will be ready to establish a healthy root system before the onset of winter.
Step-by-Step Planting Guide
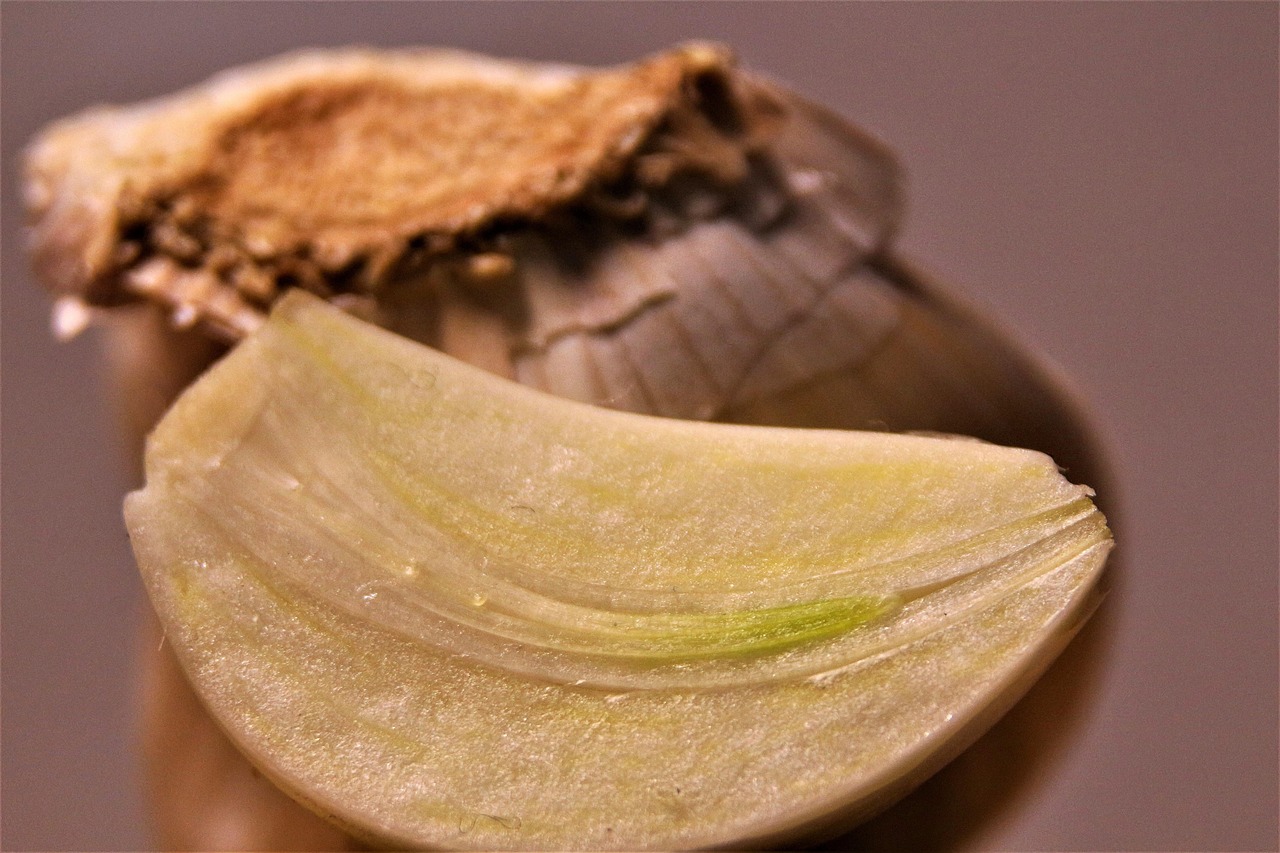
Successful allium growth begins with proper planting depth. As a general rule, dig a hole that is approximately three times as deep as the bulb is tall. This depth protects the bulb from temperature fluctuations and ensures it has enough structural support as the stem grows.
Once your hole is ready, place the bulb inside with the pointed end facing upward. This orientation is crucial, as it allows the sprout to emerge directly toward the surface without wasting energy navigating around the bulb.
Spacing is equally important to ensure each plant receives adequate airflow and nutrients. Follow these guidelines based on the variety you are planting:
- Smaller varieties: Space bulbs 4 to 6 inches apart.
- Large species (e.g., Globemaster): Space bulbs 8 to 12 inches apart.
After placing the bulbs, backfill the hole with soil. Use your hands to firm the earth down gently. This step is essential because it removes large air pockets that could cause the bulb to dry out or rot if water pools in the voids. Avoid packing the soil too tightly, as this can impede root development.
If your soil is heavy clay or drains poorly, consider adding a handful of grit or sand to the bottom of the planting hole. Alliums are highly susceptible to bulb rot in waterlogged conditions, so ensuring excellent drainage is the best way to guarantee they return year after year.
Finally, give the area a light watering immediately after planting to help settle the soil around the bulb. If you are planting in the autumn, you do not need to continue watering unless the weather is exceptionally dry. The bulbs will remain dormant throughout the winter, establishing their root systems before the foliage emerges in the spring. By following these precise steps, you create the ideal underground environment for your alliums to thrive and produce their iconic, architectural blooms when the season arrives.
Safety Tips for Garden Preparation
Preparing your garden for allium bulbs requires digging, which often involves sharp tools like trowels, hand cultivators, or bulb augers. Prioritizing safety ensures your planting session remains productive and injury-free.
Always wear durable gardening gloves when handling tools or digging in the soil. Gloves provide a necessary barrier against blisters caused by repetitive motion and protect your skin from soil-borne bacteria, fungi, or hidden sharp debris buried in the garden bed.
If you are using a power-assisted bulb auger to speed up the planting process, observe these safety precautions:
- Maintain a firm, balanced footing on level ground before engaging the tool.
- Keep your hands, loose clothing, and hair well clear of the rotating drill bit at all times.
- If the auger hits a rock or root, release the trigger immediately to prevent the tool from kicking back or twisting your wrist.
- Disconnect the power source or remove the battery before clearing any debris from the auger bit.
Proper tool management is equally important for long-term safety. After you finish planting, clean your tools to remove excess soil and moisture, which helps prevent rust and maintains the integrity of the metal. Store all sharp implements in a secure shed, locked cabinet, or wall-mounted rack immediately after use.
Never leave trowels, augers, or digging forks lying on the ground where they could become a tripping hazard or be stepped on. Keep these items stored well out of reach of children and pets, who may be curious about the bright, metallic surfaces of your gardening equipment. By treating your tools with respect and maintaining a tidy workspace, you create a safer environment for yourself and your family while ensuring your garden is ready for a successful allium display.
Post-Planting Care and Common Questions
Once your allium bulbs are tucked into the soil, give the area a gentle watering. This helps settle the earth around the bulbs and eliminates large air pockets, providing a stable environment for root development. Because alliums are naturally drought-tolerant once established, you generally do not need to provide supplemental water unless you are experiencing an unusually dry autumn.
As the growing season progresses, patience is your best tool. You might be tempted to tidy up the garden by trimming the foliage as soon as the flowers fade, but resist this urge. The leaves are essential for photosynthesis, acting as solar panels that recharge the bulb for next year’s display. Wait until the foliage has turned completely yellow and withered before removing it.
If your alliums fail to bloom, consider these common troubleshooting steps:
- Sunlight requirements: Alliums thrive in full sun. If they are shaded by larger shrubs or trees that have leafed out, they may lack the energy required to produce flowers.
- Soil drainage: Bulbs are highly susceptible to rot. Ensure your soil is well-draining, especially during the dormant winter months. If your soil is heavy clay, consider amending it with grit or sand to improve drainage.
- Bulb depth: If alliums were planted too shallow, they may be prone to frost heaving or insufficient root support. Aim to plant them at a depth roughly three times the diameter of the bulb.
- Nutrient levels: While alliums don’t require heavy feeding, a light application of a balanced, slow-release fertilizer in early spring as shoots emerge can provide a helpful boost in nutrient-poor soils.
By allowing the foliage to die back naturally and ensuring the bulbs are situated in a sunny, well-draining spot, you set the stage for a reliable return of these architectural blooms year after year. With these simple practices, your alliums will remain a low-maintenance highlight of your garden landscape.

Dedicated team of gardening enthusiasts with years of hands-on experience testing lawn mowers, gardening tools, and outdoor equipment. We help home gardeners and professionals alike make informed buying decisions with honest, thorough reviews. From push mowers to pruning shears, we test it all so you don’t have to. Got a gardening tool you’d like us to review? Get in touch!