
You should plant Fritillaria meleagris bulbs in early autumn, ideally between September and October. Getting them into the ground during this window ensures they establish strong roots before the winter dormancy period begins. These unique, checkered flowers thrive best when planted while the soil remains warm enough to encourage healthy root development.
While these bulbs are relatively hardy, they require specific conditions to truly thrive in your landscape. They prefer moist, well-draining soil and will not tolerate drying out completely during their dormant phase. Managing your expectations is key, as these plants often take a full season to settle before producing their signature nodding blooms.
In this guide, we provide practical, step-by-step instructions for successfully naturalizing these stunning woodland gems in your own garden. From selecting the perfect damp site to mastering planting depth, we cover everything you need to know. Follow our expert advice to ensure your snake’s head fritillaries return to delight you with their beauty year after year.

The Ideal Planting Window
Timing is everything when it comes to Fritillaria meleagris, commonly known as the snake’s head fritillary. To ensure these unique, checkered blooms emerge successfully in spring, you must plant your bulbs during the early autumn window, specifically between September and October.
Planting during this period is essential because it allows the bulbs to establish a robust root system before the onset of deep winter. The soil is still warm enough to encourage root development, yet cool enough to prevent the bulbs from sprouting premature top growth that could be damaged by frost.
If you live in a region with particularly harsh winters, aim to get your bulbs in the ground no later than mid-October. This gives them a vital head start, ensuring they are well-anchored before the ground freezes solid. Following this schedule is the most effective way to support their natural growth cycle.
To achieve the best results, consider these practical tips for your autumn planting:
- Check soil moisture: These bulbs originate from damp meadows. Ensure your planting site stays consistently moist throughout the autumn months, as they dislike drying out completely.
- Monitor soil temperature: Aim to plant when the soil has cooled down from the intense summer heat but remains workable. If the ground is too hard or frozen, it is already too late.
- Protect from rot: While they love moisture, they do not like sitting in waterlogged soil. If your garden has heavy clay, add a small handful of horticultural grit to the bottom of each planting hole to improve drainage around the bulb.
- Planting depth: Place the bulbs at a depth of approximately three to four inches. This provides enough insulation against temperature fluctuations while ensuring they have enough energy to push through the soil come spring.
By respecting this early autumn window, you provide your Fritillaria meleagris with the best possible foundation for long-term health and reliable, striking blooms year after year.
Selecting and Preparing the Planting Site
Success with Fritillaria meleagris, commonly known as the snake’s head fritillary, begins with selecting a location that mirrors its native damp meadow environment. These plants are happiest in heavy, moisture-retentive soils that do not bake dry during the summer months. While they are remarkably adaptable, they will struggle in sandy or rapidly draining soil that lacks organic matter.
When choosing your planting site, look for areas that receive either full sun or partial shade. The critical factor is moisture consistency; if you choose a sunny spot, ensure the ground stays consistently cool and damp. In warmer climates, partial shade is essential to prevent the bulbs from dehydrating.
Before planting, prepare the soil thoroughly to ensure the best possible start for your bulbs:
- Clear the area: Remove all weeds, grass, and debris from the patch. Weeds compete for nutrients and can make it difficult for delicate fritillary shoots to emerge in spring.
- Improve soil structure: If your soil is heavy clay, mix in well-rotted compost or leaf mold. This increases organic content while maintaining the moisture retention these bulbs crave.
- Ensure drainage: Although they love moisture, these bulbs will rot if left in standing water. If your soil is prone to heavy waterlogging, add a small amount of horticultural grit to the planting hole to encourage drainage around the bulb base.
- Loosen the earth: Dig the soil to a depth of at least 8 to 10 inches. Loose, friable soil allows the roots to establish quickly before the onset of winter dormancy.
By taking the time to create a rich, damp, and weed-free environment, you provide the perfect foundation for your Fritillaria meleagris. Proper site preparation not only prevents bulb rot during the wet winter months but also encourages the bulbs to naturalize and multiply over the years, rewarding you with their unique, checkered blooms each spring.
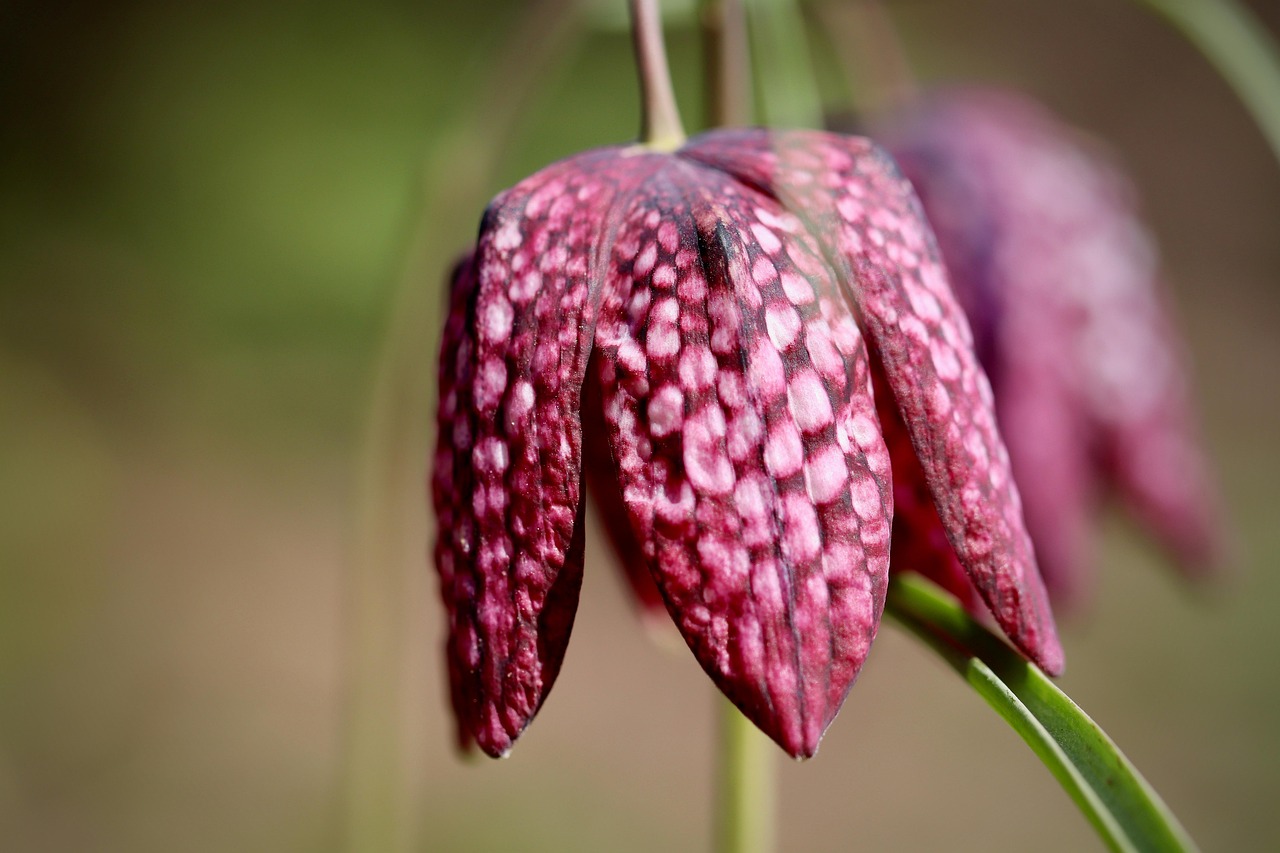
Safe Planting Techniques and Tool Handling
Successfully establishing Fritillaria meleagris requires precision and care to ensure the delicate bulbs thrive. Before you begin, choose a hand trowel or a specialized bulb planter to create your planting holes. For optimal root development, aim for a depth of approximately 4 to 6 inches. Consistent depth helps protect the bulbs from temperature fluctuations and ensures they remain stable as they grow.
Safety should be your priority throughout the planting process. Follow these essential guidelines to protect yourself and your tools:
- Wear gardening gloves: Always use sturdy gloves to shield your skin from soil-borne bacteria and potential irritation caused by bulb dust or debris.
- Maintain tool safety: When using sharp implements, always keep your fingers well clear of the cutting edge. Ensure your workspace is level and stable to prevent accidental slips or trips.
- Secure your equipment: Once you have finished planting, clean your tools and store them in a secure, designated area immediately. This prevents accidental injuries and keeps your equipment in good working condition.
If you are planting in heavy soil, consider adding a small amount of grit or horticultural sand to the bottom of each hole. This improves drainage, which is crucial for preventing bulb rot—a common issue for this moisture-loving but sensitive species. After placing the bulb with the pointed end facing upward, gently backfill the hole with soil and press down lightly to eliminate large air pockets.
Finally, remember to label your planting site. Because Fritillaria meleagris bulbs can be small and easy to overlook during their dormant season, a simple garden marker will help you avoid accidentally digging them up while performing other landscape maintenance. By handling your bulbs and tools with care, you create the best possible environment for your fritillarias to naturalize and bloom beautifully in the coming spring.
Spacing and Planting Depth
For a naturalized, meadow-like appearance, avoid planting Fritillaria meleagris in rigid, uniform rows. Instead, aim to plant them in loose, organic clusters of five to ten bulbs. This mimicry of nature creates a more visually appealing display when the checkered, bell-shaped flowers emerge in spring.
When preparing your planting site, ensure the soil is loose and well-draining. Follow these guidelines for optimal positioning:
- Spacing: Space your bulbs approximately 4 to 6 inches apart. This provides enough room for the bulbs to multiply and naturalize over time without overcrowding.
- Planting Depth: Bury the bulbs at a depth of roughly 3 to 4 inches. A general rule of thumb is to plant them two to three times as deep as the bulb is tall.
- Orientation: If the bulb has a clearly defined pointed end, place it in the hole with the point facing upward.
Pay close attention to the bulb’s structure before covering it with soil. Some Fritillaria meleagris bulbs can be quite smooth or lack a distinct growth point. If you cannot identify the top, plant the bulb on its side. This simple technique prevents water from pooling in a concave top, which can lead to rot or fungal decay during the damp autumn and winter months.
Once positioned, cover the bulbs with soil and press down gently to eliminate large air pockets. If you are planting in a garden bed, adding a light layer of organic mulch can help regulate soil temperature and retain moisture. However, ensure the mulch is not too thick, as the emerging shoots need an unobstructed path to the surface in early spring. If your soil is particularly heavy or prone to waterlogging, consider mixing in a handful of horticultural grit at the bottom of each hole to improve drainage and protect the delicate bulbs from sitting in stagnant moisture.
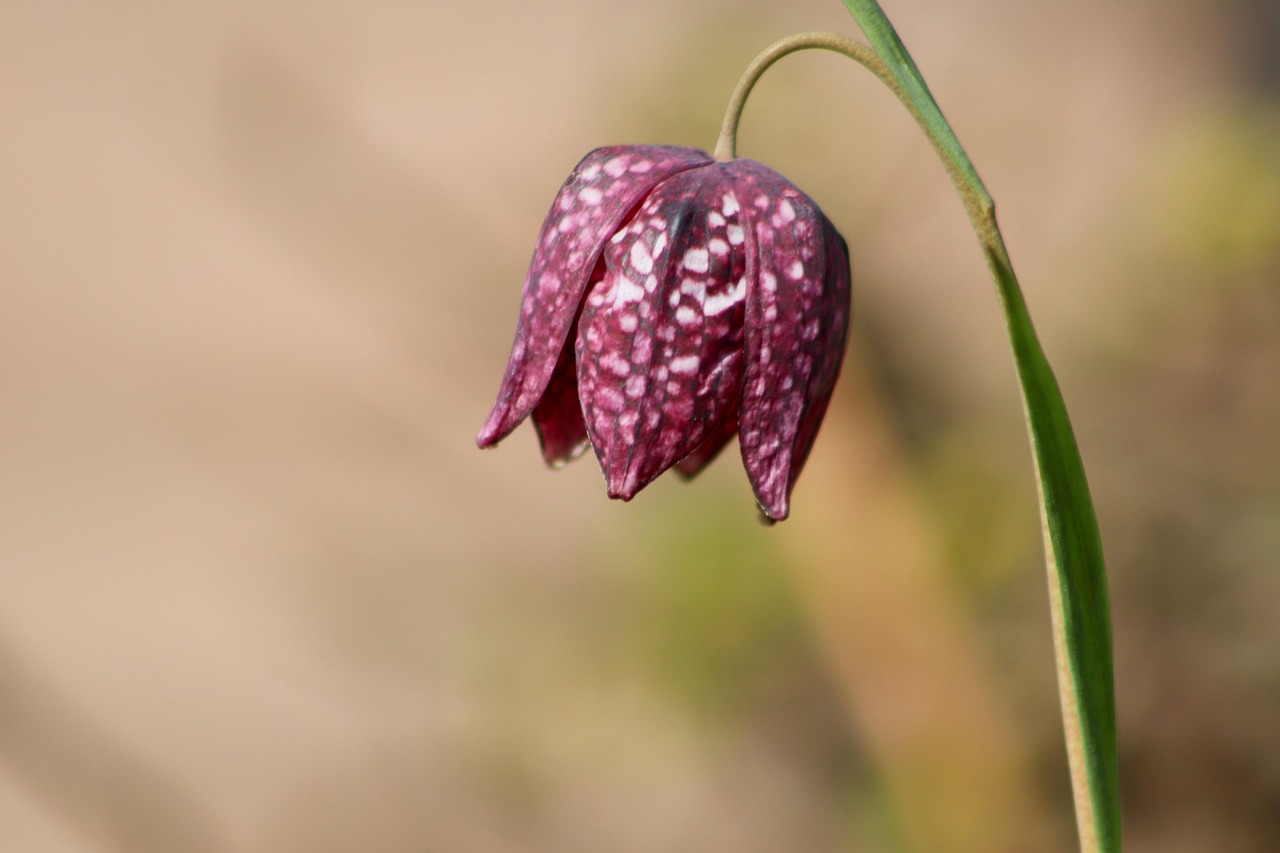
Post-Planting Care and Common Questions
Once your Fritillaria meleagris bulbs are in the ground, water the area lightly. This simple step helps settle the soil around the bulbs, eliminating large air pockets and ensuring good contact with the earth. Beyond this initial hydration, these charming snake’s head fritillaries are remarkably low-maintenance plants.
The most critical aspect of post-planting care occurs after the flowers fade. You must resist the urge to tidy up the garden by cutting back the foliage prematurely. The leaves are essential solar panels for the plant; they allow the bulb to photosynthesize and store vital energy for the following spring’s growth.
Follow these guidelines to keep your plants healthy:
- Wait for dormancy: Allow the foliage to turn yellow and wither completely before removing it. If you cut it while green, you risk weakening the bulb for next year.
- Monitor moisture: While these bulbs prefer well-drained soil, they dislike prolonged drought. If you notice stunted growth or drooping, check the soil moisture levels. Consistent dampness—not saturation—is the goal.
- Avoid disturbance: These bulbs prefer to remain undisturbed. Once planted in a location they enjoy, avoid digging or moving them, as they can take time to re-establish their root systems.
If you find that your fritillaries are struggling, the culprit is often soil drainage or competition. These plants do not thrive in bone-dry soil or in areas where they must compete with aggressive, shallow-rooted ground covers. If your soil is particularly sandy, consider amending it with organic matter, such as leaf mold or compost, to improve moisture retention. During exceptionally dry springs, a light watering once or twice a week will suffice to keep them happy. By respecting their natural growth cycle and ensuring they do not dry out completely during their active season, you will be rewarded with their unique, checkered blooms year after year.

Dedicated team of gardening enthusiasts with years of hands-on experience testing lawn mowers, gardening tools, and outdoor equipment. We help home gardeners and professionals alike make informed buying decisions with honest, thorough reviews. From push mowers to pruning shears, we test it all so you don’t have to. Got a gardening tool you’d like us to review? Get in touch!