
Crocus bulbs are best planted in the autumn, specifically from September through November, before the ground freezes solid. To ensure these cheerful blooms brighten your landscape, timing your planting correctly is essential. By getting them into the soil at the right moment, you give them the necessary time to establish strong roots before winter.
While these hardy plants are famous for pushing through the final patches of snow, they still require specific conditions to thrive. You must choose a spot with well-draining soil and plenty of sunlight to guarantee success. Understanding these environmental needs is just as important as knowing the calendar dates for your local climate zone.
This guide explains exactly when to plant crocus bulbs and how to set them up for success. We will cover everything from selecting the best planting depth to essential maintenance tips for perennial returns. Follow these practical steps to create a vibrant, early-spring display that will delight you and your neighbors for years.
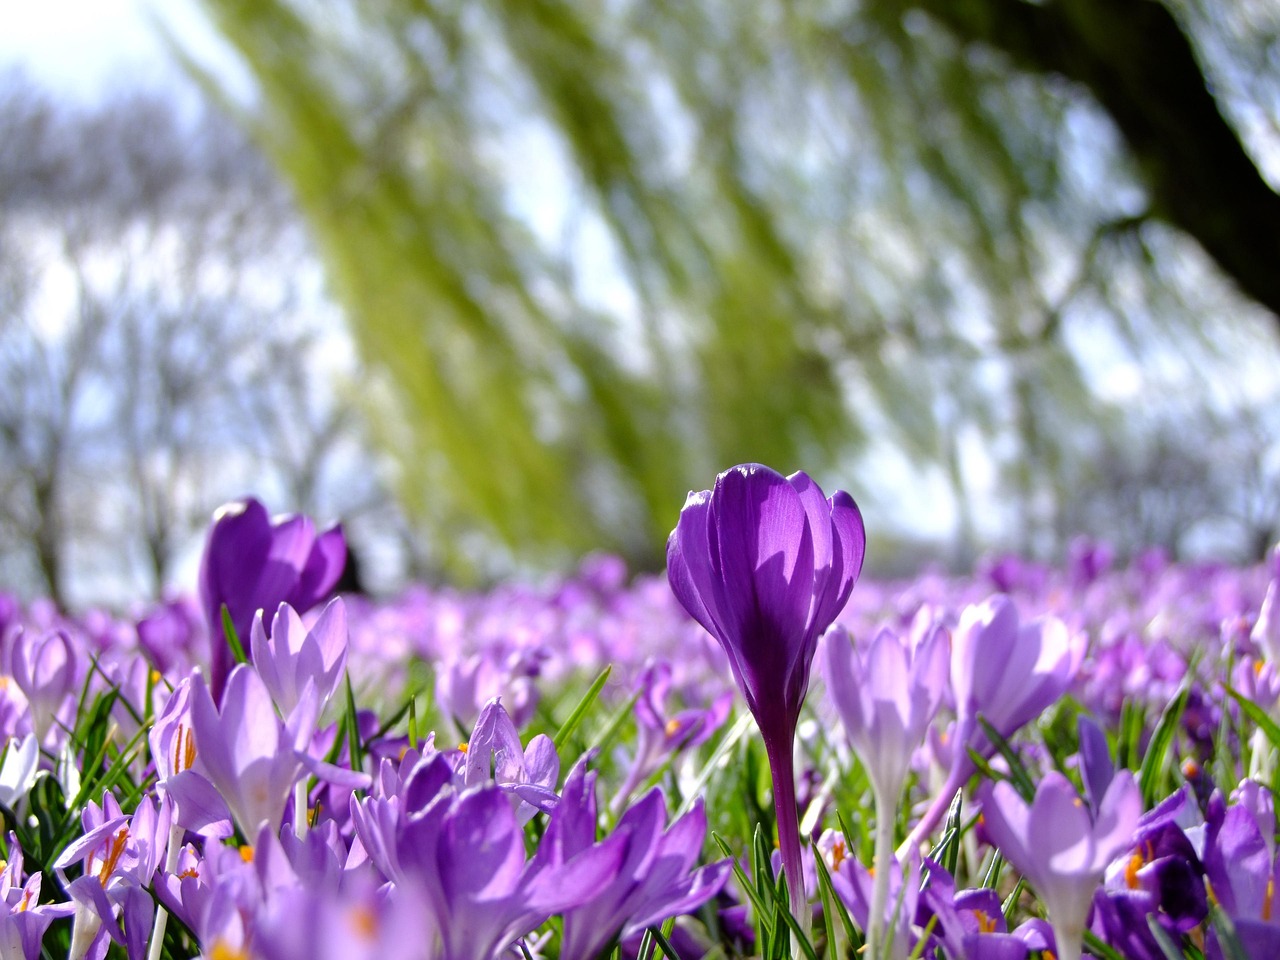
The Ideal Planting Window for Crocus Bulbs
To successfully grow crocus flowers, timing is everything. Because these hardy perennials require a sustained period of cold dormancy to trigger their spring bloom, they must be planted while the soil is still workable but cooling down.
The ideal planting window occurs in the autumn, typically between September and November. Your specific timing depends heavily on your local climate and how quickly winter arrives in your region.
For the best results, aim to get your bulbs into the ground at least six weeks before the first hard frost. This timeline is crucial for two main reasons:
- Root Development: The bulbs need enough time to establish a robust root system before the ground freezes solid.
- Dormancy Management: Planting too early in warm soil can trick the bulb into sending up foliage prematurely, which will likely be damaged by winter weather.
If you live in a region with very early winters, aim for late September or early October. If you reside in a milder climate, you can often wait until November. The goal is to ensure the soil temperature has dropped significantly—ideally below 60°F (15°C)—to signal to the bulb that it is time to rest rather than grow.
Before you begin, check your local frost dates. If you find yourself holding bulbs late in the season, it is still worth planting them as long as the ground is not frozen solid. Even if they have less time to establish, they will often still bloom, though perhaps with slightly less vigor than those planted earlier.
Always handle your bulbs with care, ensuring they are firm and free of mold before placing them in the soil. Once planted, give them a thorough watering to settle the earth around the bulbs, then let nature take its course. By providing this essential period of cold, you ensure a reliable, vibrant display of color as soon as the snow begins to melt in the spring.
Selecting the Right Location and Soil Conditions
Choosing the perfect site is the most important step in ensuring your crocuses return year after year. These resilient bulbs are versatile, but they have specific preferences regarding light and soil structure that directly impact their blooming success.
For optimal growth, select a location that receives full sun to partial shade. While crocuses can tolerate some light shade—especially under deciduous trees that have not yet leafed out—they perform best when they have access to plenty of direct sunlight during their active growing season.
Soil drainage is the single most critical factor for bulb health. Crocuses are highly susceptible to rot if left in waterlogged conditions. Before planting, evaluate your garden soil to ensure it is loose and well-draining. If you are working with heavy clay, you must amend the area to prevent moisture from pooling around the bulbs.
Follow these steps to prepare your planting site:
- Clear the area: Remove all existing weeds, rocks, and garden debris. This reduces competition for nutrients and ensures the bulbs have adequate space to establish their root systems.
- Amend heavy soil: If your soil is dense or clay-heavy, mix in several inches of organic matter, such as high-quality compost or aged leaf mold. This improves aeration and drainage significantly.
- Check for drainage: If you are unsure about your soil, dig a small test hole and fill it with water. If it takes more than a few hours to drain completely, you will need to add more organic material or consider planting in a raised bed.
By taking the time to prepare the soil and choosing a spot with the right light exposure, you create a healthy foundation for your crocuses. A well-drained, weed-free environment allows the bulbs to focus their energy on producing vibrant spring blooms rather than struggling against environmental stressors. Proper site selection now saves you significant maintenance effort once the growing season begins.

Safe Tool Usage and Planting Technique
Proper planting technique is essential for the health of your crocus bulbs and your personal safety. To ensure your bulbs establish deep, stable roots, use a dedicated bulb planter or a sturdy hand trowel to reach a depth of 3 to 4 inches. This depth protects the bulbs from extreme temperature fluctuations and accidental disturbance by garden pests.
Always wear durable, puncture-resistant gardening gloves. Soil often contains sharp rocks, hidden glass, or organic debris that can cause minor cuts. Furthermore, gloves provide a necessary barrier against skin irritants or bacteria naturally present in the garden environment.
If you are planting a large number of bulbs and choose to use a mechanical bulb auger attached to a power drill, prioritize these safety precautions:
- Eye Protection: Always wear safety goggles. A rotating auger can easily launch loose soil, small rocks, and wood chips toward your face at high speeds.
- Hand Placement: Keep your hands and fingers clear of the rotating bit at all times. Never attempt to clear debris from the auger while the drill is powered on.
- Tool Stability: Maintain a firm, two-handed grip on the drill to prevent the bit from catching on roots or stones, which can cause the drill to twist suddenly and strain your wrists.
When using a hand trowel, avoid forcing the tool into compacted or frozen ground, as this increases the risk of wrist injury and tool breakage. If the soil is too hard, moisten the area lightly with a hose an hour before planting to soften the earth. Once the hole is prepared, place the bulb with the pointed end facing upward. Gently backfill the hole with soil, pressing down lightly to remove large air pockets without compacting the earth so tightly that it hinders root growth. Consistent, careful technique ensures your crocuses have the best possible start for a vibrant spring display.
Proper Planting Depth and Orientation
Successfully planting crocus bulbs relies on getting the orientation and depth right to ensure healthy spring growth. For optimal results, dig your holes approximately 3 to 4 inches deep. This depth protects the bulbs from extreme temperature fluctuations and hungry garden pests while still allowing the shoots to emerge easily when the weather warms.
When you place the bulb in the hole, position it with the pointed end facing upward. This is the top of the bulb, where the future stem and flower will emerge. If you find it difficult to distinguish the top from the base, do not worry; simply plant the bulb on its side. Crocus bulbs are remarkably resilient, and the shoot will naturally curve and find its way toward the surface regardless of the initial orientation.
To achieve a professional, naturalized appearance in your landscape, follow these spacing and finishing guidelines:
- Spacing: Place your bulbs about 3 inches apart. Planting them in clusters or irregular groups rather than straight lines creates a more organic, meadow-like effect once they bloom.
- Covering: Gently fill the hole with soil, ensuring the bulb is completely buried.
- Firming: Press down firmly on the soil surface with your hands or the back of a rake. This step is essential because it eliminates large air pockets that could cause the bulb to dry out or rot during the winter months.
After you have finished planting, water the area thoroughly if the soil is dry. This helps settle the earth around the bulbs and signals the start of the rooting process. Avoid over-saturating the soil, as crocus bulbs prefer well-draining conditions to prevent fungal issues. Once the soil is firmed and watered, your crocus bulbs are ready for their winter dormancy, setting the stage for a vibrant display of early spring color.

Post-Planting Care and Frequently Asked Questions
Once your crocus bulbs are in the ground, give the area a light watering to help settle the soil and eliminate large air pockets. Beyond this initial hydration, crocuses are remarkably low-maintenance. They generally do not require supplemental watering during the winter months, as they remain dormant while the soil is cold and moist.
One common challenge for gardeners is protecting bulbs from curious wildlife. Squirrels and chipmunks often dig up freshly planted areas. If you notice disruption, secure the planting site by laying a piece of hardware cloth or wire mesh over the soil. You can anchor the edges with landscape staples and remove the mesh once the ground freezes, as animals are less likely to dig in hardened soil.
If your established crocuses fail to bloom after several seasons, they have likely become overcrowded. When bulbs multiply, they compete for nutrients and space, leading to smaller, fewer flowers. To restore vigor, follow these steps:
- Wait until the foliage has turned yellow and withered naturally in late spring.
- Carefully dig up the clump of bulbs using a garden fork.
- Gently separate the individual corms by hand.
- Replant the largest bulbs immediately at the proper depth and spacing.
- Discard any bulbs that appear soft, mushy, or damaged.
While crocuses are generally hardy and pest-resistant, environmental conditions vary significantly by location. If you experience persistent issues with stunted growth, foliage discoloration, or unexpected pest infestations, your local cooperative extension office is your best resource. These offices provide science-based, region-specific advice tailored to your local soil chemistry and climate patterns. By monitoring your planting site during the first growing season, you can ensure your crocuses return reliably to signal the arrival of spring for years to come.

Dedicated team of gardening enthusiasts with years of hands-on experience testing lawn mowers, gardening tools, and outdoor equipment. We help home gardeners and professionals alike make informed buying decisions with honest, thorough reviews. From push mowers to pruning shears, we test it all so you don’t have to. Got a gardening tool you’d like us to review? Get in touch!